Have you ever taken photos on a great hair day or in your favorite outfit only to be super disappointed with the results? I mean, who hasn’t right? And, it’s not that you aren’t photogenic. You just need to know all the simple posing tips and tricks to look your absolute best! Whether you’re an aspiring influencer or you just want to look better in photos, the right pose and angle can absolutely make you look taller and slimmer. And, once you get the hang of it, it will become second nature!
These tips are perfect for iphone pictures too. I work with professional photographers all the time, but I’ve learned how to take my own photos, so I don’t always have to depend on someone else and I do really enjoy it! I totally geek out over the latest and greatest cameras/lens and technology and have a huge interest in photography. ‘m currently using this camera and this lens and brought them with me to Spain, but I promise you it doesn’t take a professional camera or photographer to get a beautiful shot!
Here’s how…
[flex_row]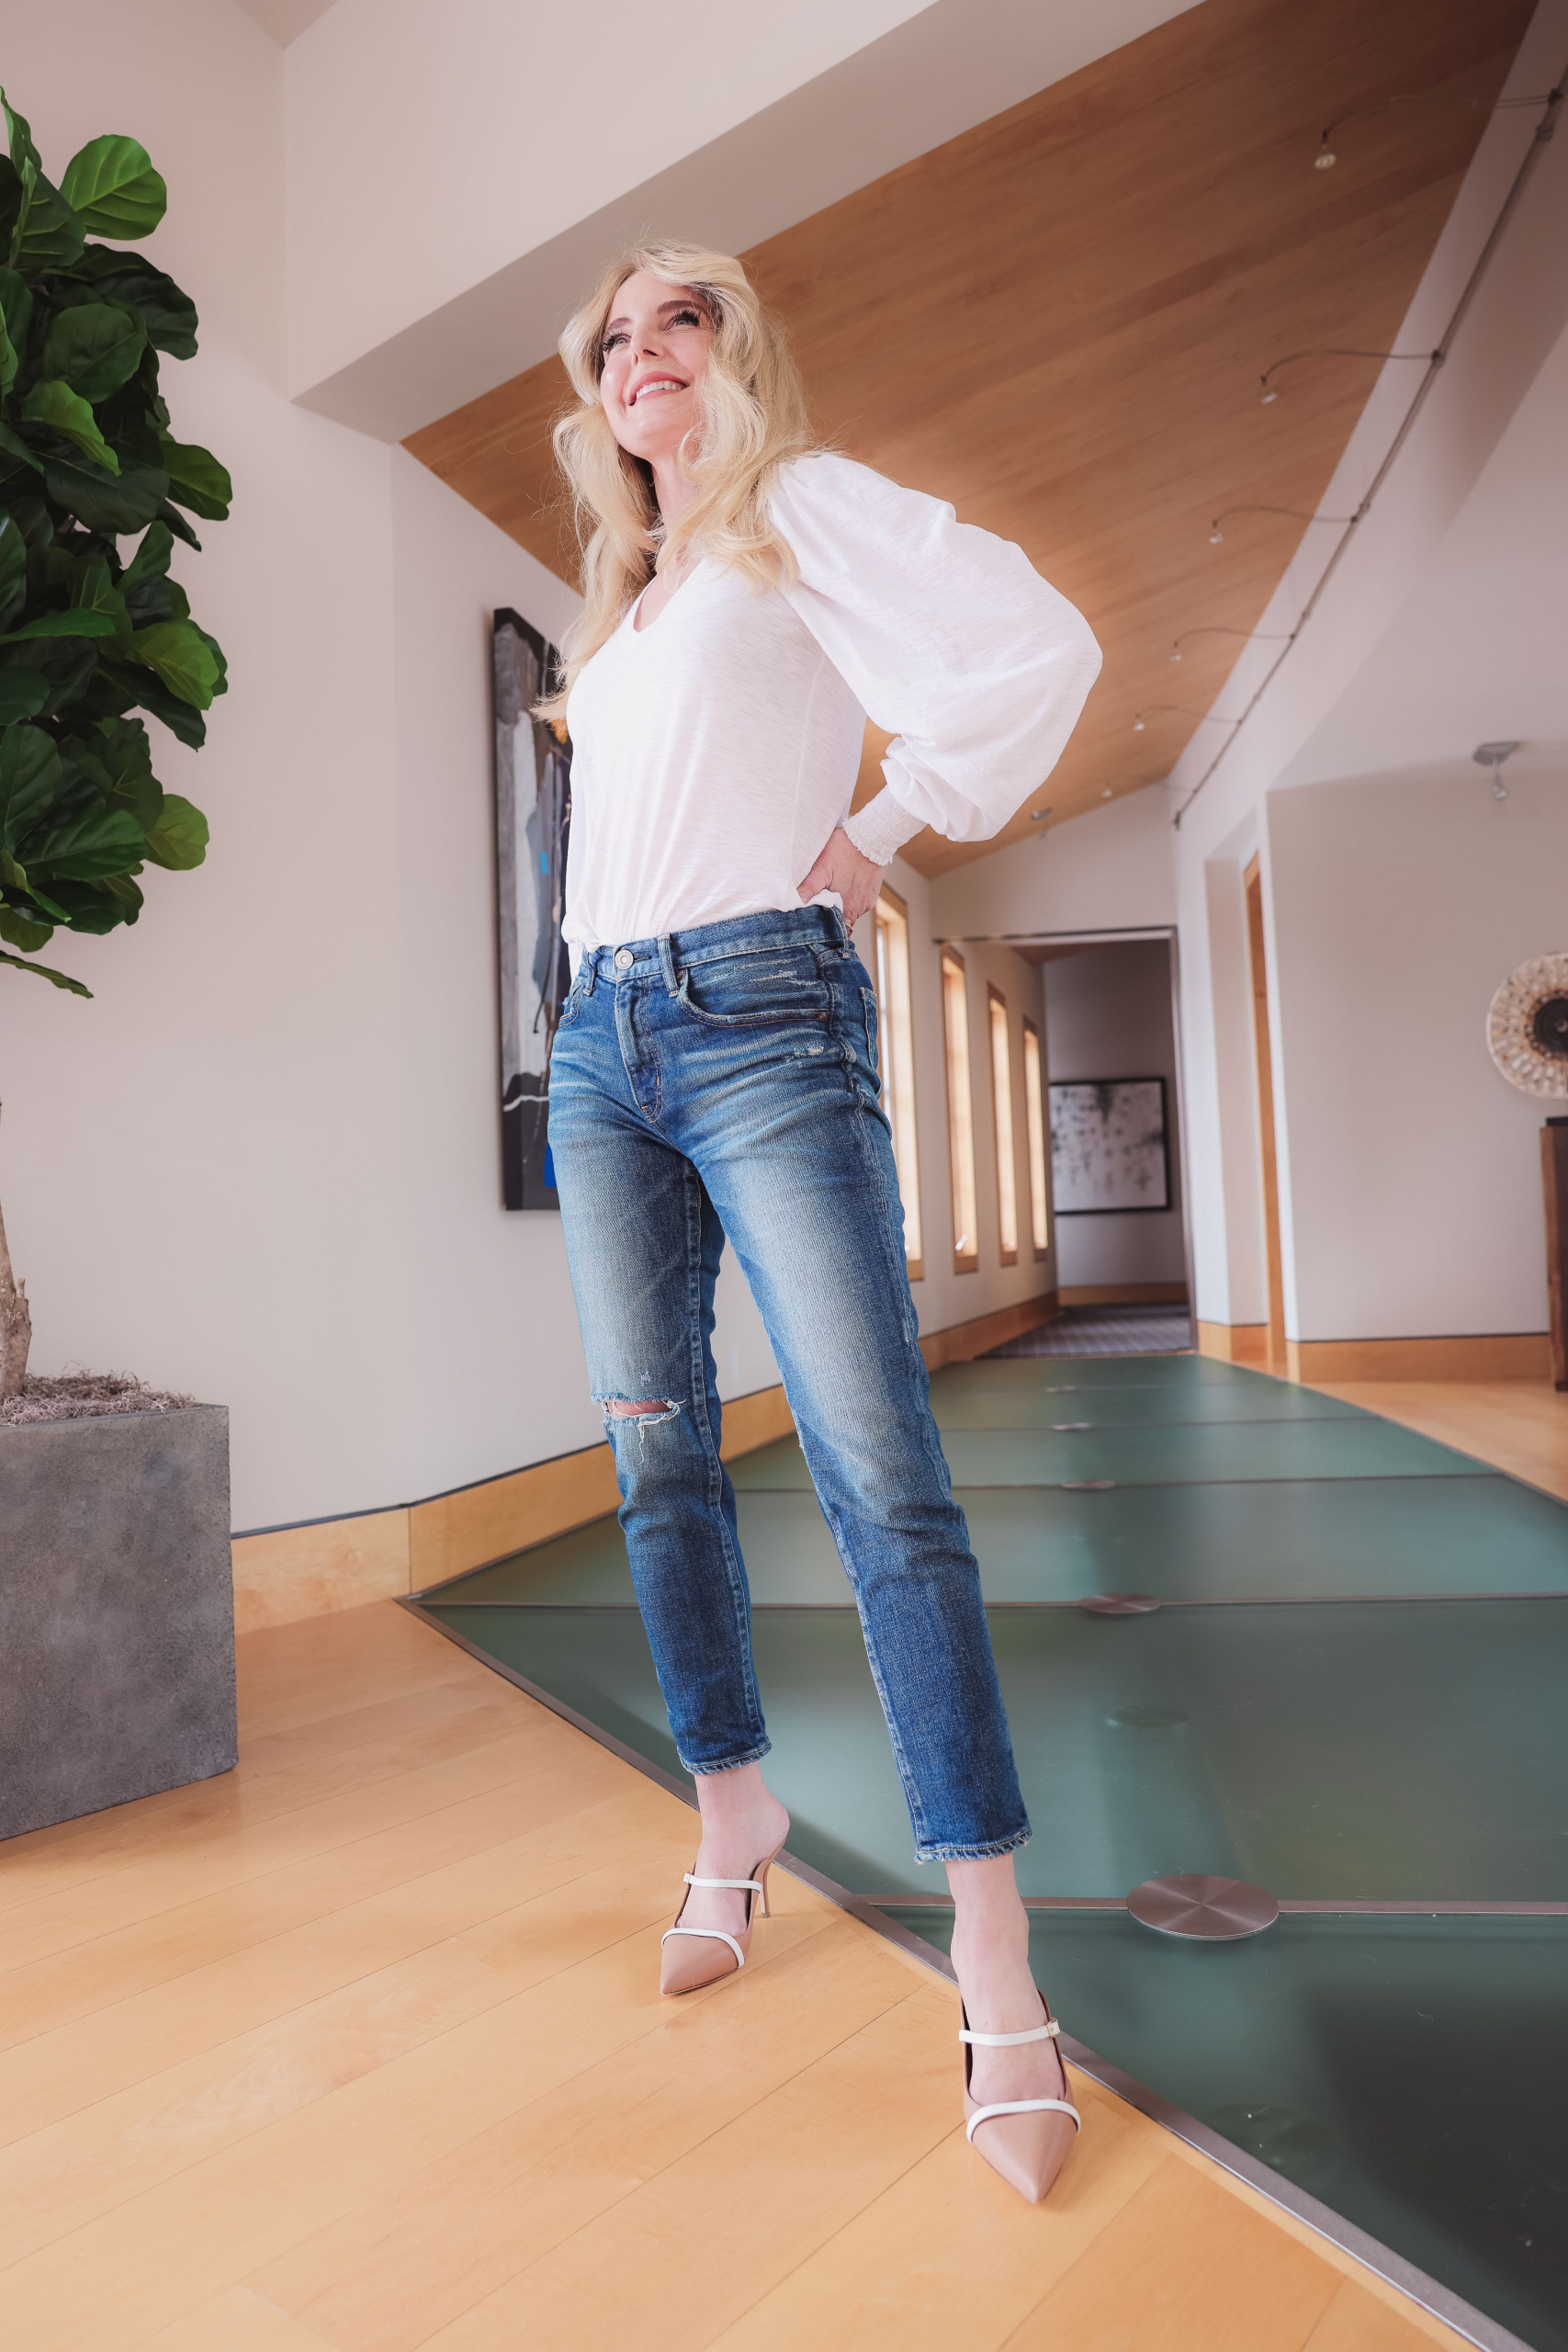
 [/flex_row]
Angles
Full Length Shots
For full-length pictures, configure the camera so it’s lower to the ground and angle it up. This angle will instantly elongate you. Of course, angles aren’t without their trade-offs, and shooting up can create an unwanted double chin. You can look away from the camera or look down at the ground as a workaround if you are concerned about the double chin.
Close-Ups
For video and waist-up pictures, you’ll want to angle the camera down. I like to adjust my tripod so the camera is just above my eye line for video because it’s the most flattering. For pictures, I suggest doing the same and angling the camera down. This will create a stronger jawline and an overall more flattering picture. However, if you want a full-length picture, angling down could make your body look stumpier and shorter.
[flex_row]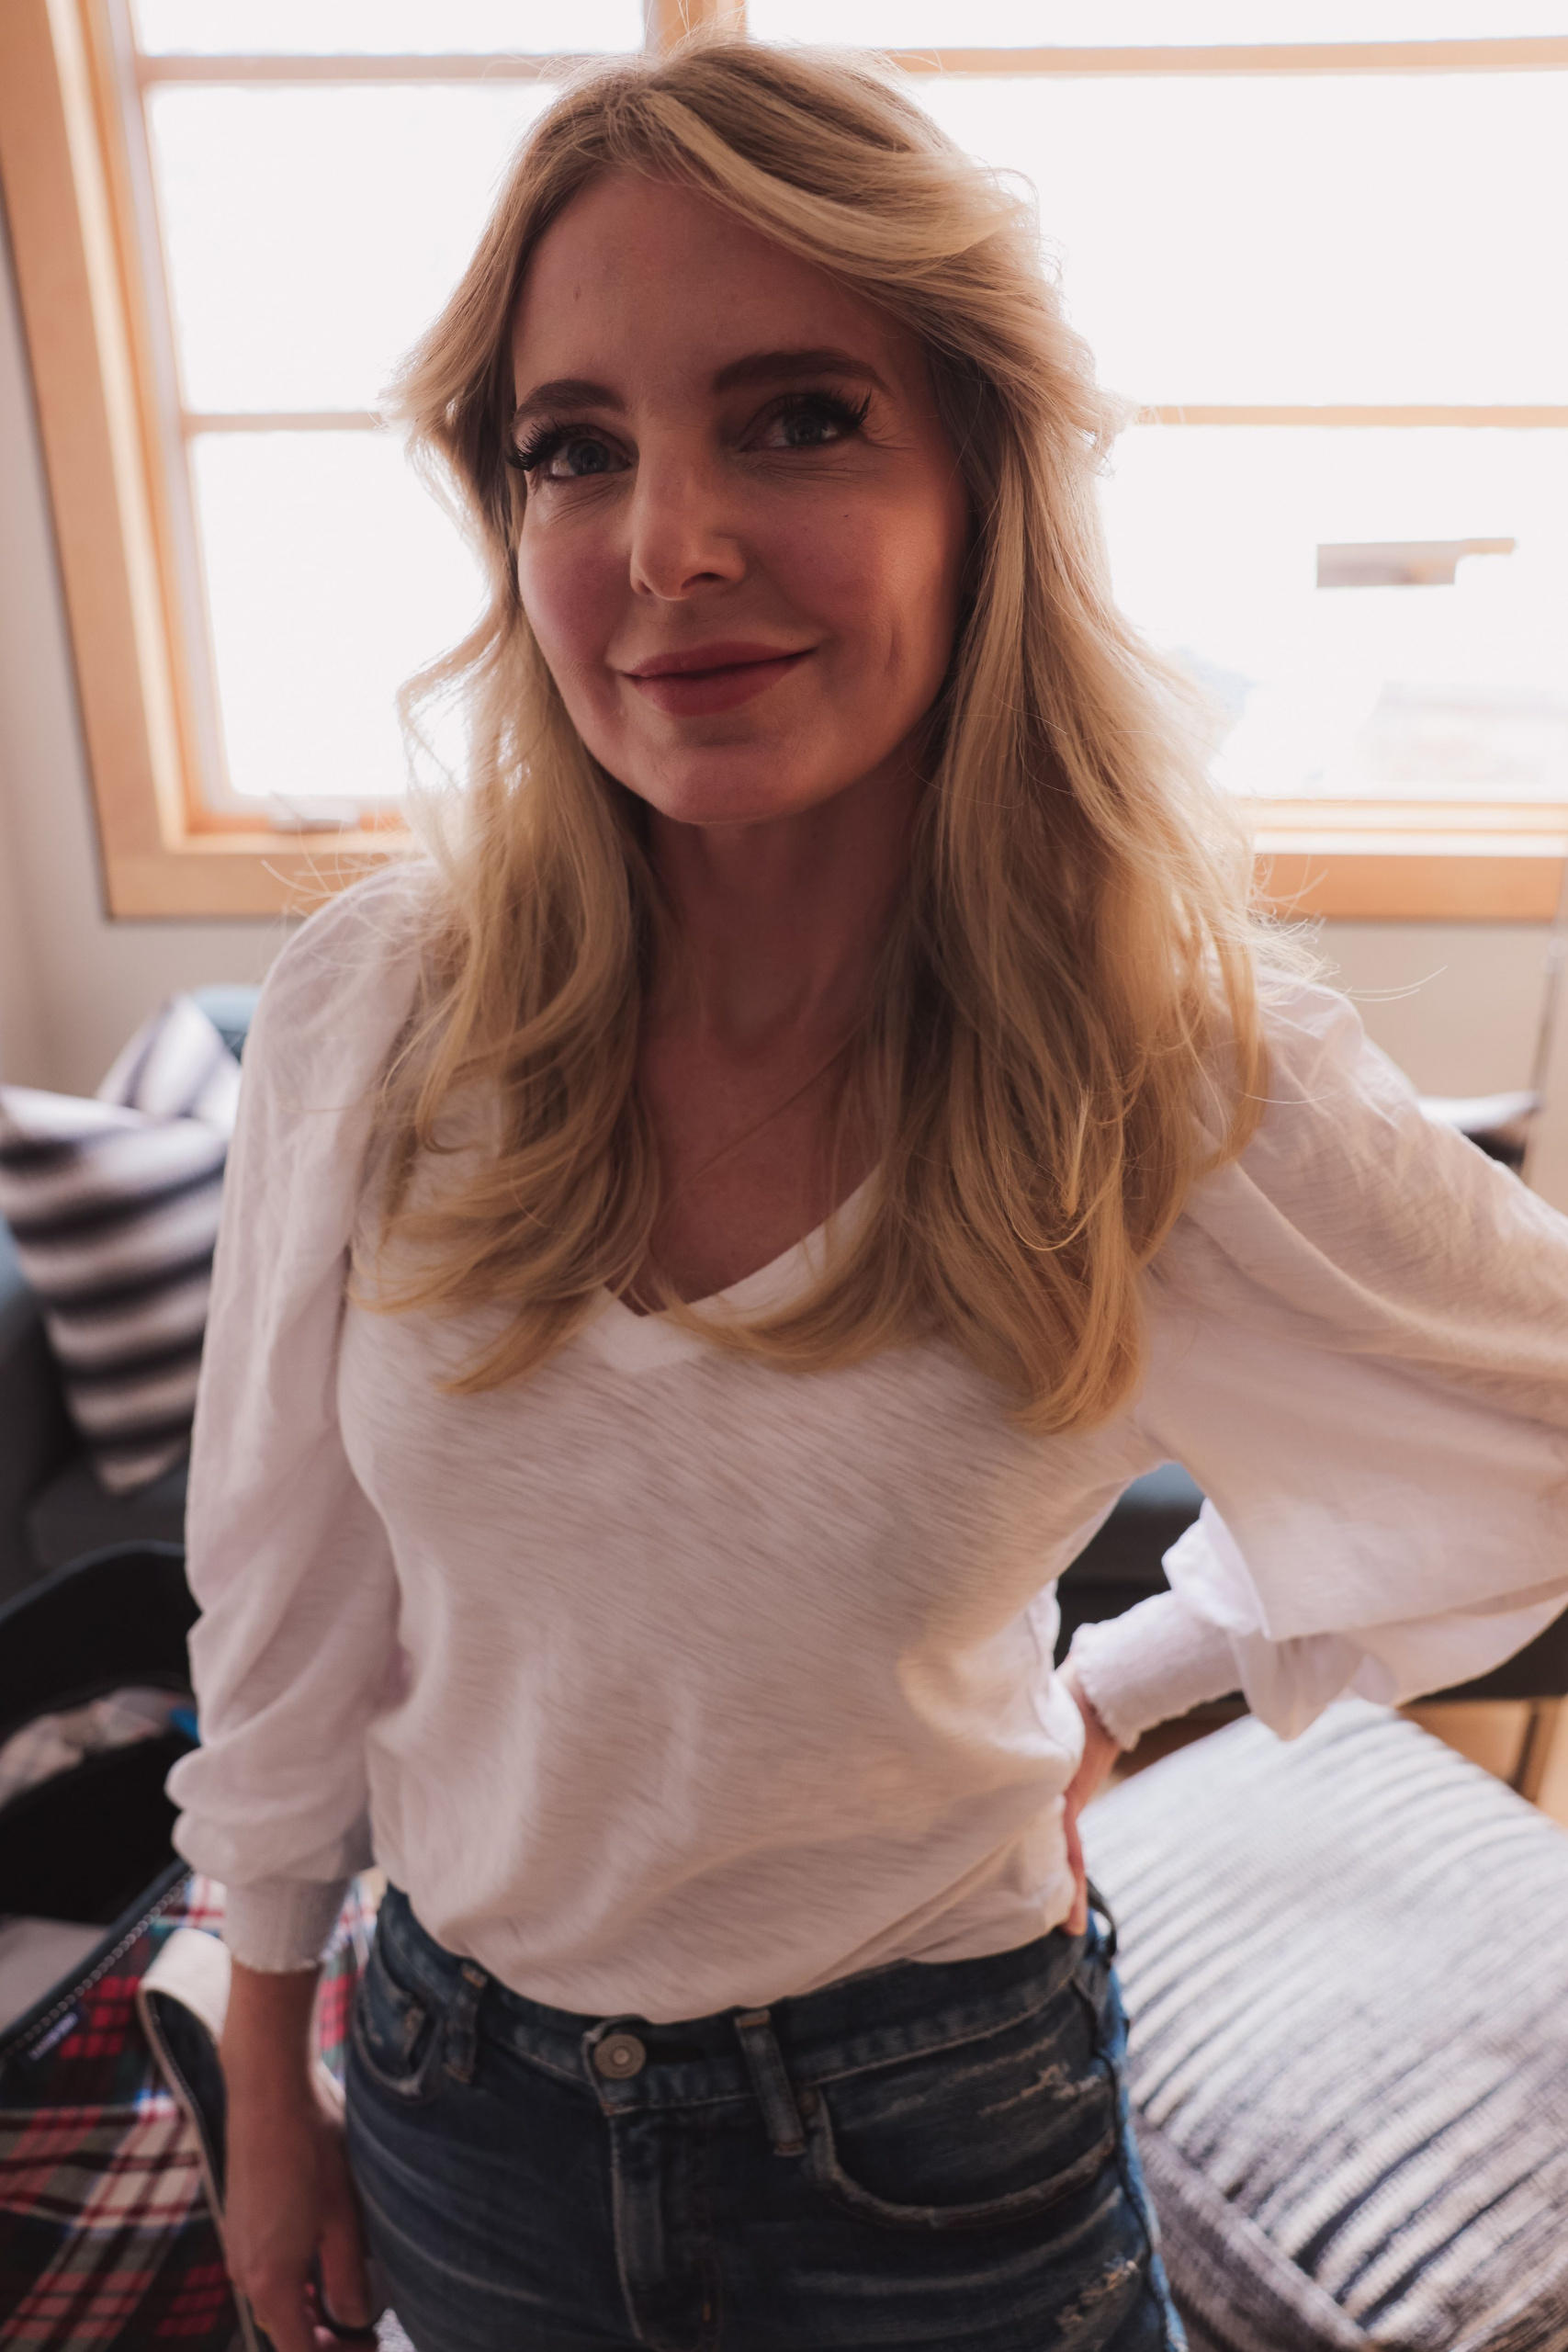
 [/flex_row]
Lighting
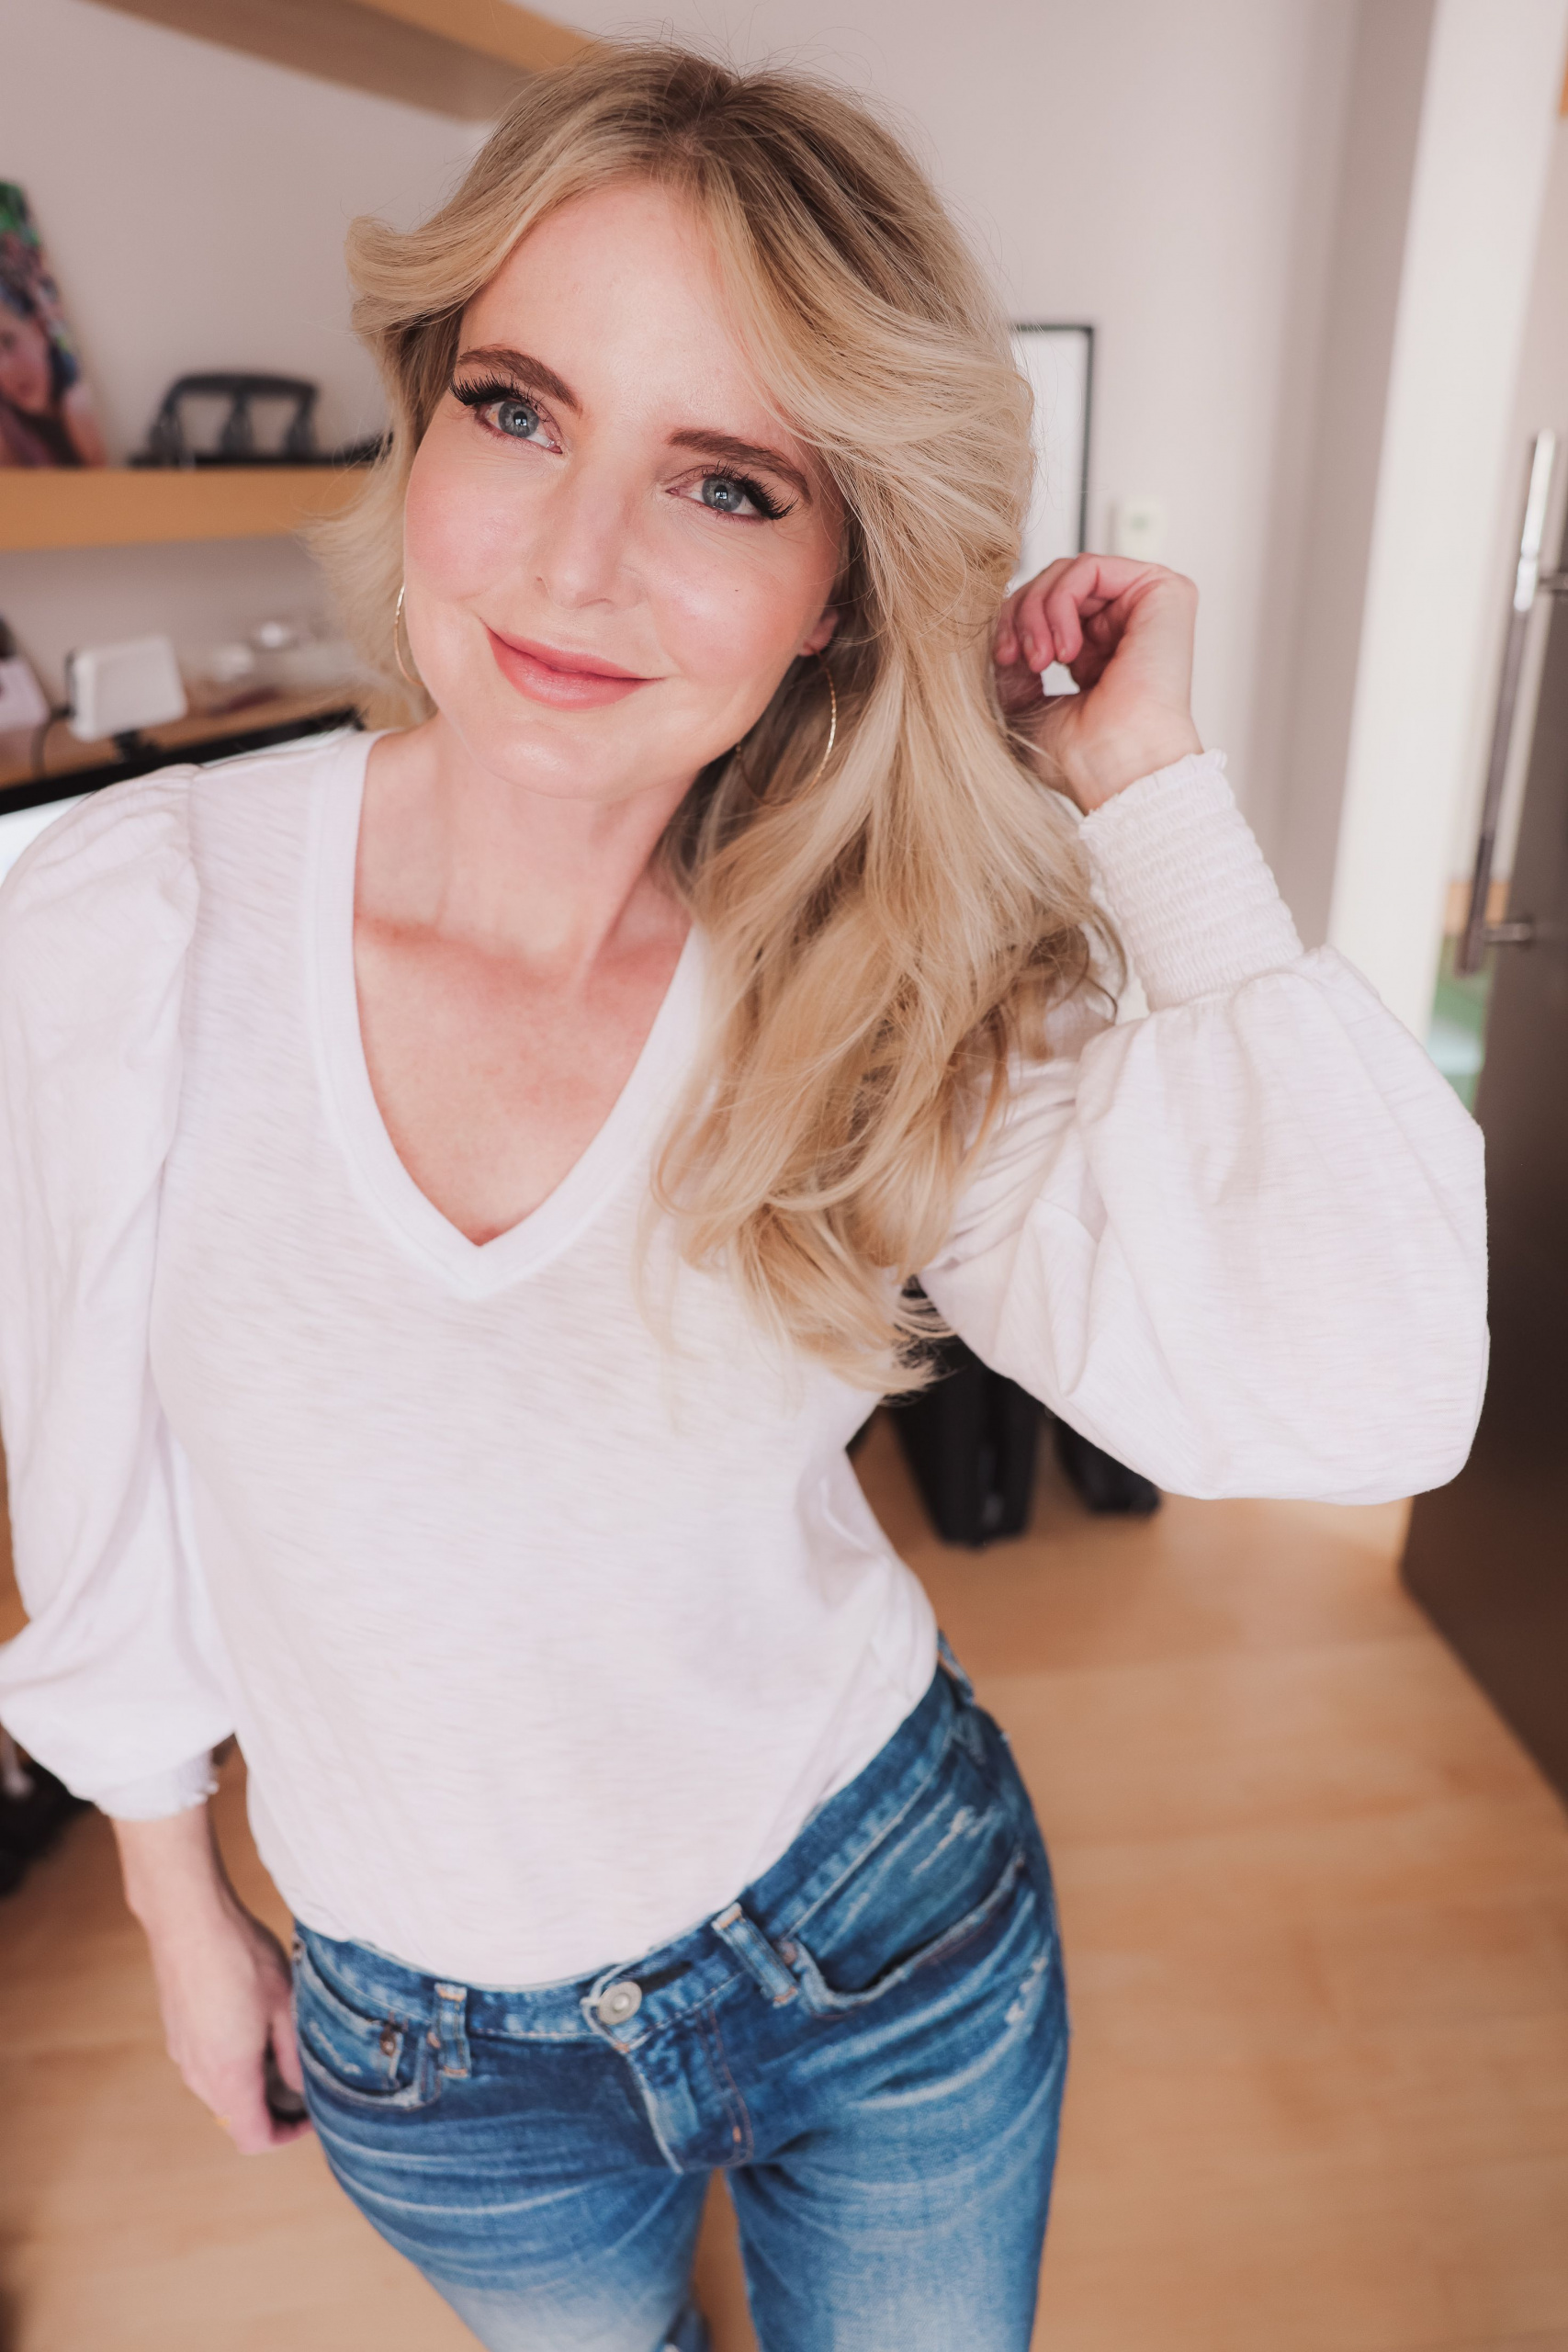
IF you are taking photos outside, the best times to take them is mornings or evenings (golden hour) because the sunlight is dimmer and more forgiving and flattering. For example, if I shoot bare legs mid-day, I know that my legs will look atrocious!! Sunset lighting is like an instant skin smoother! For selfies, play around with your space and find even light. The best rule of thumb for indoor selfies is to find a window and face it. This will provide the most natural, flattering light. The contrast between the two photos above is a perfect example of just how important good lighting is!
[flex_row]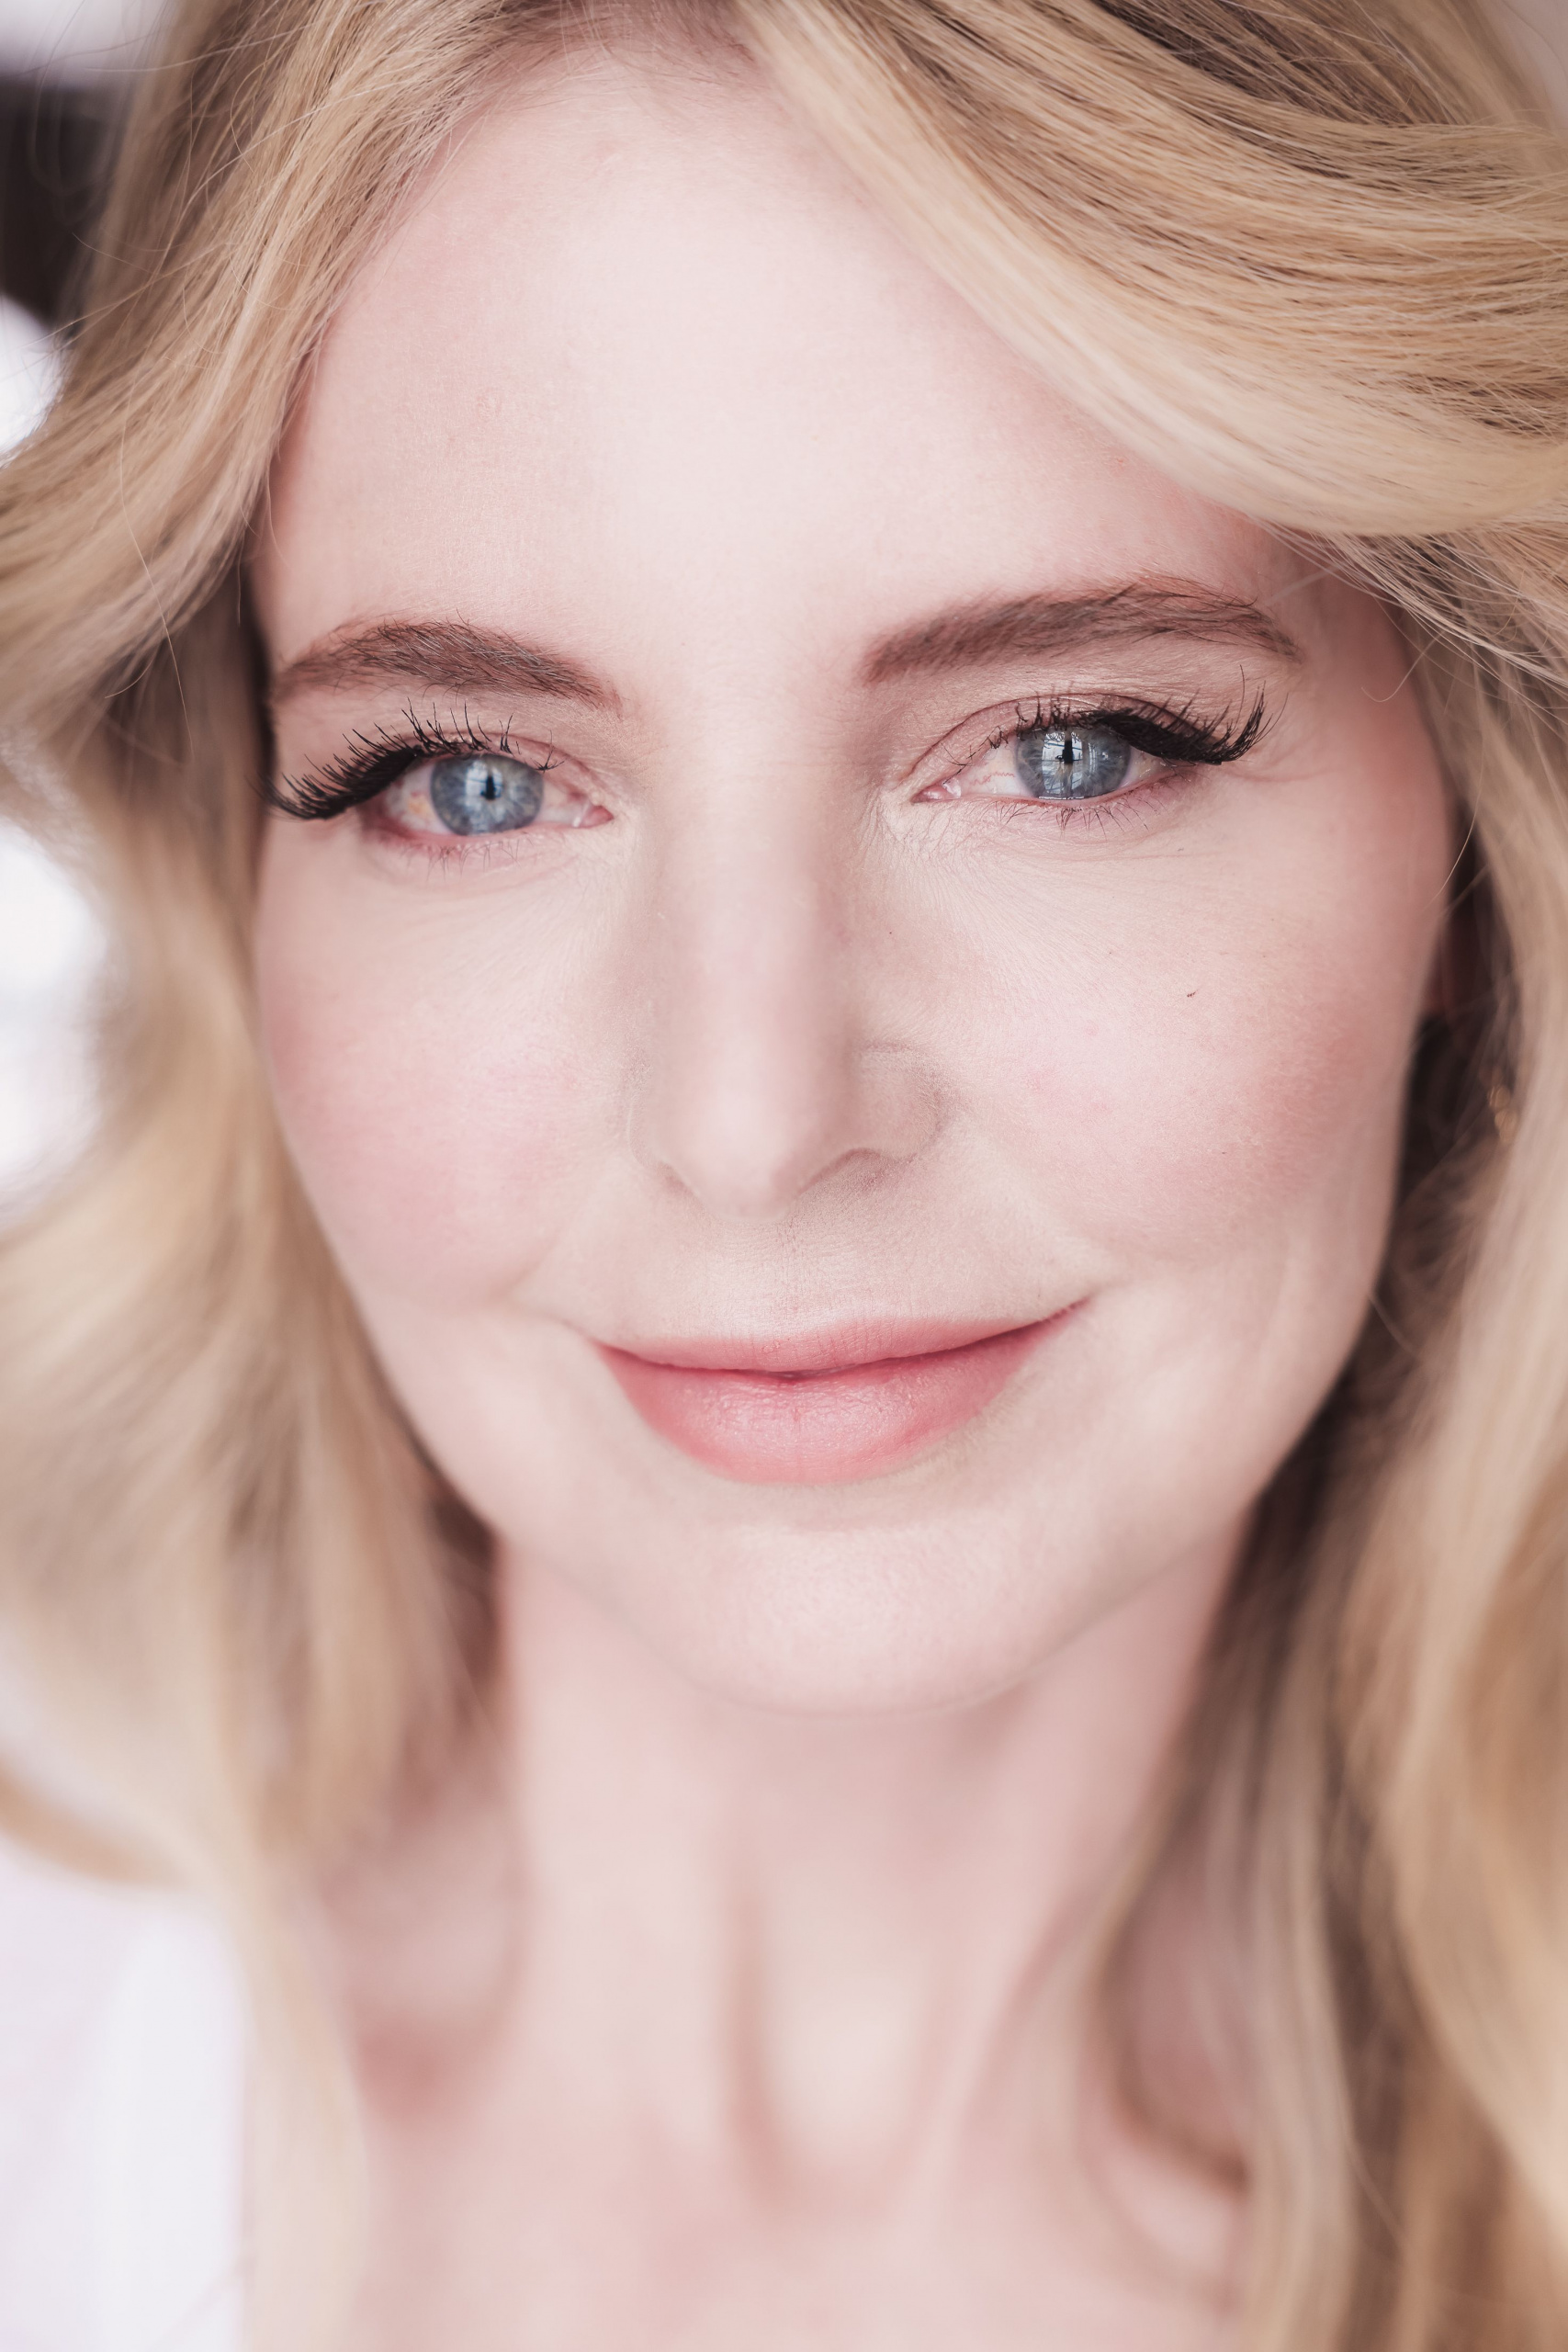
 [/flex_row]
About Face
Providing you have the right angle and even light, it’s important to know your face angles and your “good side”. Take selfies to see which angles suit you best. For me, I know I look best when I’m facing the camera straight on, or when I favor the left side of my face.
The Eyes Have It
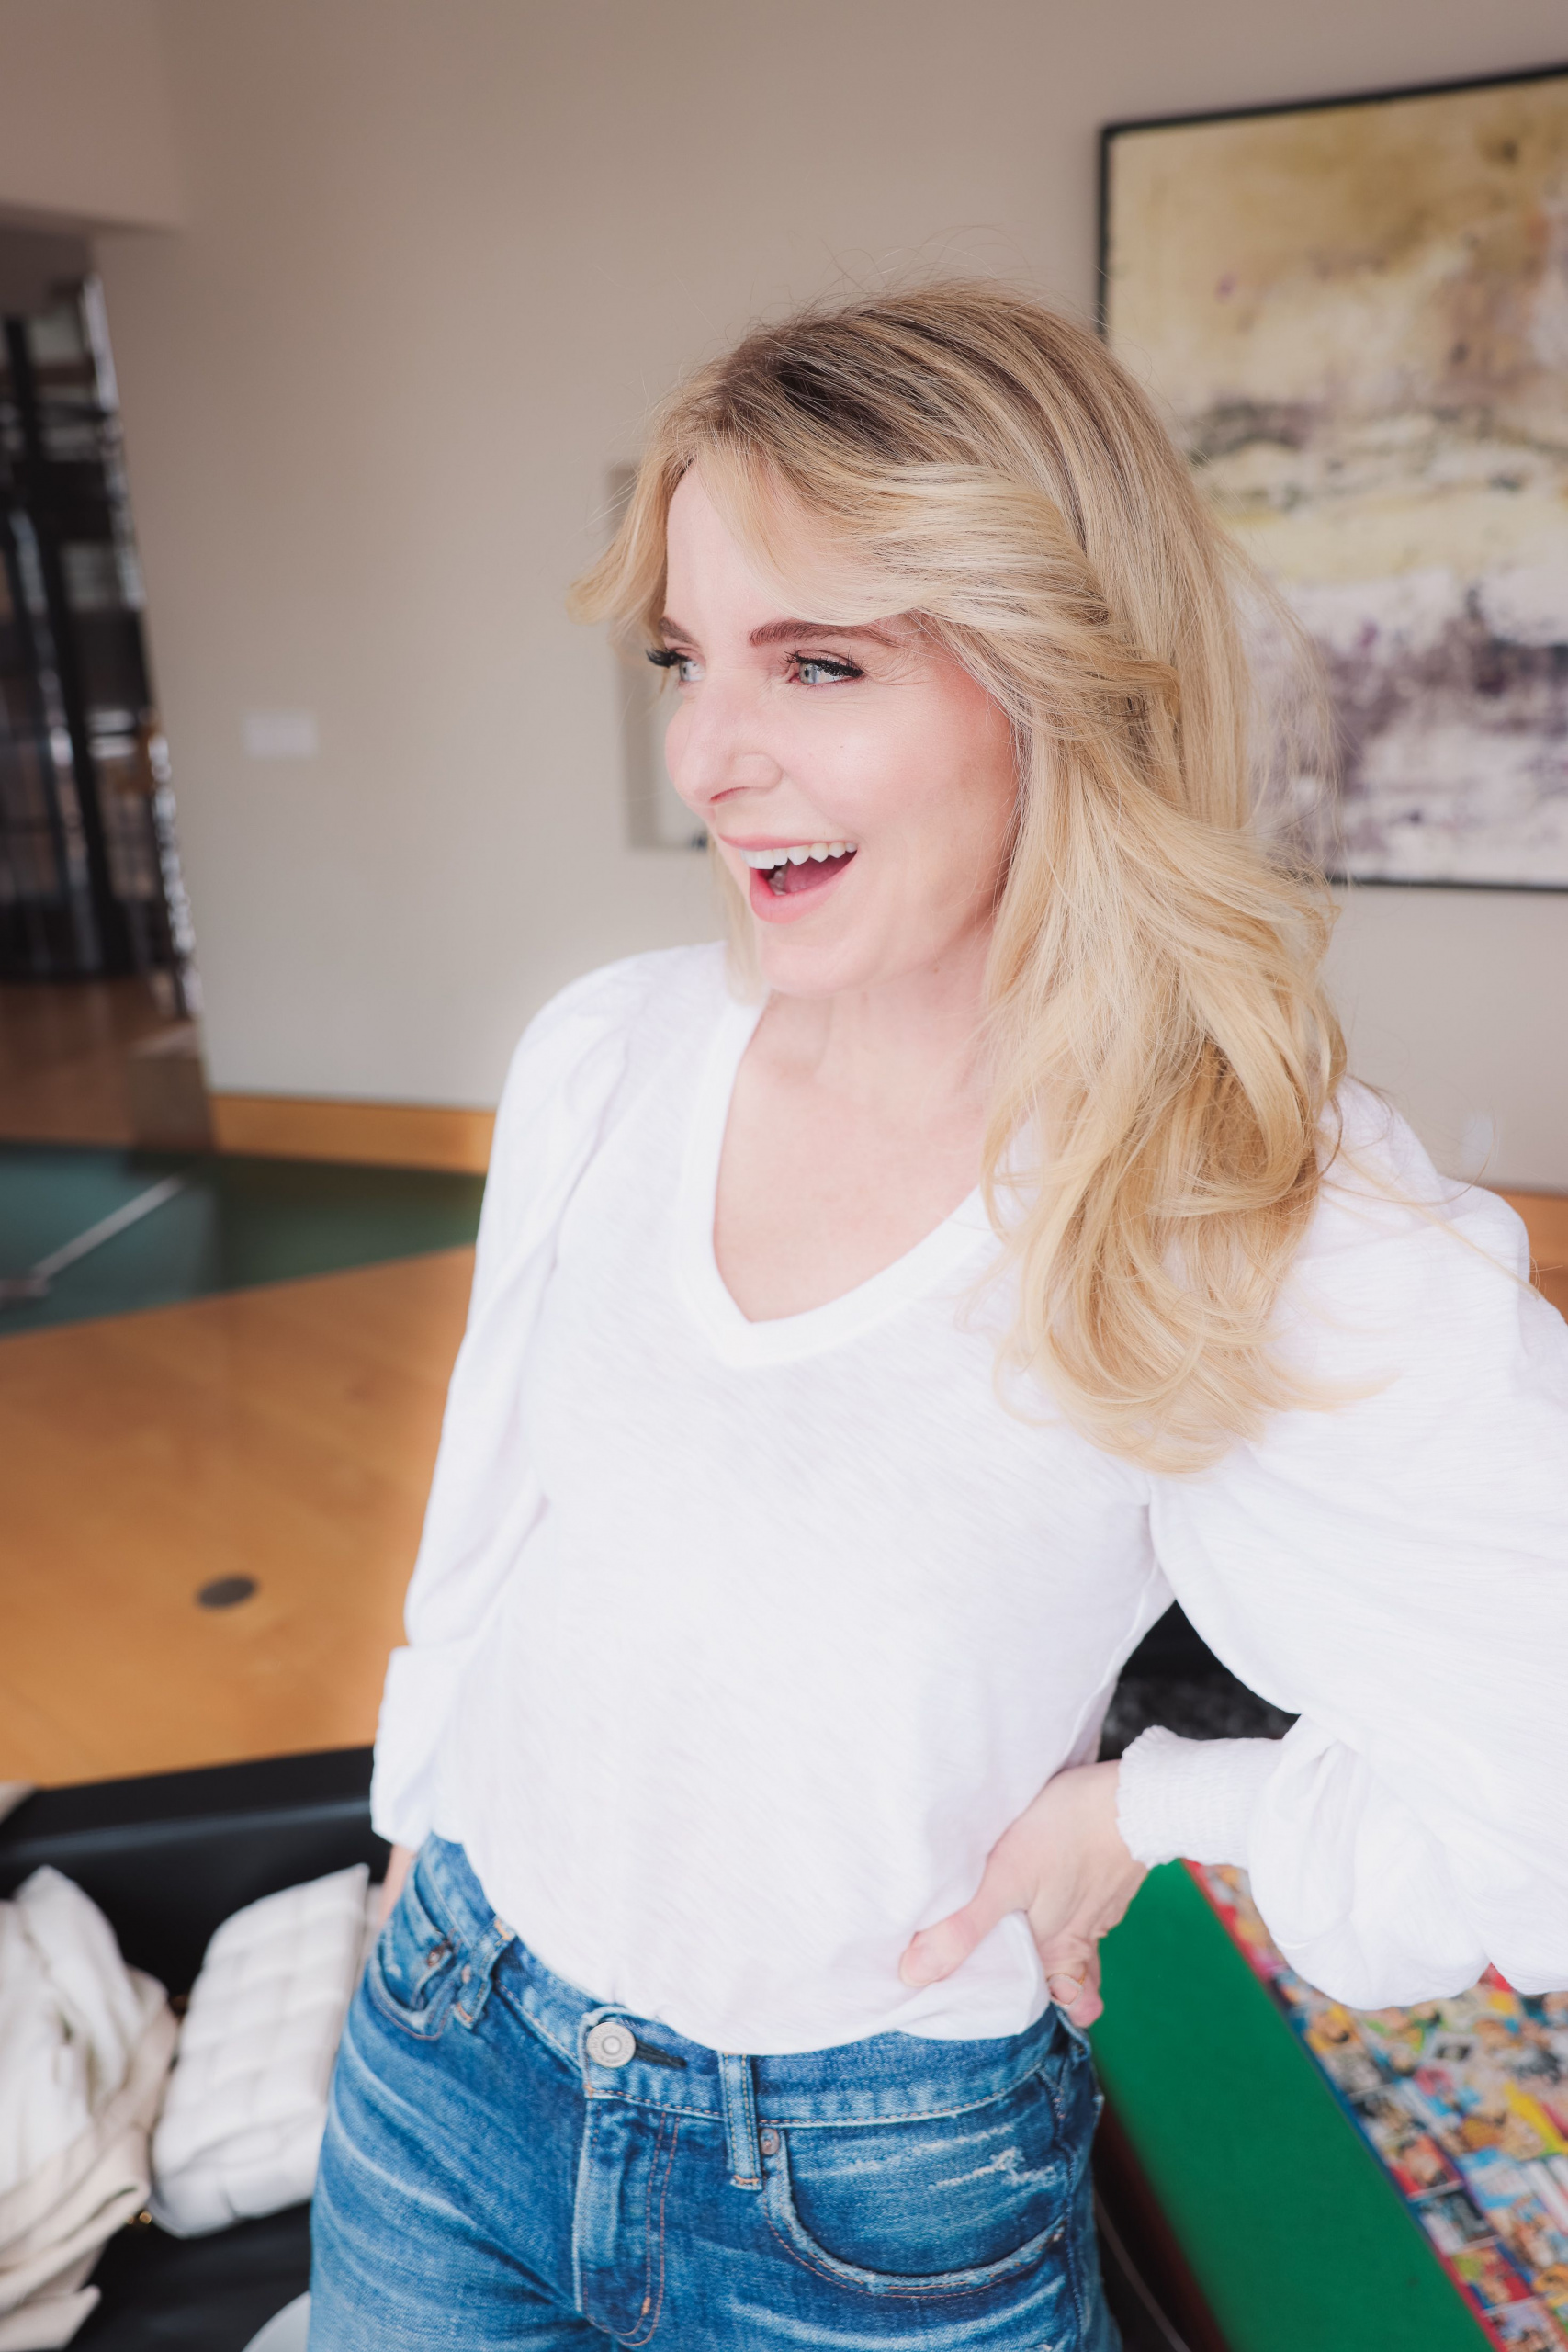
You never want to have “dead eyes,” where it looks like nothing is going on behind them. You’ll want to employ Tyra Banks’ famous “smize” method. Think about something that brings you joy, and you’ll naturally get that sparkle in your eyes. Be sure to keep your face and neck relaxed with a subtle smile or try a fake (or real!) laugh for a natural photo that is genuine and authentic—even if you feel weird taking it!
[flex_row]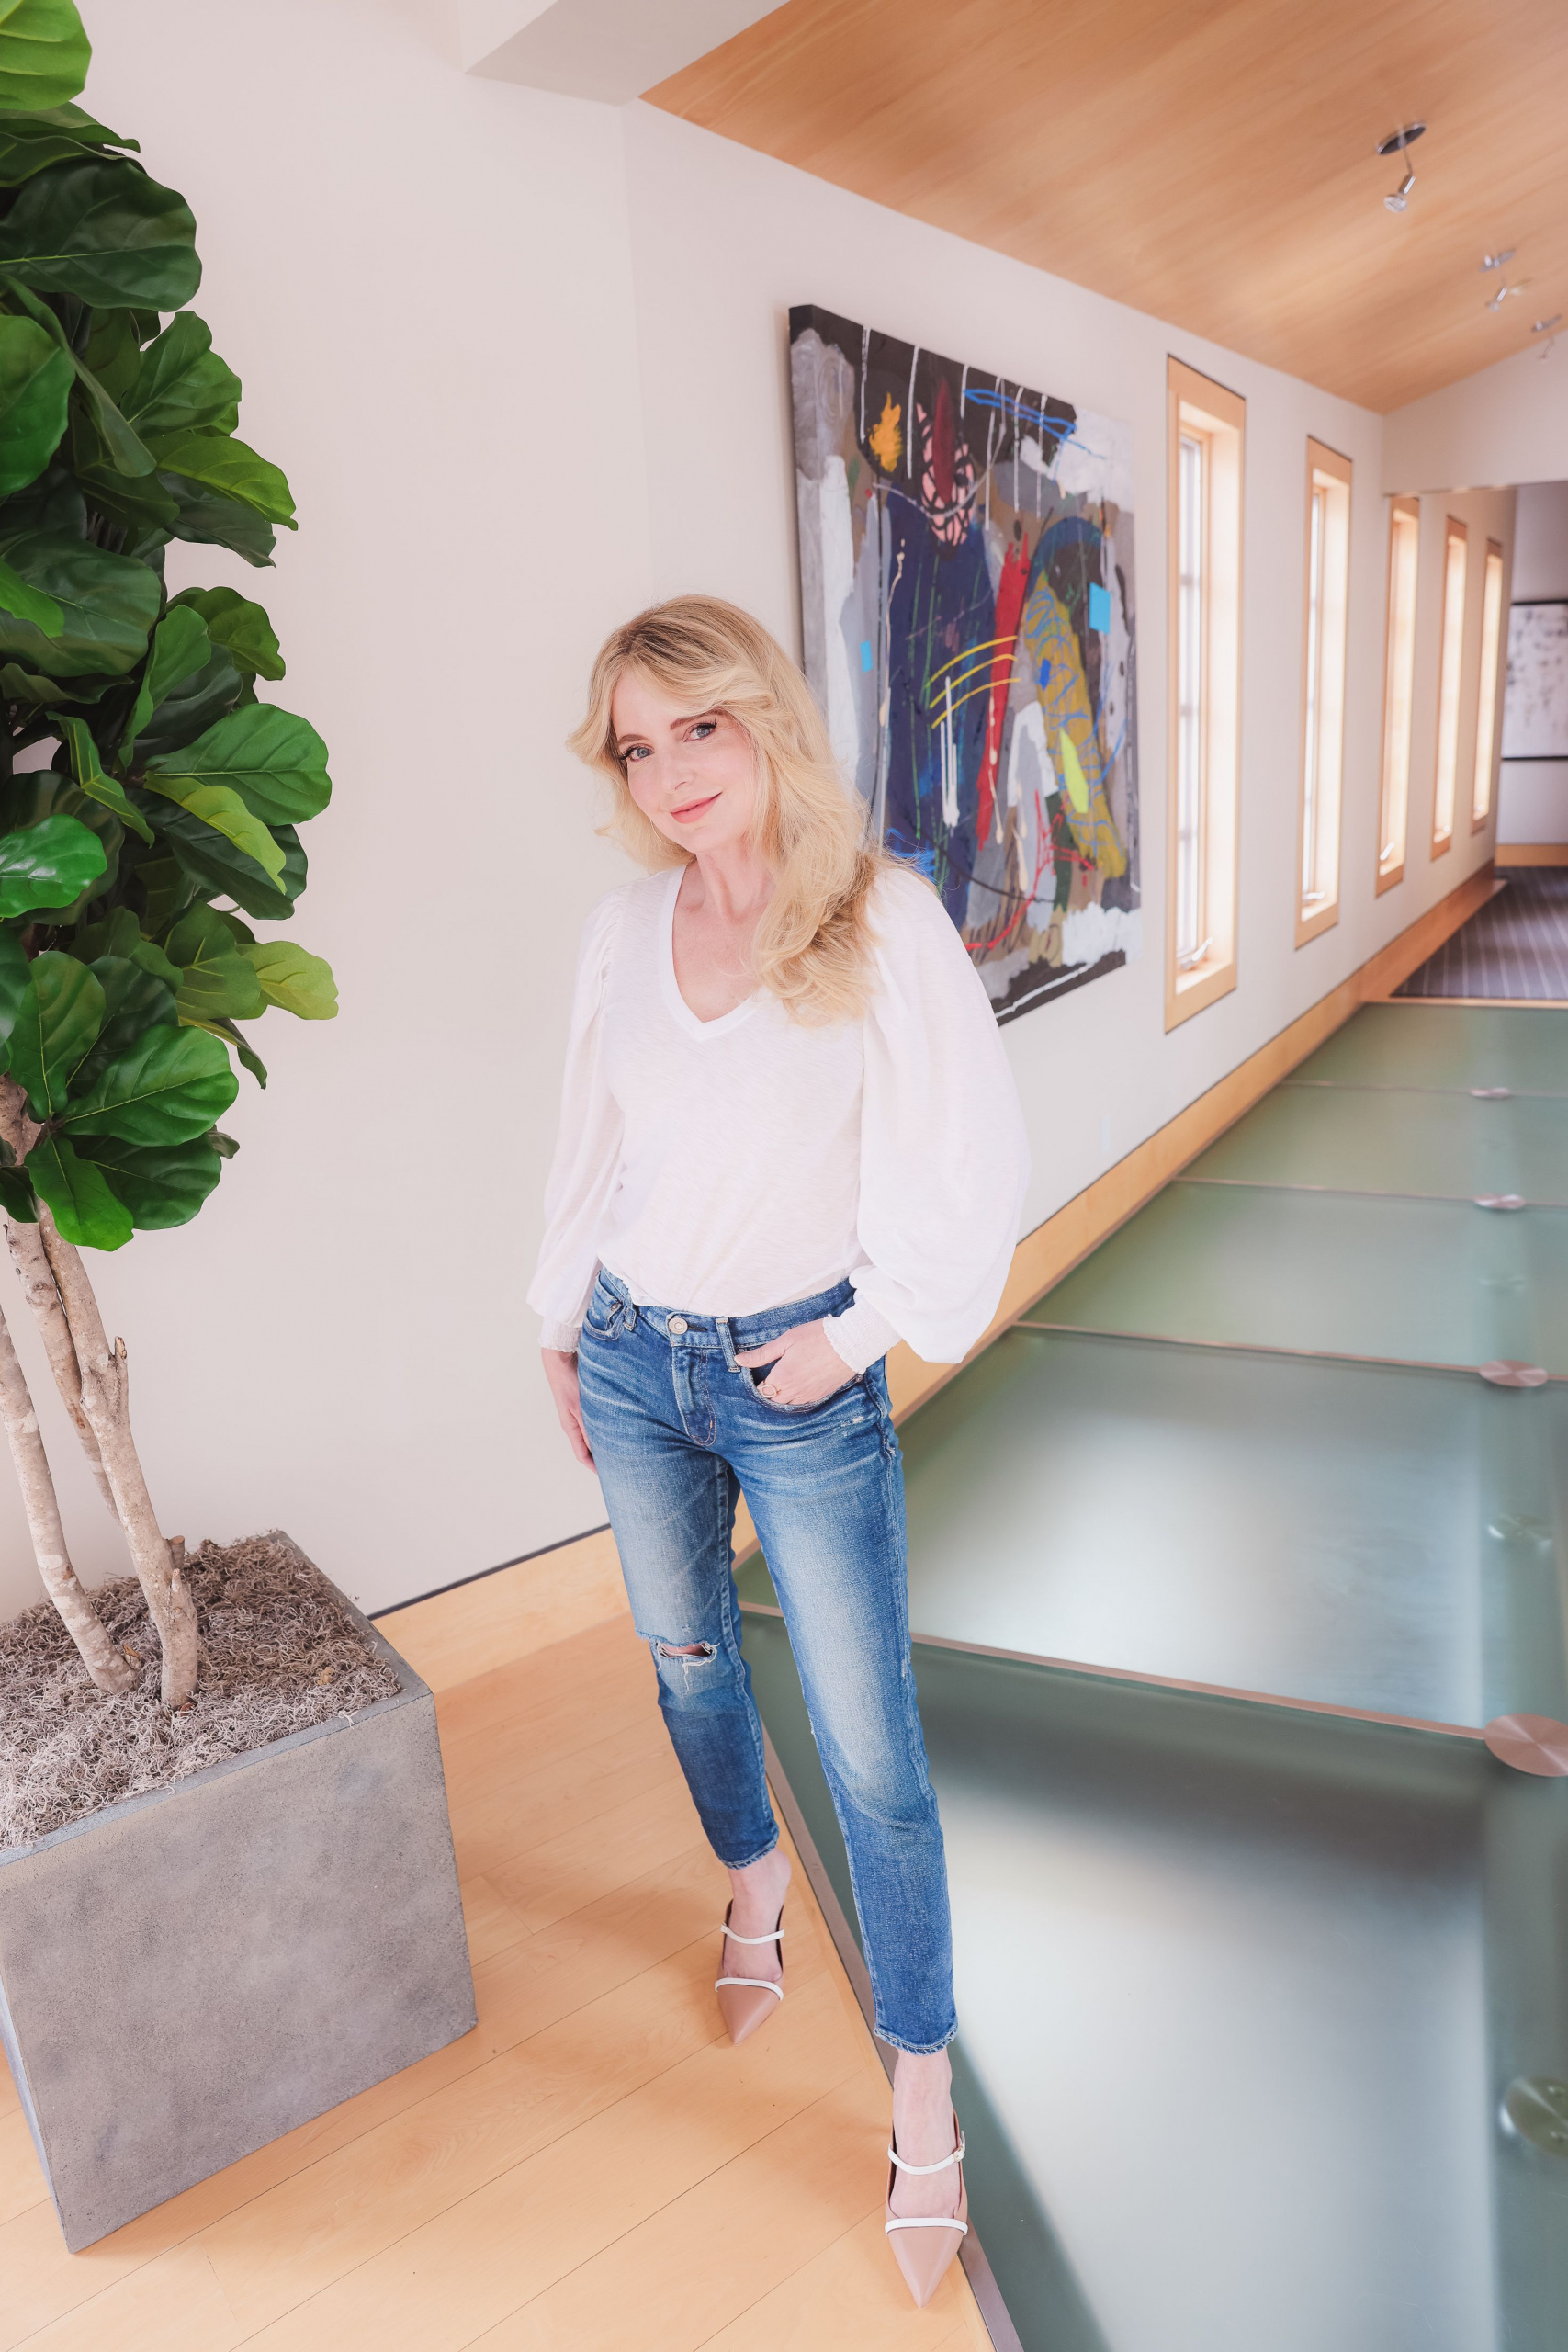
 [/flex_row]
Your Body At Its Best
Here’s how to nail your body pose every single time!
#1) Leg Separation & A Hip Pop
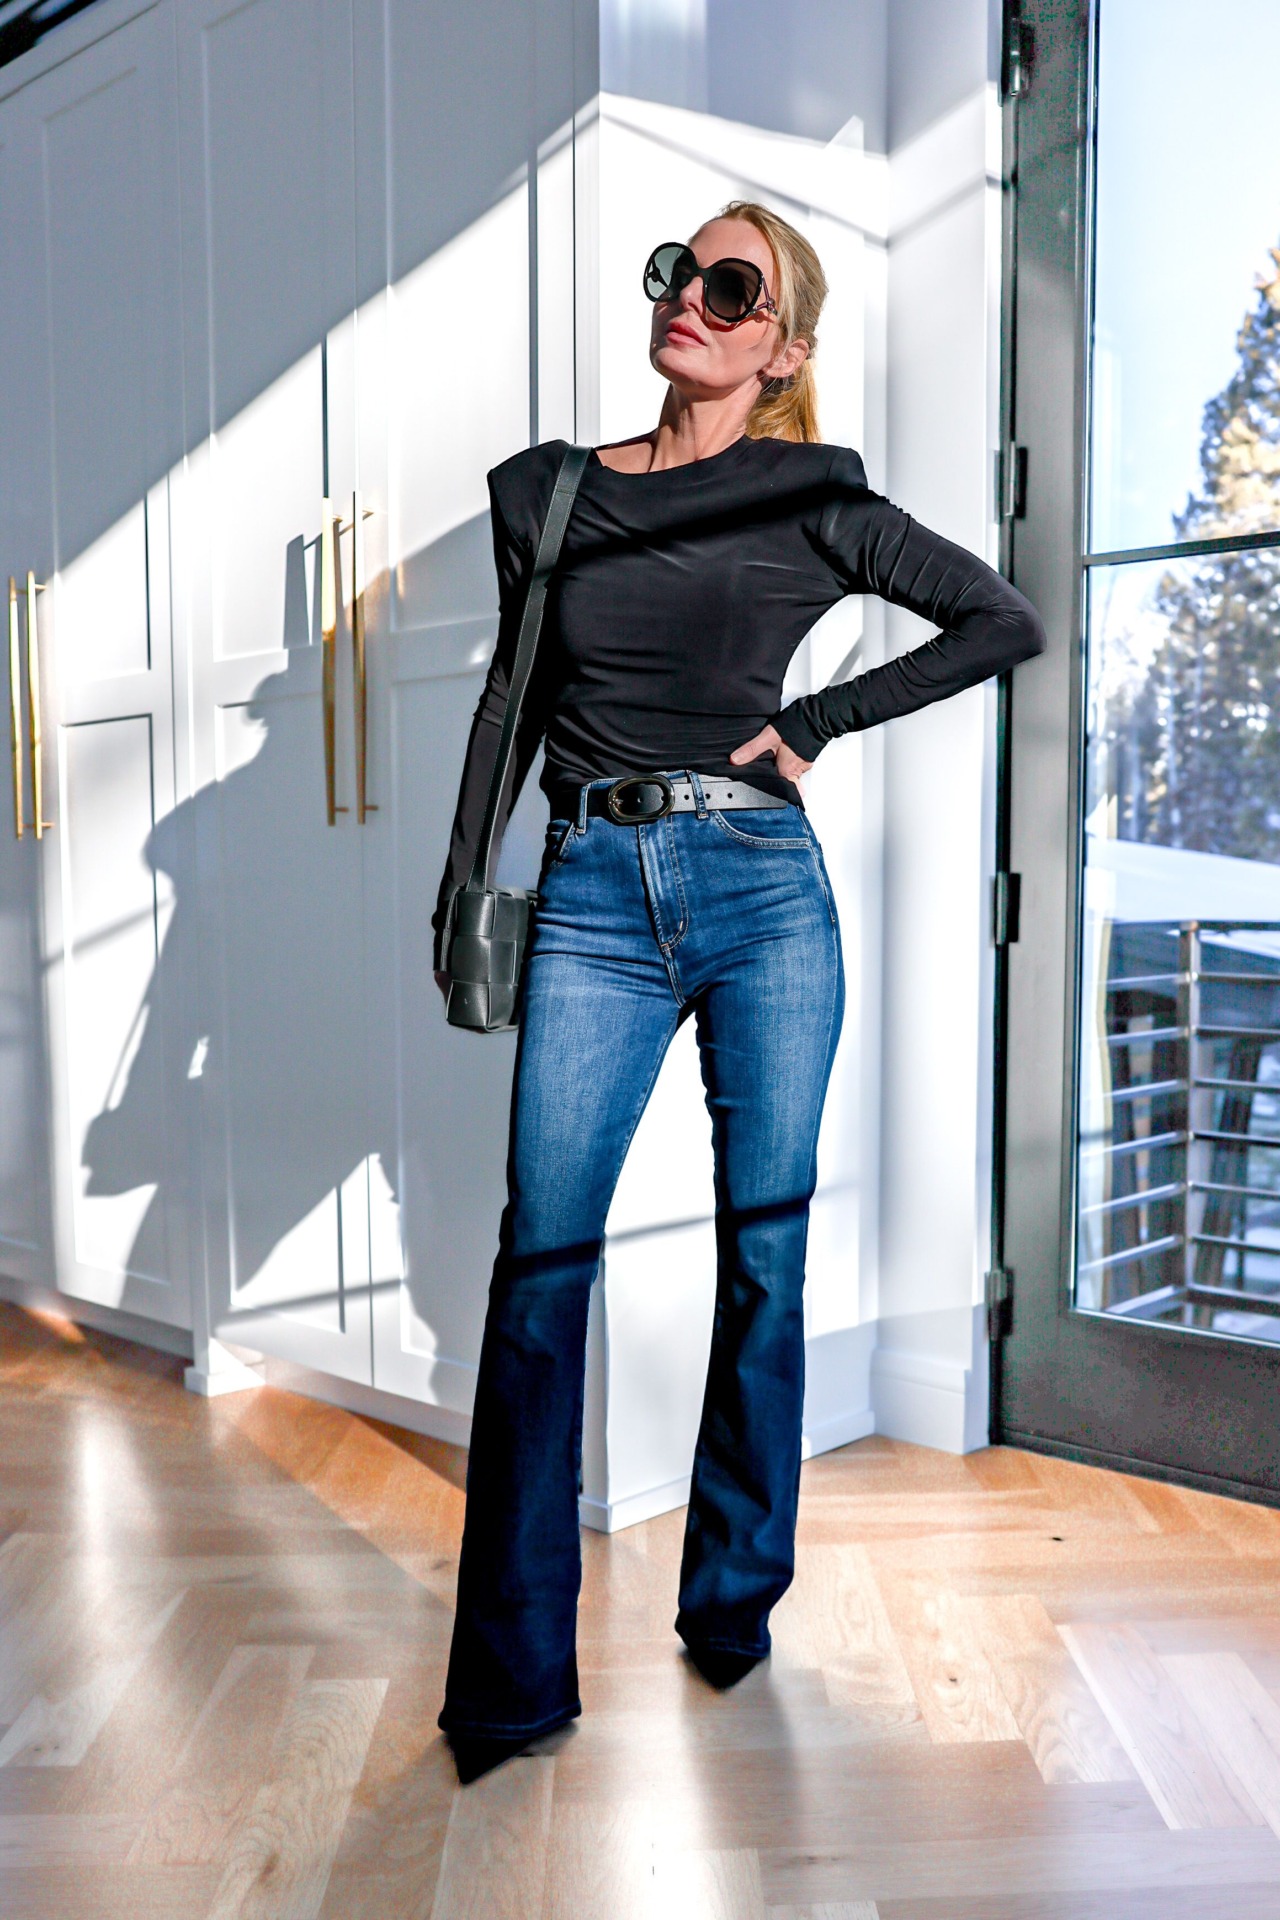
Instead of standing straight on facing the camera, just put one leg in front of the other (make sure it’s a little cheated out!) with some separation in the middle and angle your body to one side. Slightly angle your hips to the side too. I use this pose for mirror selfies, blog photos … you’ll see it time and time again because it REALLY works and makes you look longer and leaner.
#2) Crossed Legs
This is a good posing option, but there’s a strategy behind crossing your legs the right way for a picture. Place one foot in the front of the other by about two feet’s length. Then, pop your hip to one side.
#3) Glance Back
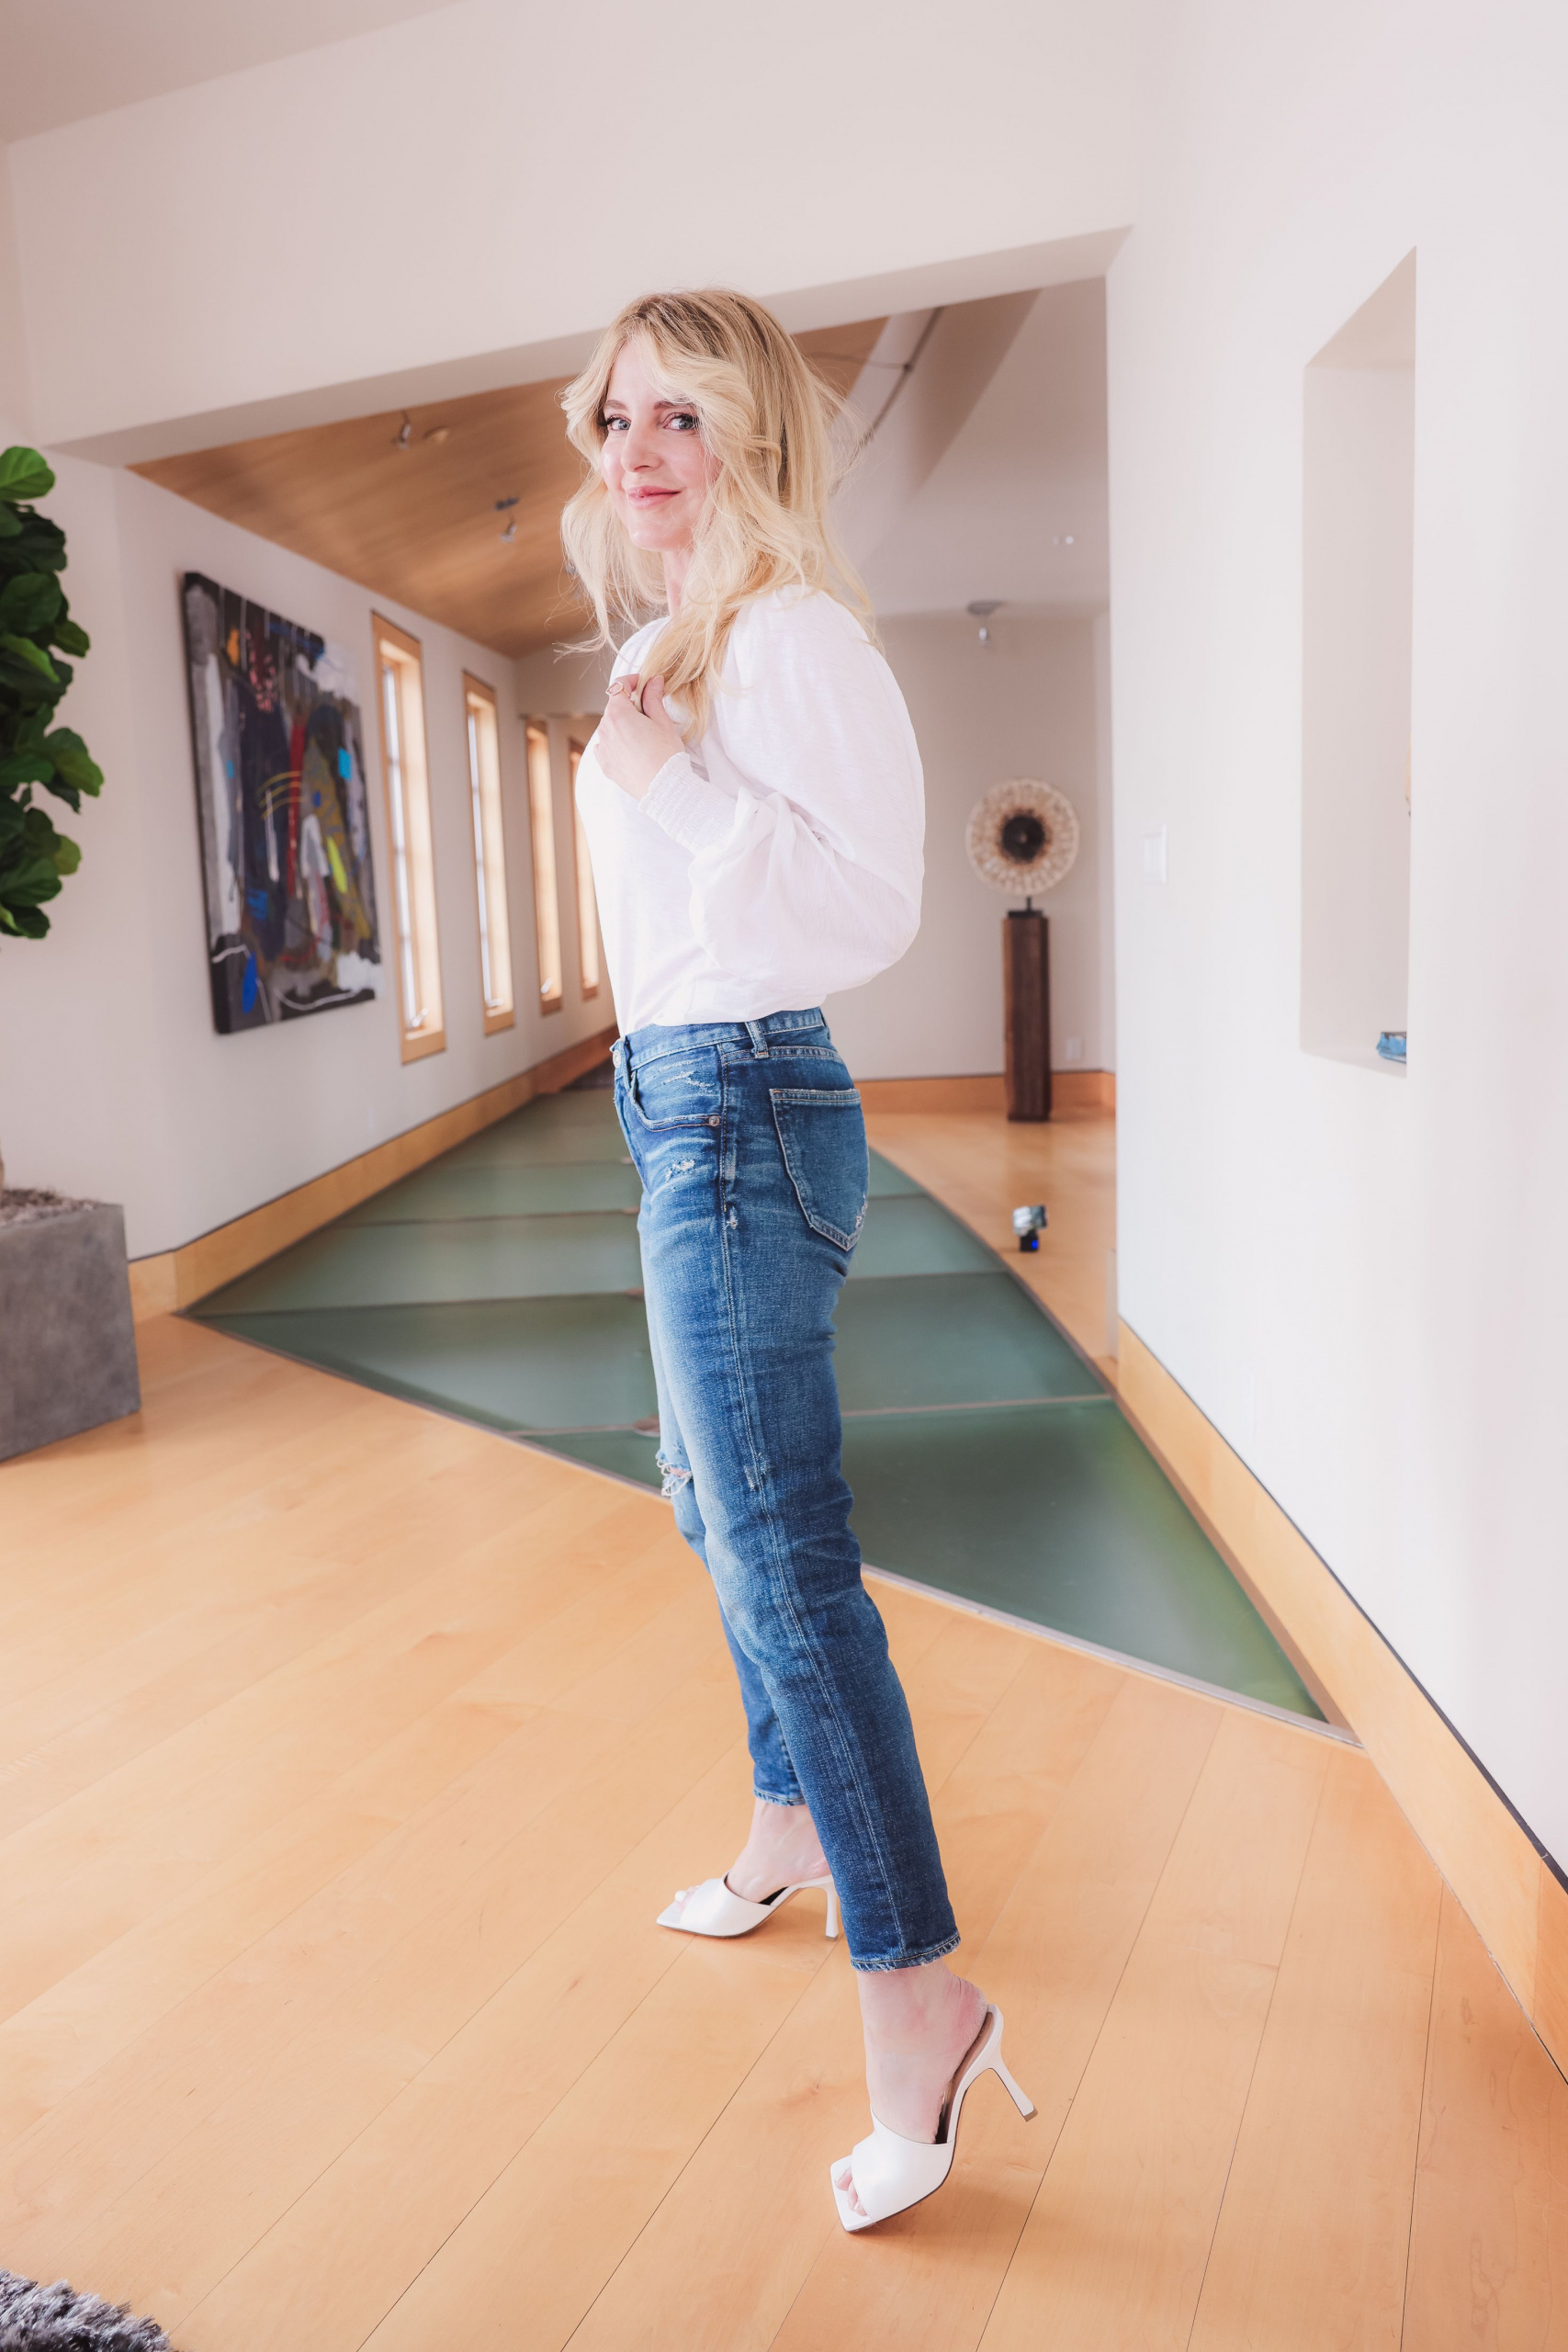
It’s exactly what it sounds like! Face away from the camera and glance back to create a sort of flirty, “I know something you don’t know,” playful pose. Or glance back with a little hair toss. Take one step, glance back, that’s it!
[flex_row]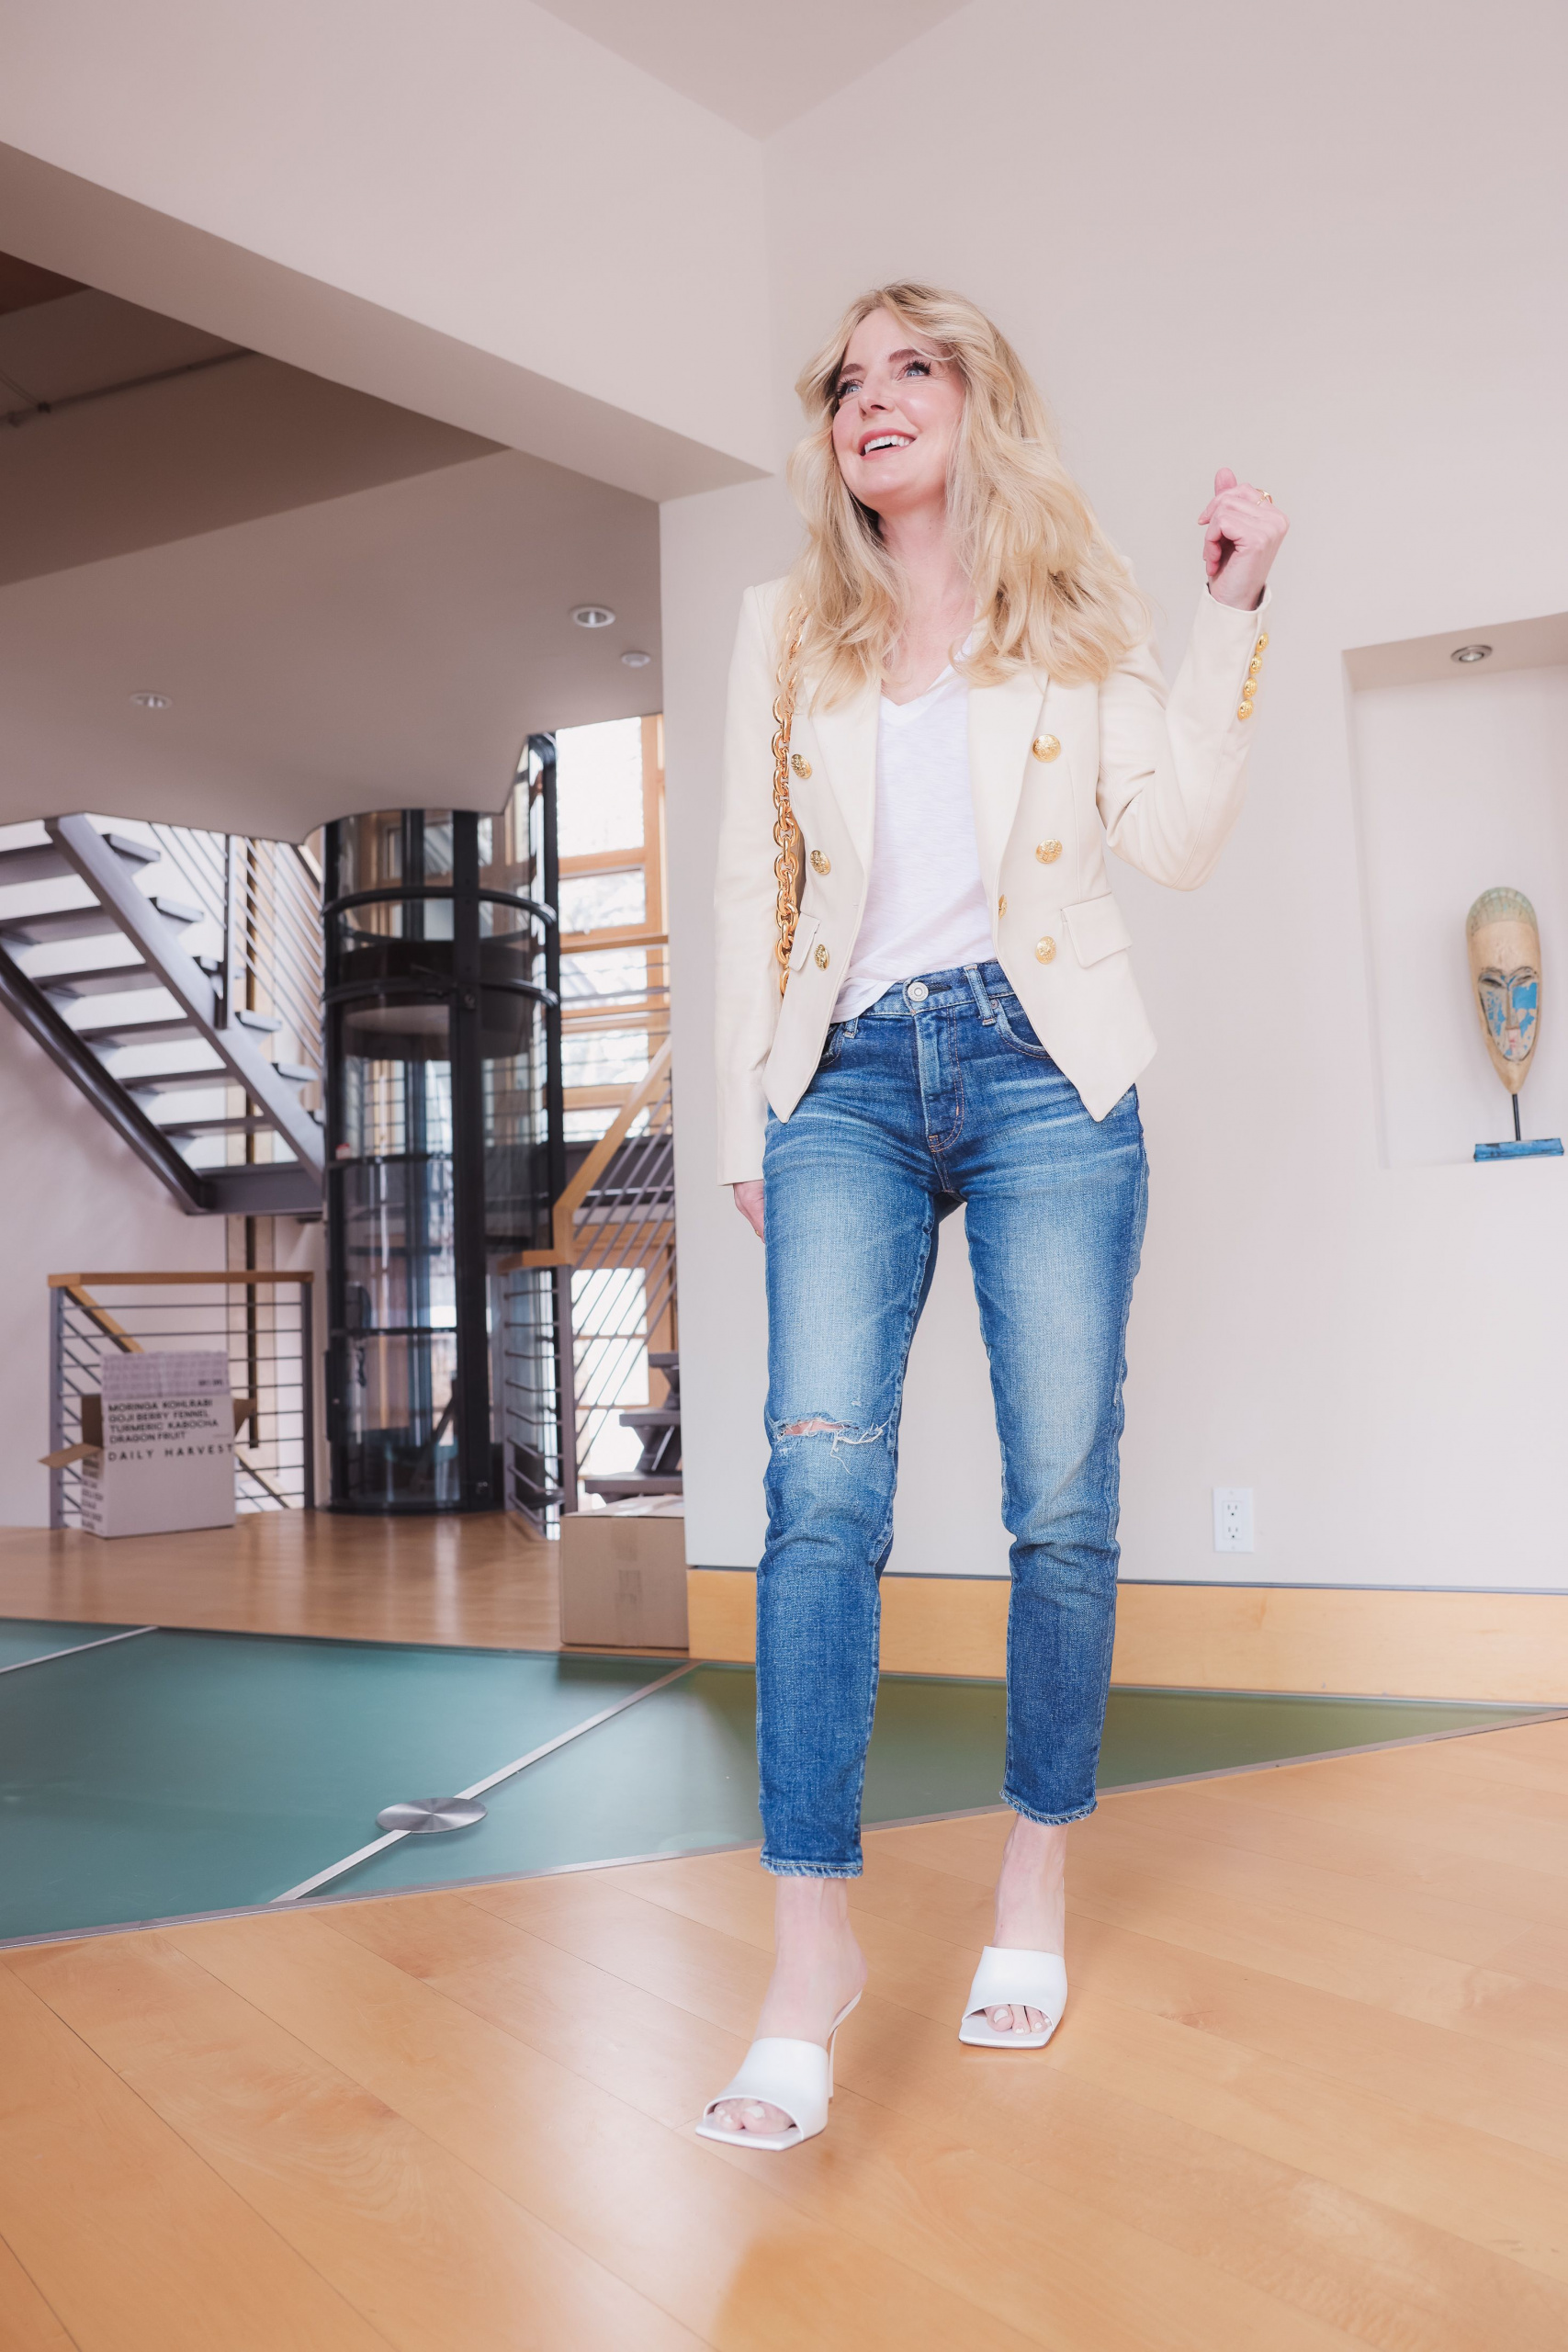
 [/flex_row]
Try A BURST
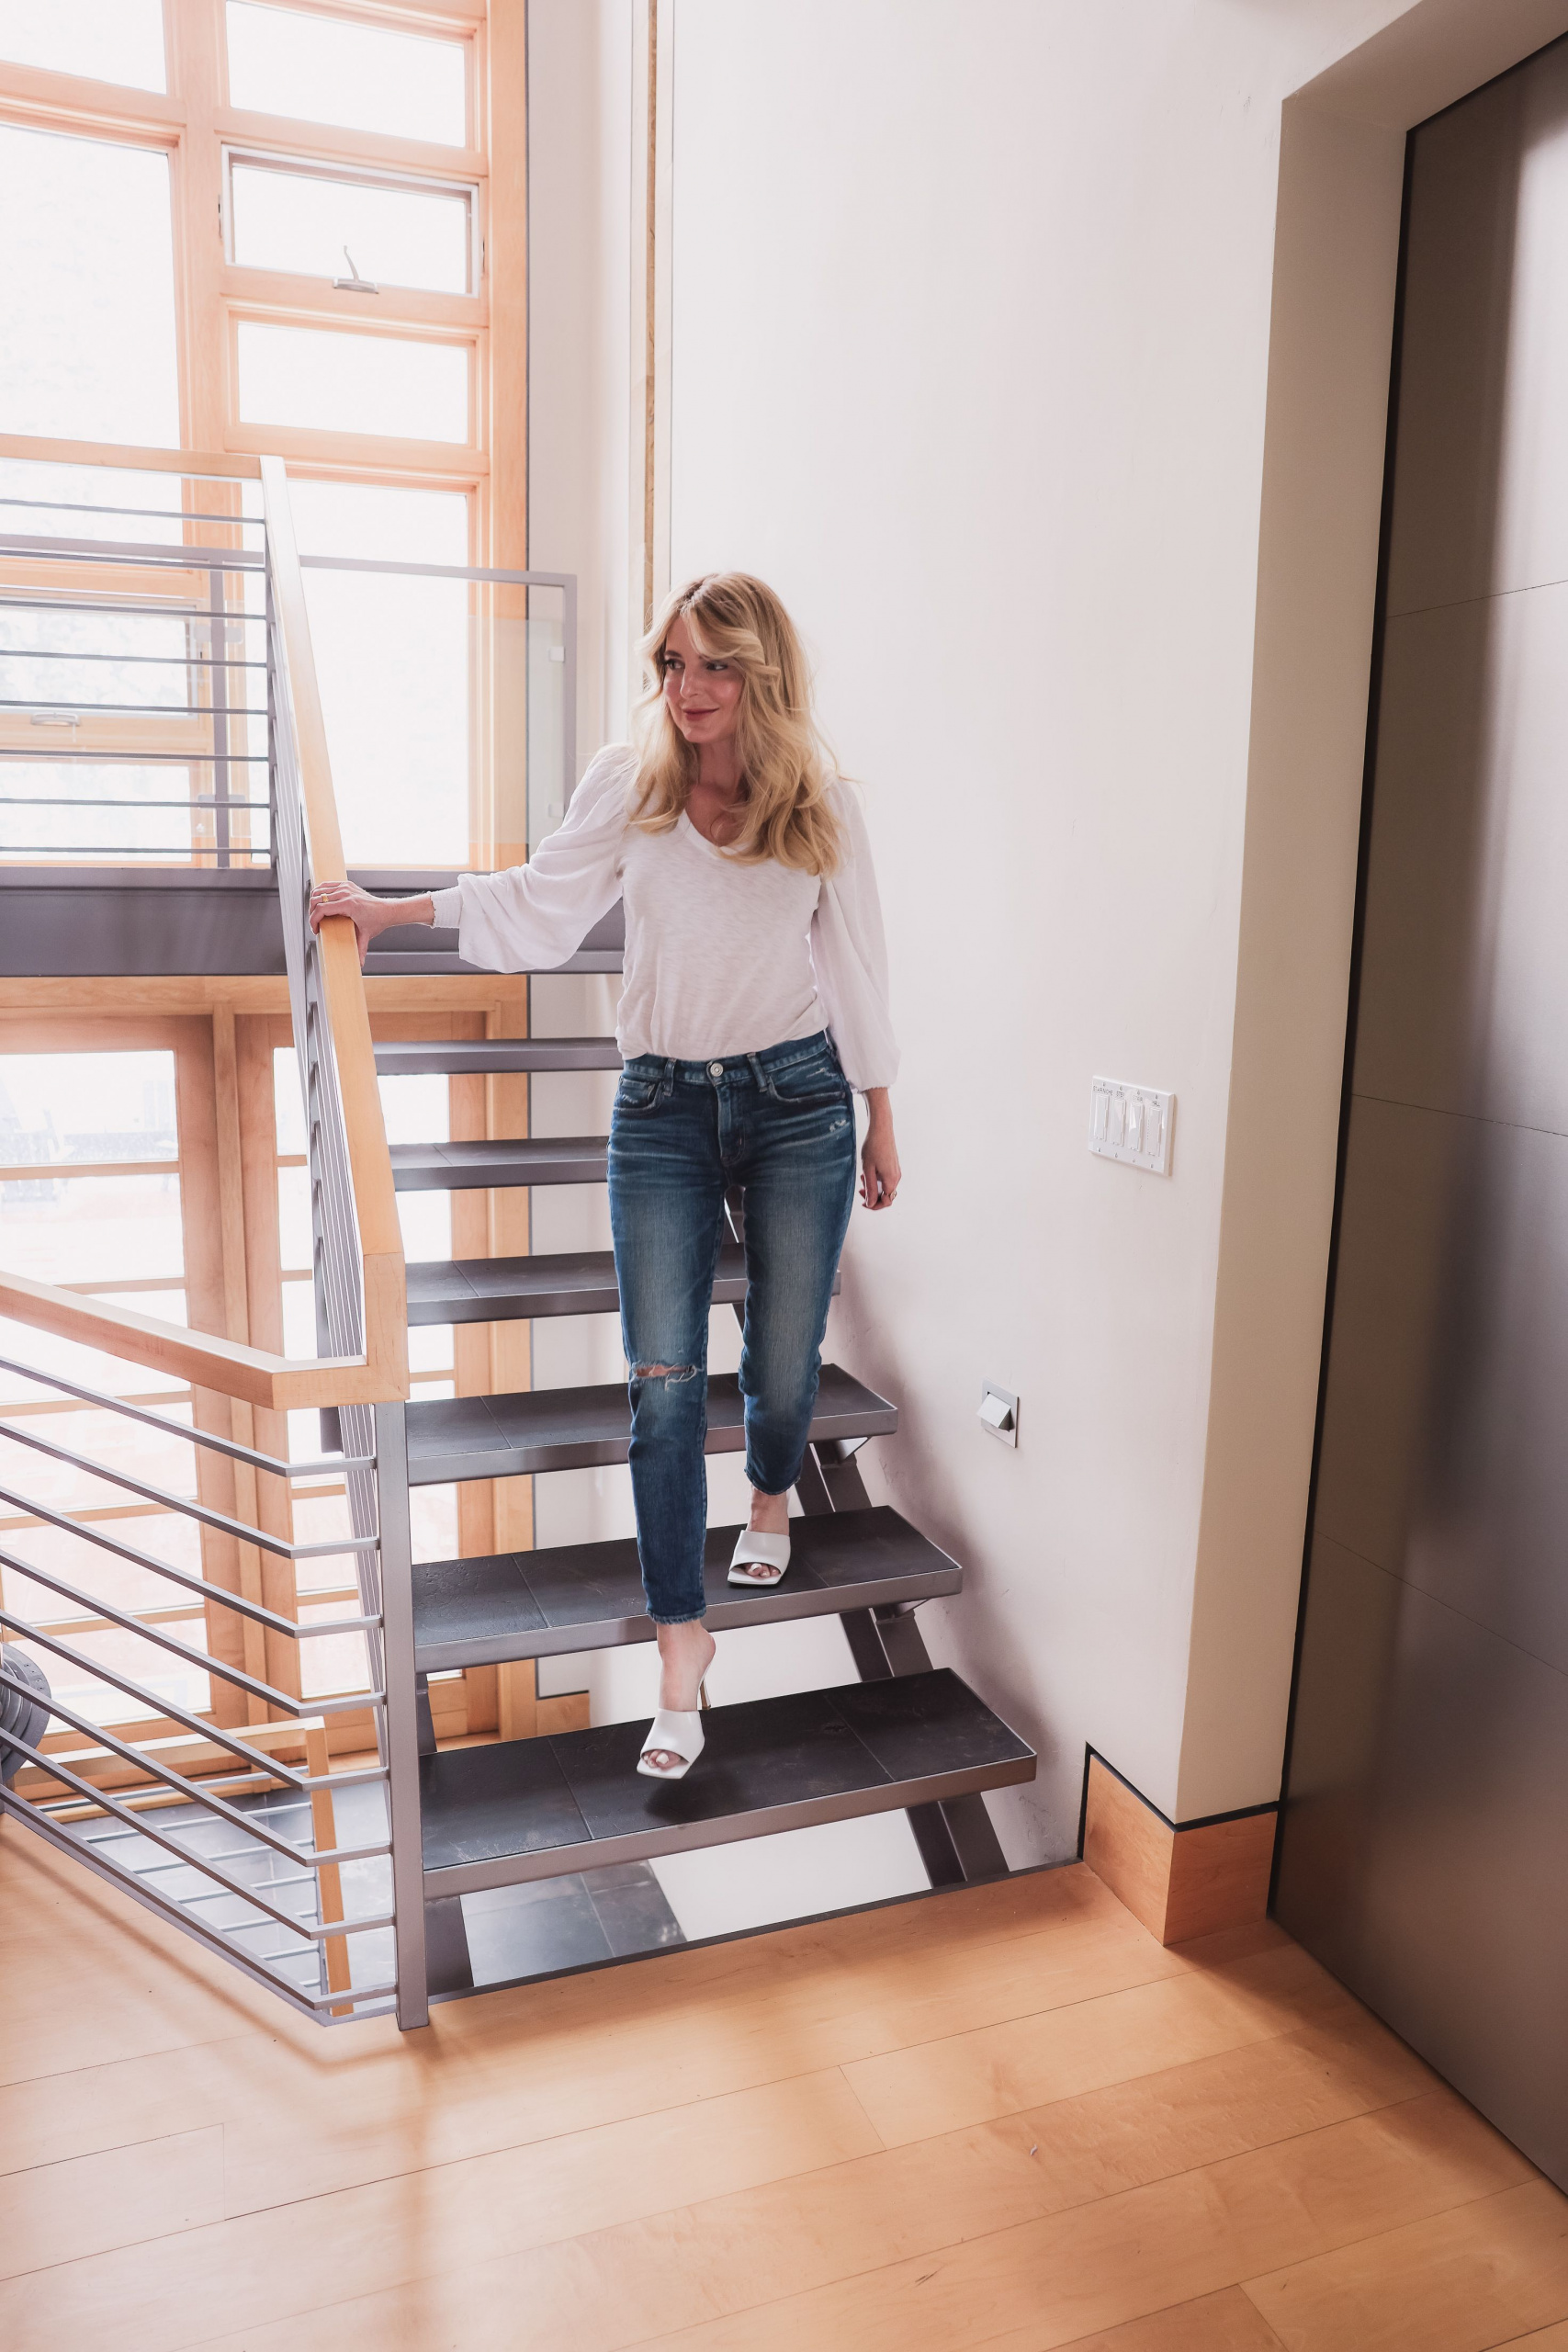
Another thing you can try if you have someone behind the camera that is fairly well-versed is a walking photo burst. Take some steps, walk naturally, smile, keep your chin up, and shoulders back. These shots tend to be the best with that natural movement, and natural flow of your body. I prefer the shots that are mid-stride with some leg separation. To fake this, you can do the “rock”. Instead of actually walking, you just rock back and forth slowly and that creates the illusion of natural authentic movement without having to worry about being in focus. And, this also works with a little jump up the curb or up and down the stairs.
[flex_row]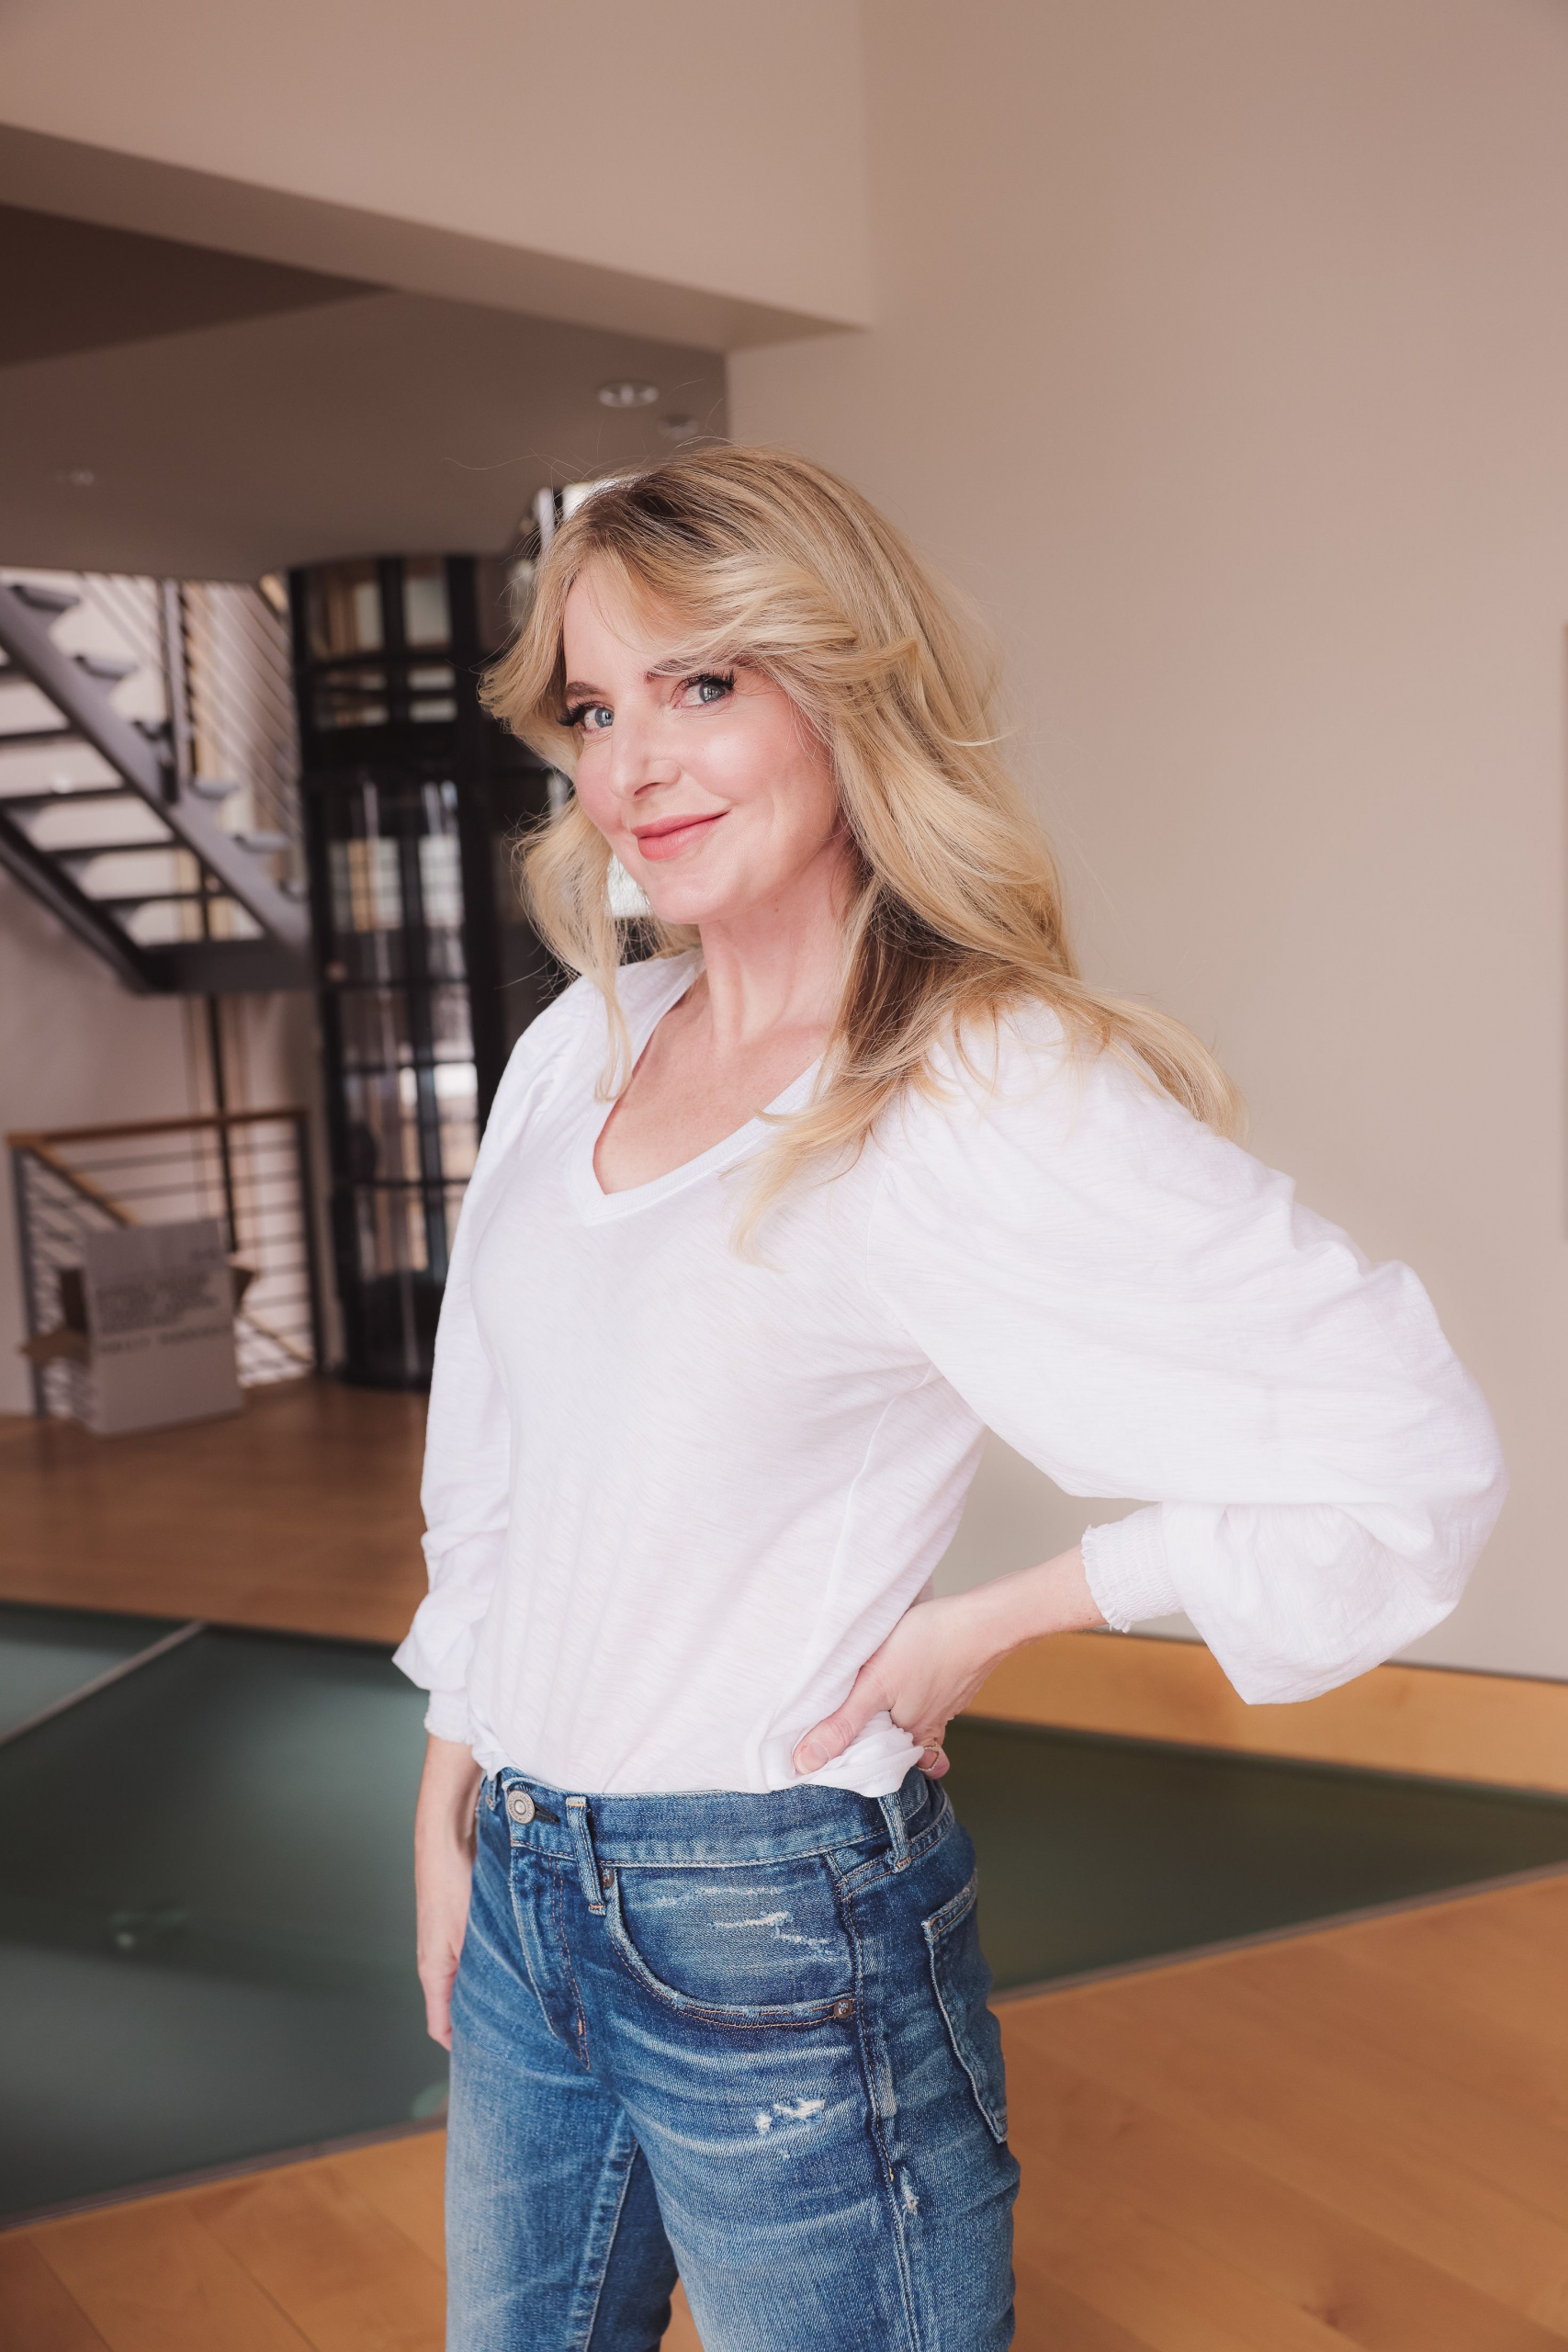
 [/flex_row]
Hands
Hand placement can be tricky but makes a big difference.
#1) Hip
A lot of people naturally place their hands on their hips with their fingers facing the camera, and that can make your fingers look a bit wonky. You want to place your hand on the back of your hip with your fingers facing down. It creates a natural triangle shape, which is flattering!
#2) Pocket
Put one hand in your pocket with your thumb out. This creates some space between your sleeve and your waist. You can also place your hand in your back pocket. Your other arm should just naturally hang on the side of your body…you don’t want it to look too stiff.
#3) Naturally Occupied
Lightly touching your hair is a great way to keep your hands naturally occupied in pictures. Gently grab the ends of your hair, sweep it out of your face, or tuck it behind your ear. Any of these movements will look incredibly natural on camera, like you were caught candidly.
#4) Props!
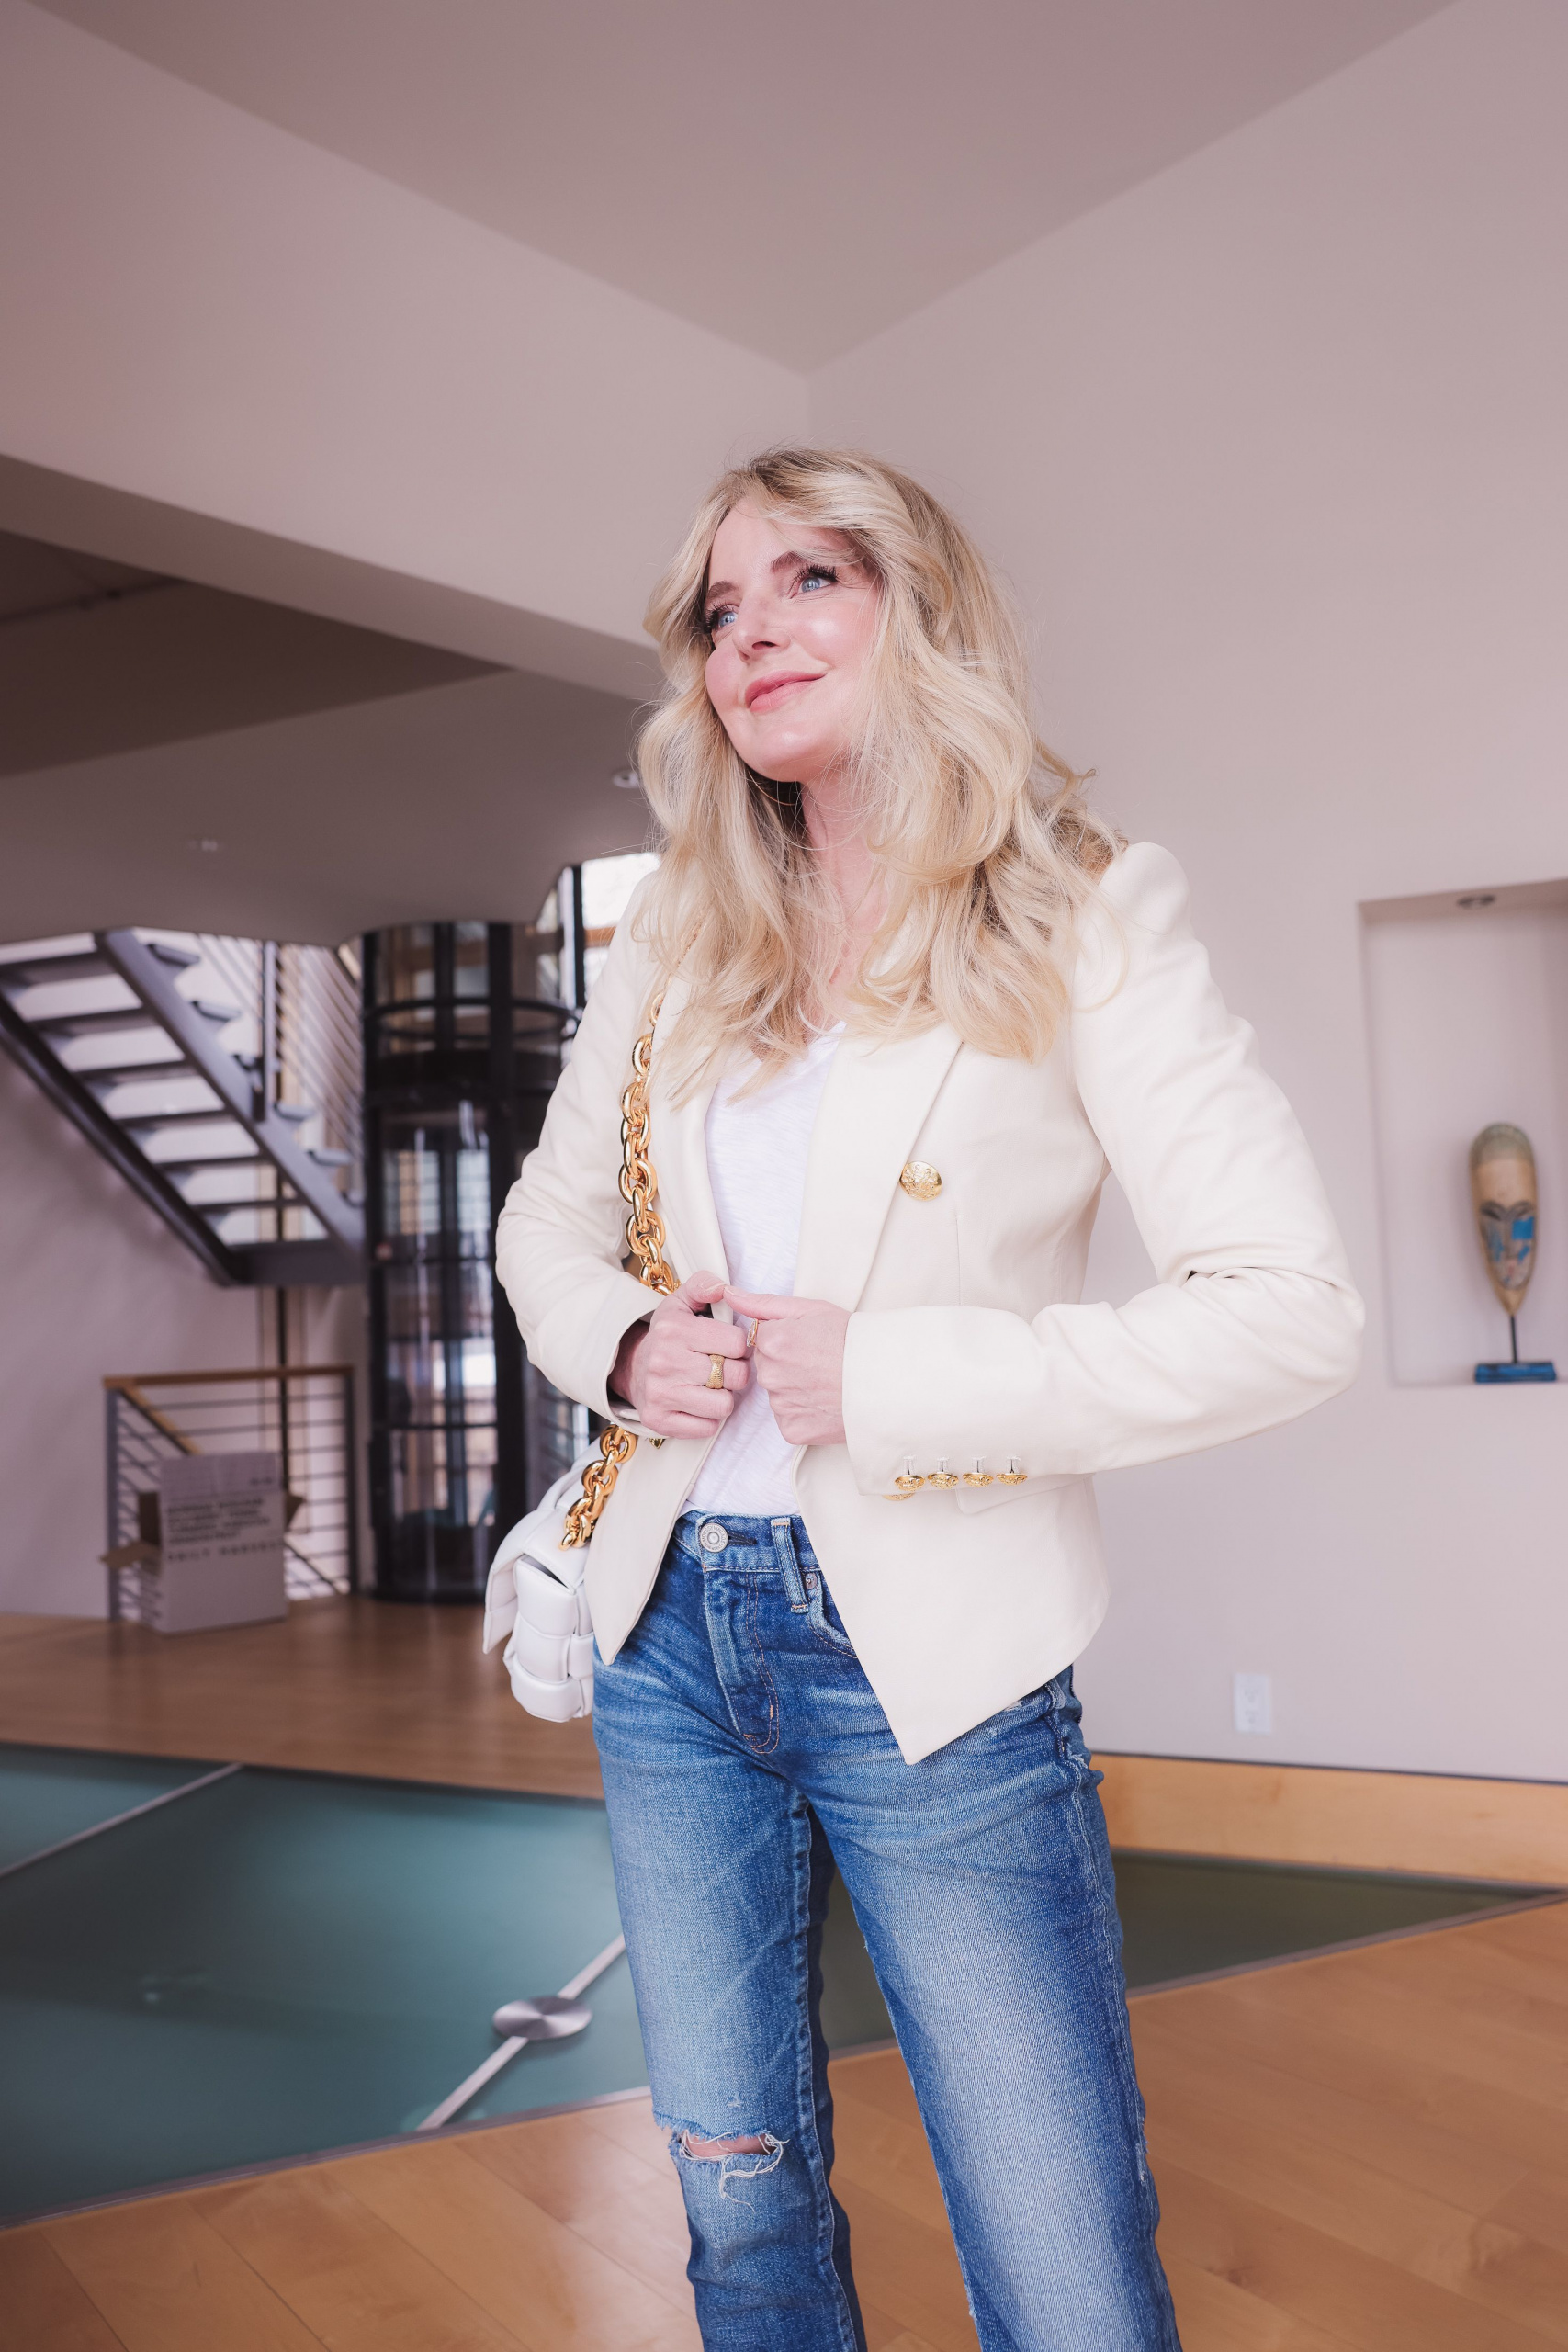
Use what you’re wearing as a prop! This can give you purpose and intention with your hands. If you have on a jacket or blazer, grab one side of it to create that triangle shape and occupy your hand. Let your other arm hang naturally by your side. If you’re carrying a handbag, you can place your hand on the strap. This is an easy, foolproof pose! Let’s go back to the rock for a second. If you’re using the rock method or actually walking, create small, natural movements with your hands. Like you’re about to grab your hair or blazer but the picture was taken right before you did.
Mirror Selfies & Group Shots
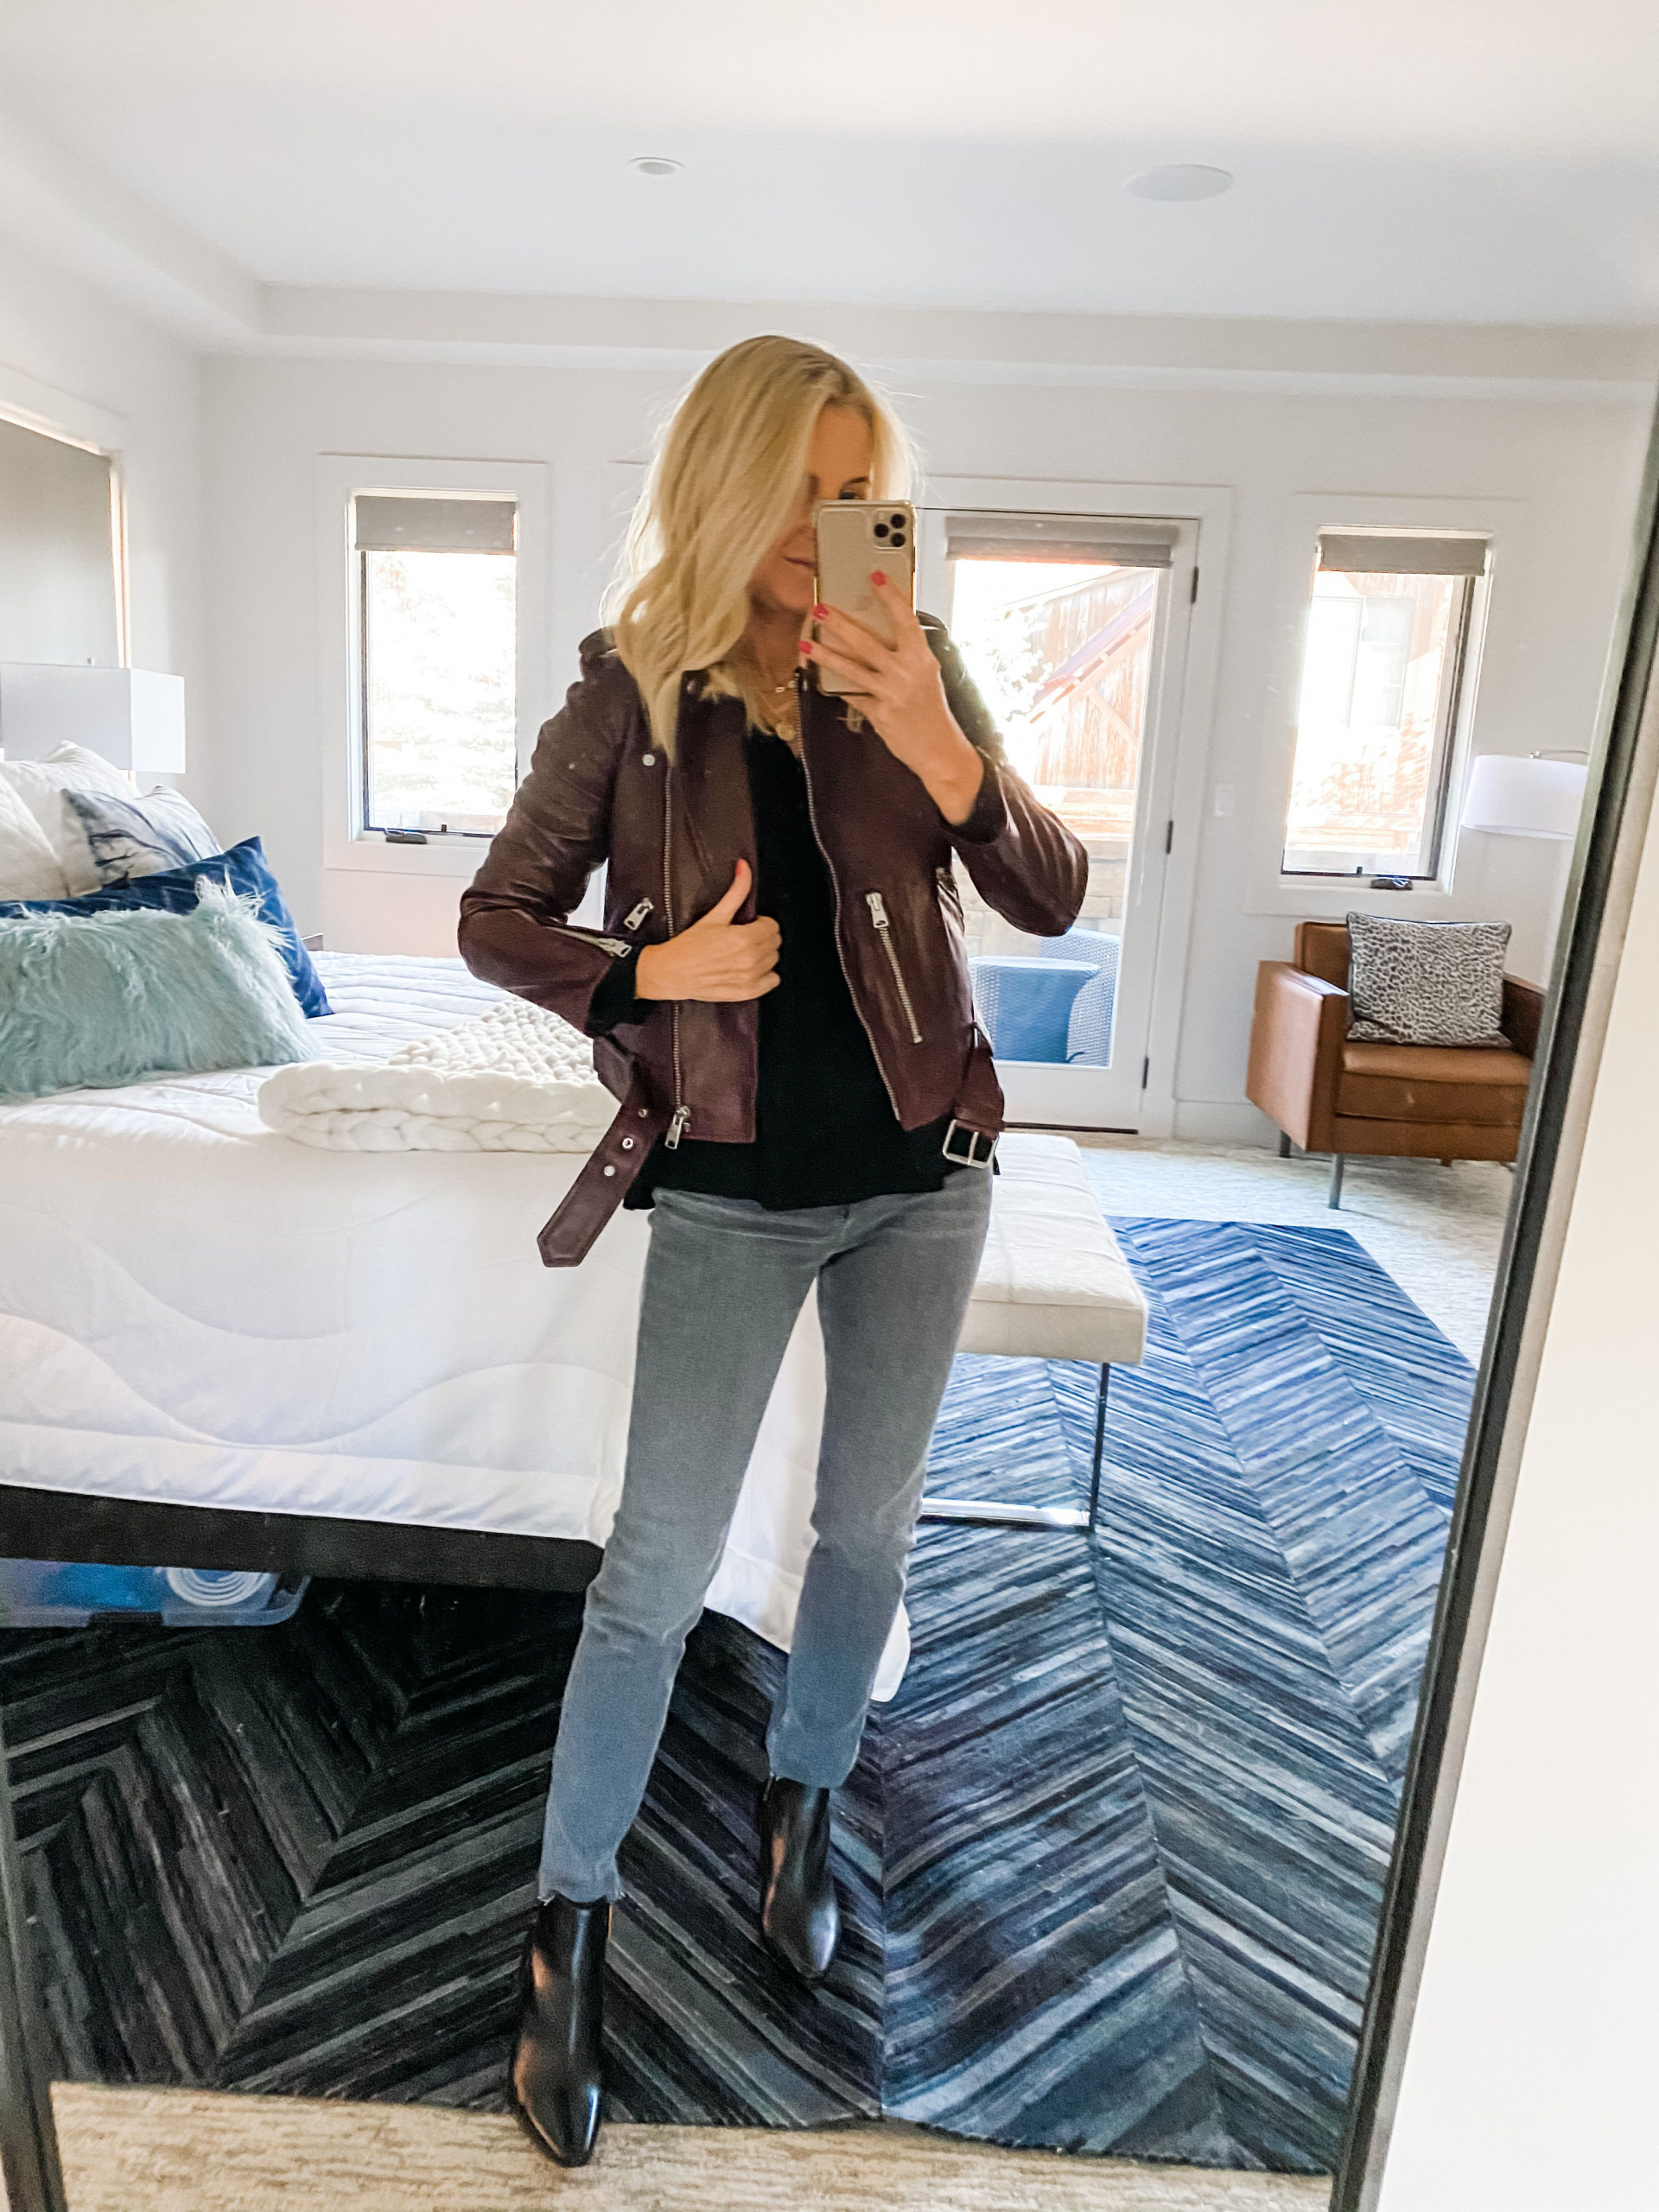
For mirror selfies, you can use any of these tips in terms of posing. On the days I’m not wearing makeup, I strategically place my phone in front of my face. When I am wearing makeup, I hold the phone off to the side a bit.
As for group shots, never (ever!) be in front. Those who are in front will always look the largest, while those in the back will look the smallest. You also want to avoid creating a horseshoe shape because those on the ends will look bigger. Try to position yourselves so you’re all on the same level and facing the camera in the same way.
[flex_row]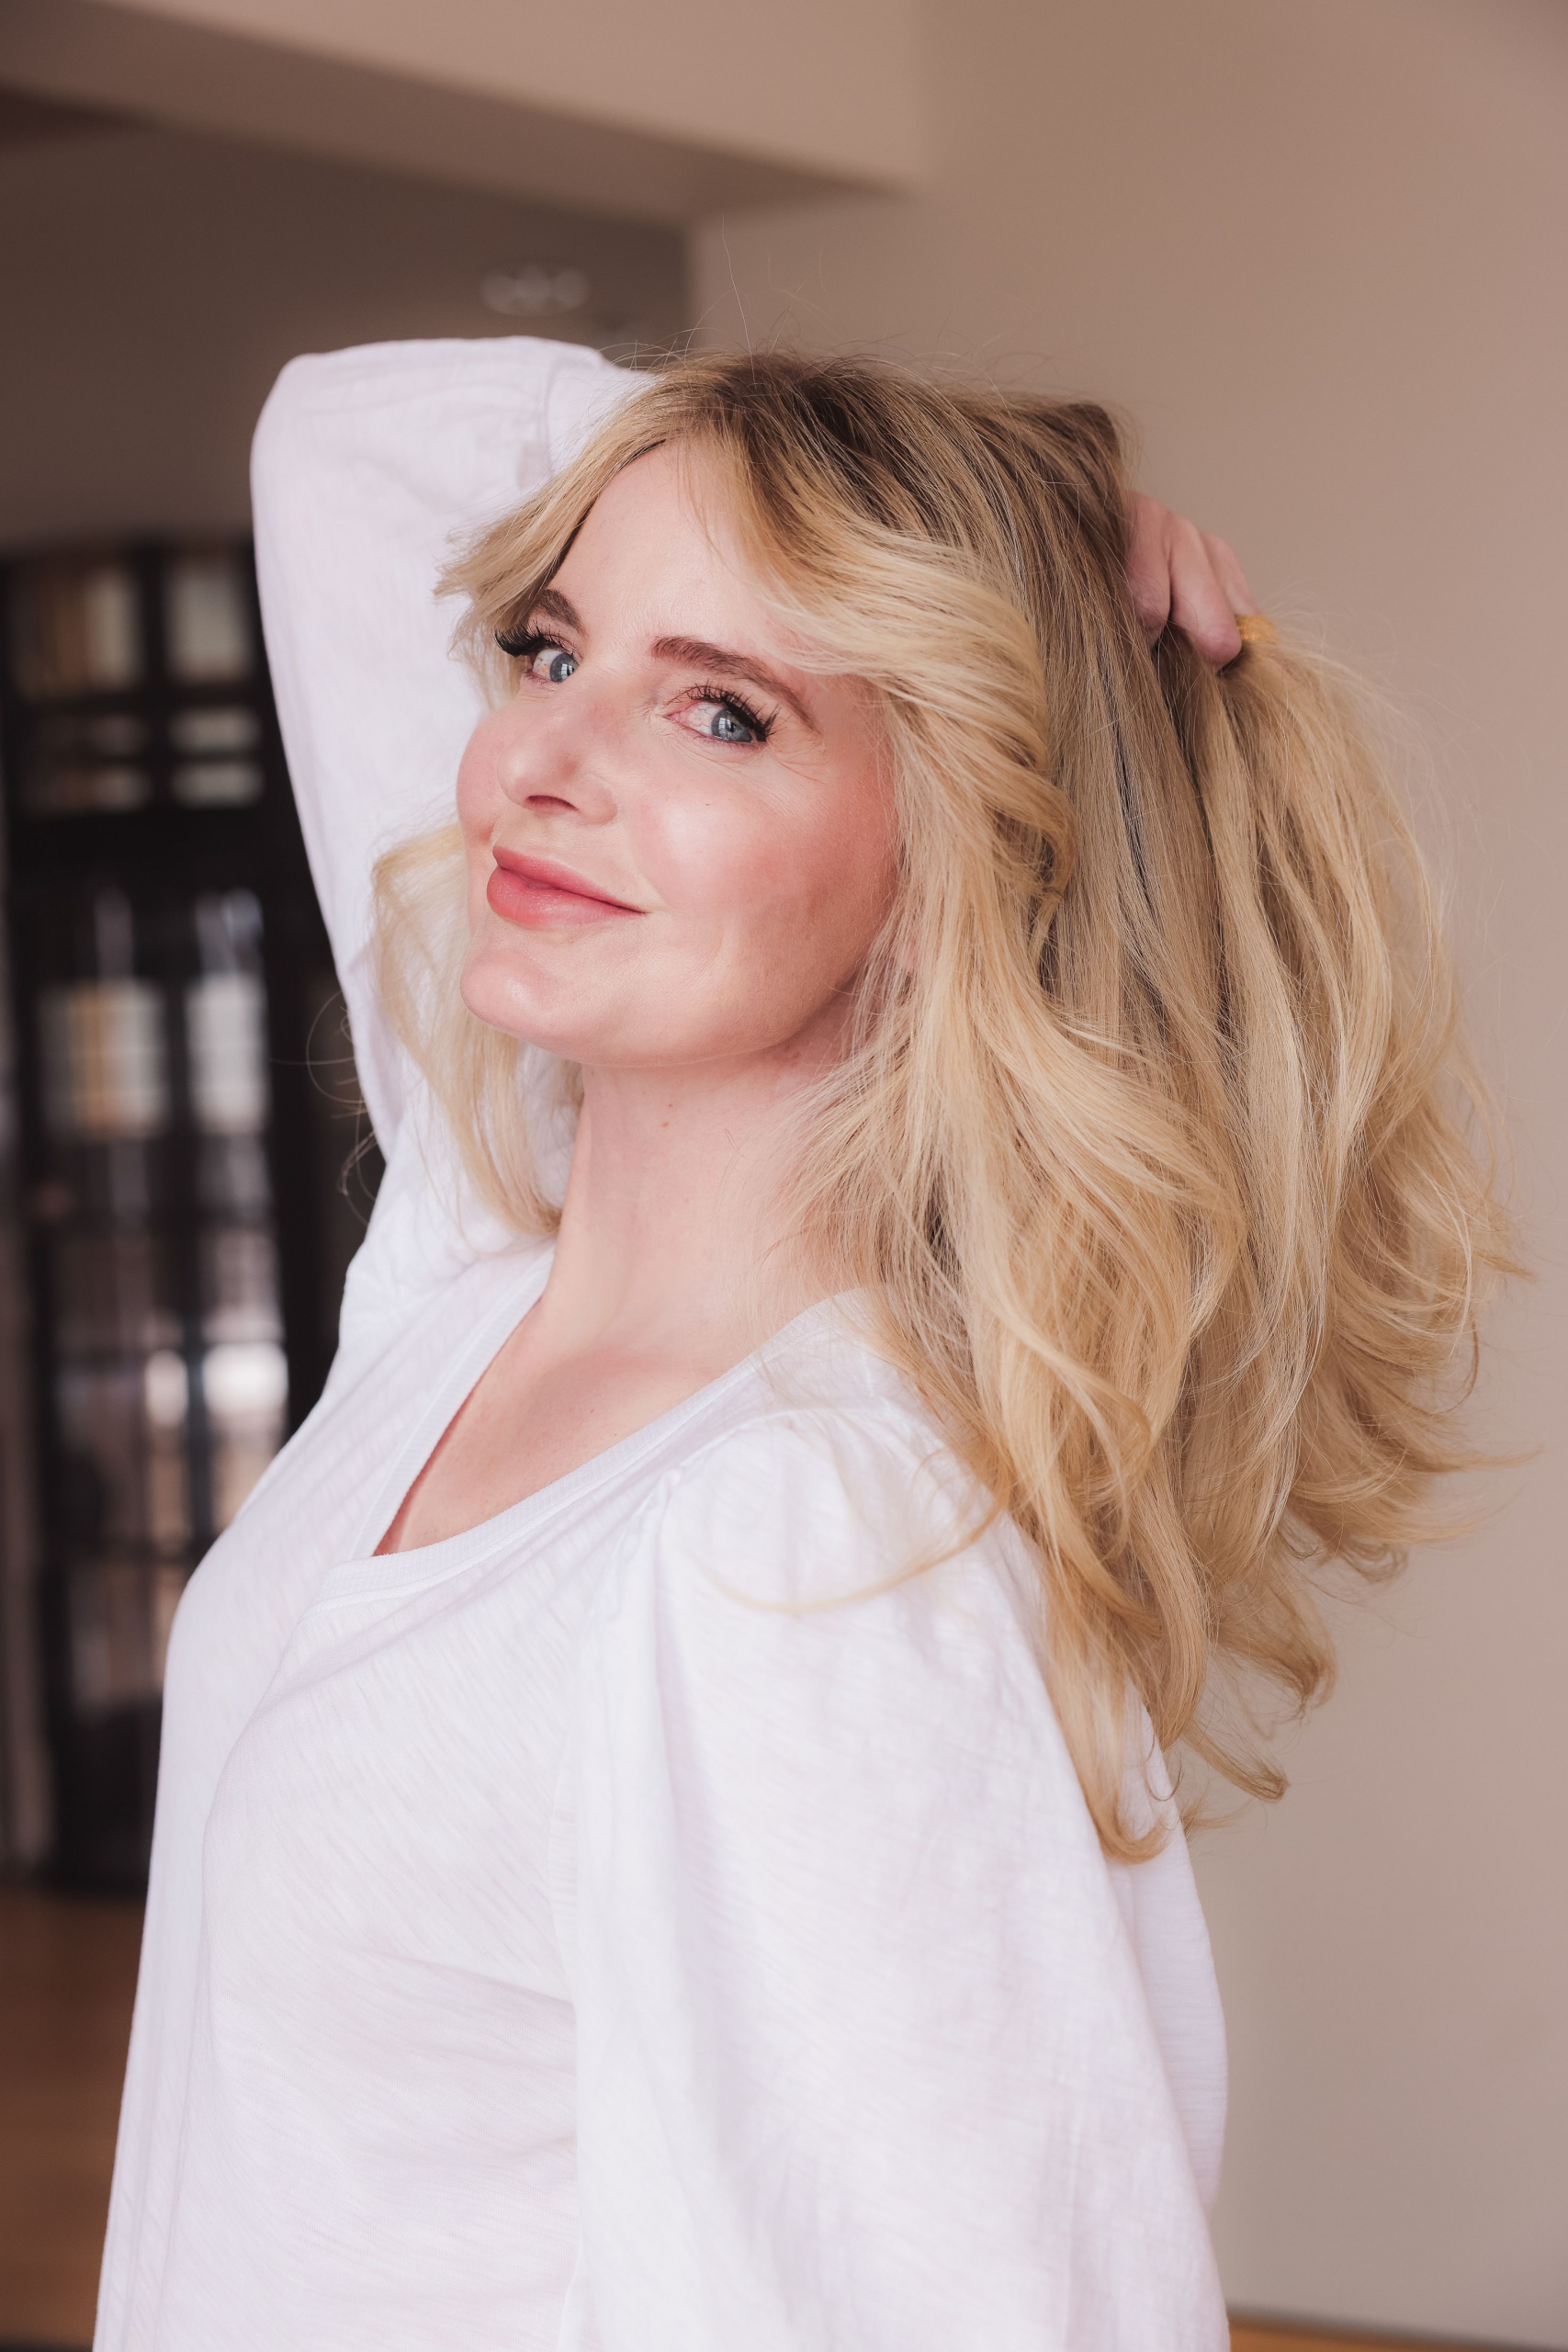
 [/flex_row]
Wild Card Poses
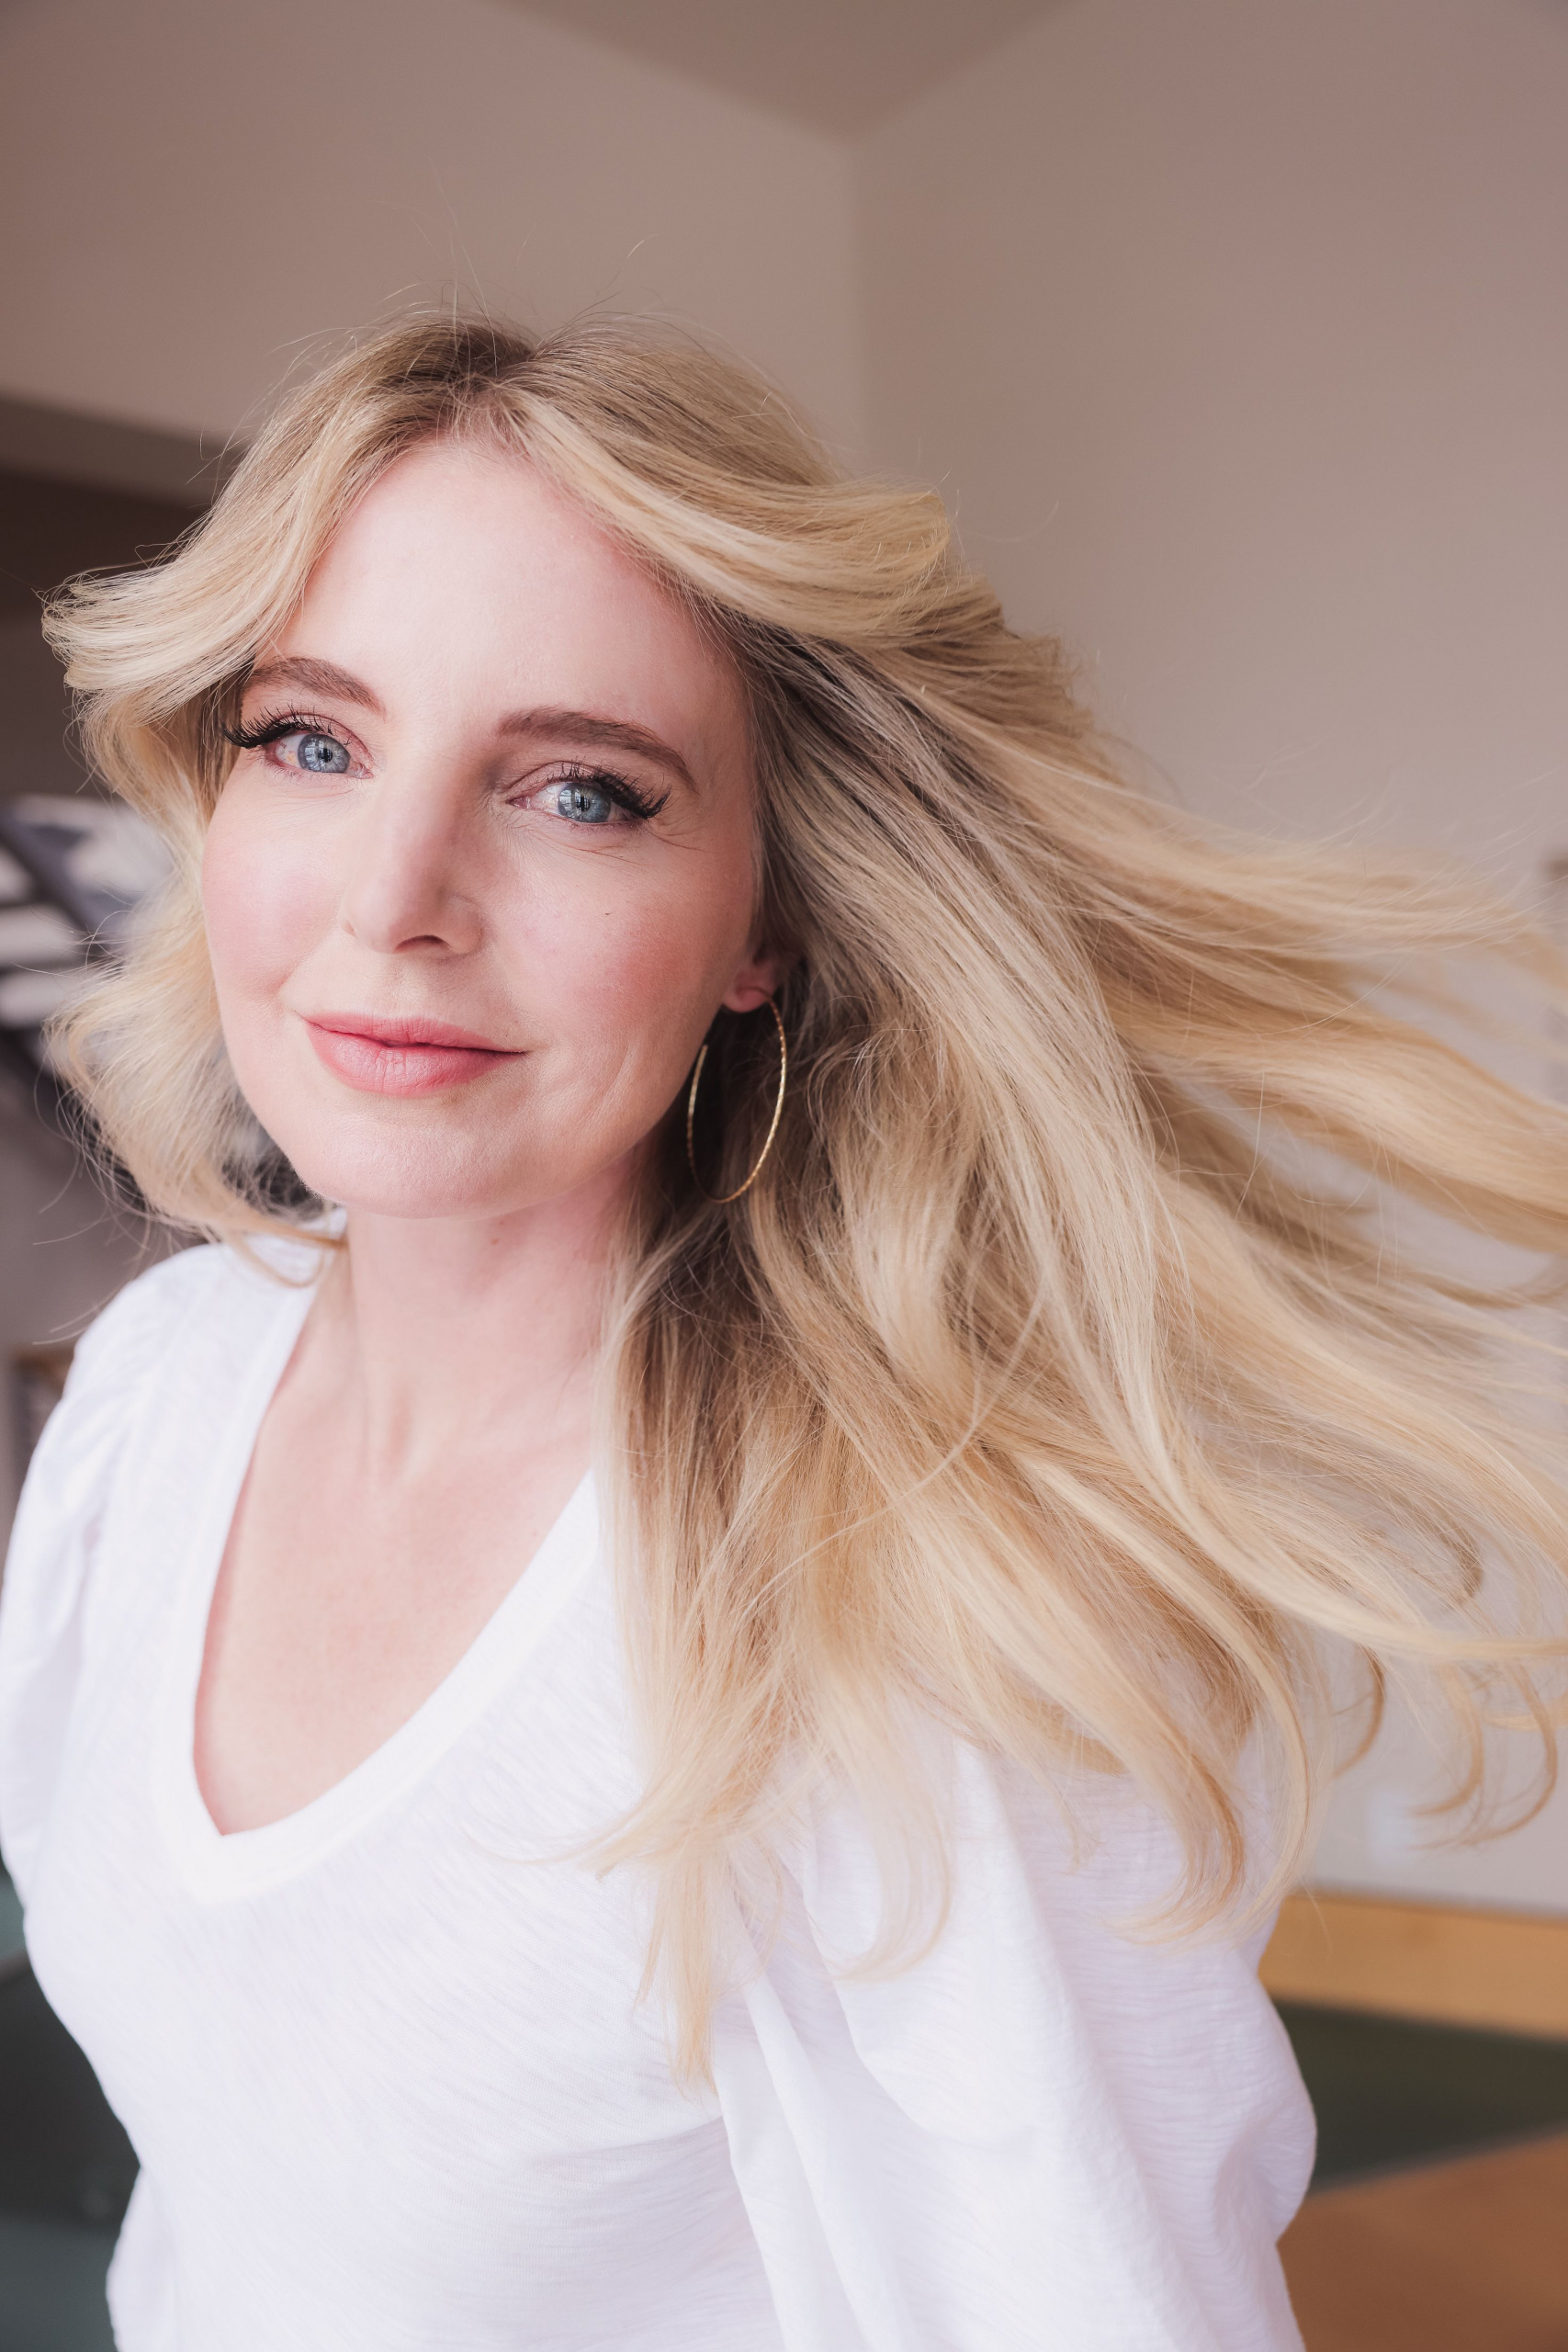
If you’re really feeling brave, put your arm up and gently grab your hair from the back and just do a gentle rustling of the hair, that can create a really beautiful shot…something a bit different or sexy. You can also do a gentle hair toss to capture some serious movement! Set up your self-timer, turn your face away from the camera, and, when you have about 1-2 seconds left, very slowly turn your head toward the camera. You’ll be amazed at the results!
If you want to know more about posing for pictures, I would recommend checking out this video. The key with photography is … just start taking your pictures. The more you tinker, the more comfortable and confident you will get! And, you’ll quickly start to learn which angles and poses are most flattering for you.
To get my blog posts delivered directly to your inbox, along with some awesome freebies, be sure to sign up for my newsletter here. Thanks for stopping by!
![]()


Love this post. Such great informatioN. Can you write about how you edit your photos?
That’s a great idea! The headline is… I don’t do a whole lot of editing as I simply do not have time. I use Lightroom and I use presets. Erin xo
Why do you like the f/1.2 over the f/1.4 with the 50MM? I have been considering getting a f/1.8. However, now i’m curious.
This is a great article!
In my opinion, the 1.2 is a game changer. save up and buy that lens.
[…] off her series with a thoughtful blog post How to Start a Fashion Blog. next, she talked about Camera Equipment. i can’t wait to read the next […]
This post was very good!! Thanks for sharing!!
Thanks, Sharon! Erin xo
tHANK YOU ERIN, THIS IS SO HELPFUL. i AM STILL ONTHE LEARNING CURVE AND AS YOU SAID THE BEST WAY IS TO GET SNAPPING. LOOKING FORWARD TO THIS SERIES YOU ARE DOING. Love your work, very inspiring..
Hi Erin. first of all, let me APOLOGIZE for the all capS…not sure why this is HAPPENING b/c i don’t have the lock button on! Just didnt want you to think that was shouting…anyways, this has Been Ve helpful as i am consider becoming a youtuber/blogger. There areN’t many african american faces out therE and prior to reading your “how-to series” i hadn’t a clue where to begin. I really appeciaTe you sharing your “secrets!” Keep the greet info coming! THANKS agaiN.
Monie