Gallery walls have become quite popular over the years, adding interest to any space and allowing you to showcase your personality and bring character into your home. Today I’m sharing 5 easy steps to create the perfect and unique gallery wall. A fair amount of planning will ease the process….I promise!
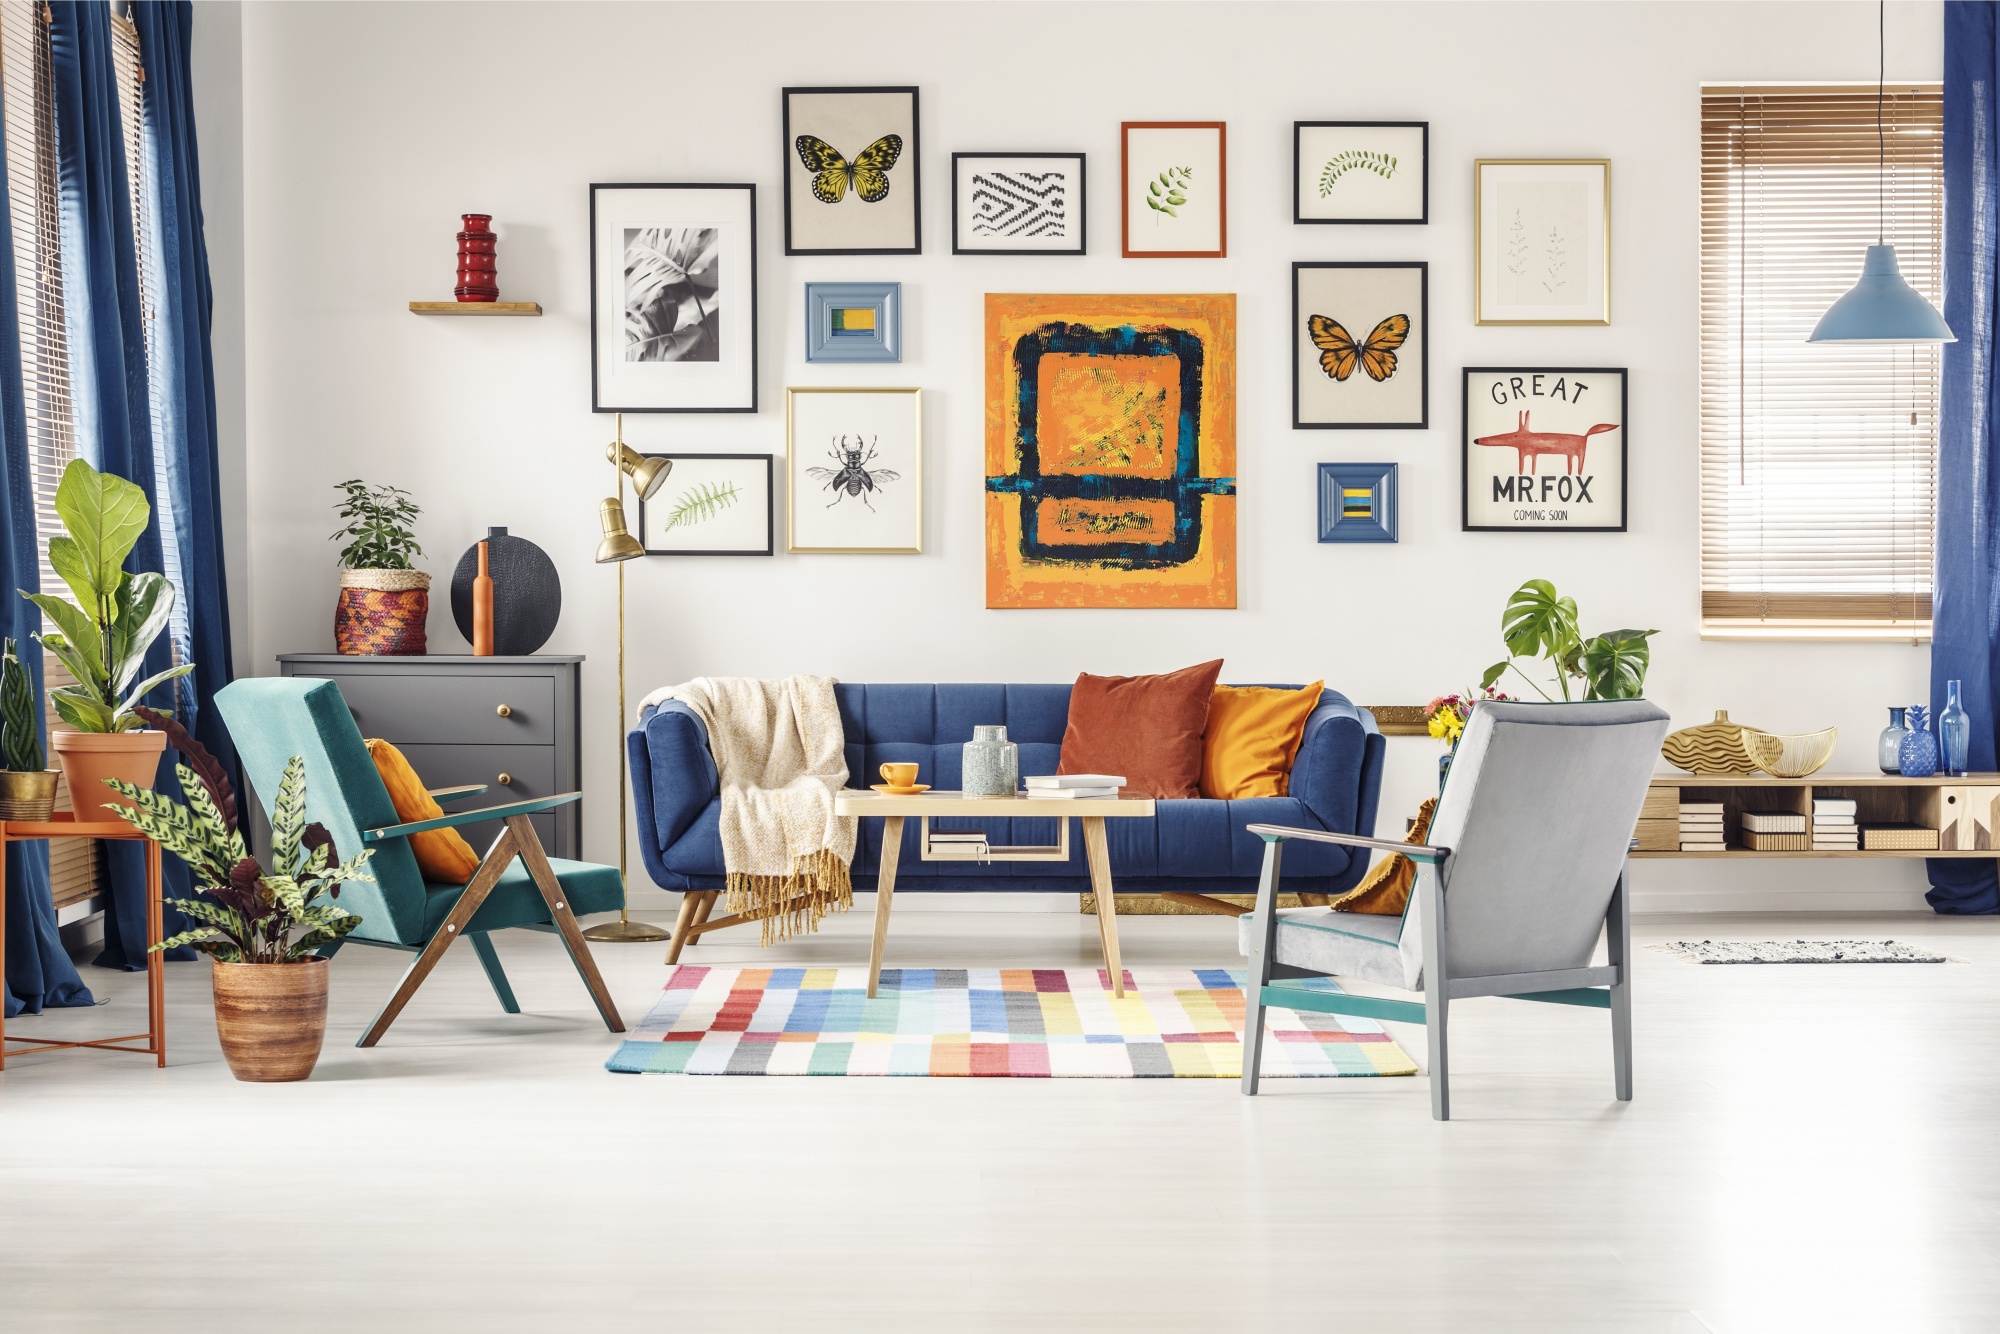
Tip #1 Collect Your Favorite Unique Items: Color and Theme are Key!
Start by collecting things you love. Your gallery wall doesn’t have to consist of only framed art or photos. There are endless options—your Grandmother’s china, old records, maps, treasured travel souvenirs, etc. Keep in mind, the only real rule is making sure the pieces have some cohesive element. This can be color or theme. If you want to create your gallery wall with a variety of items, stick with a common color scheme, or colors that complement each other so it doesn’t look disjointed.
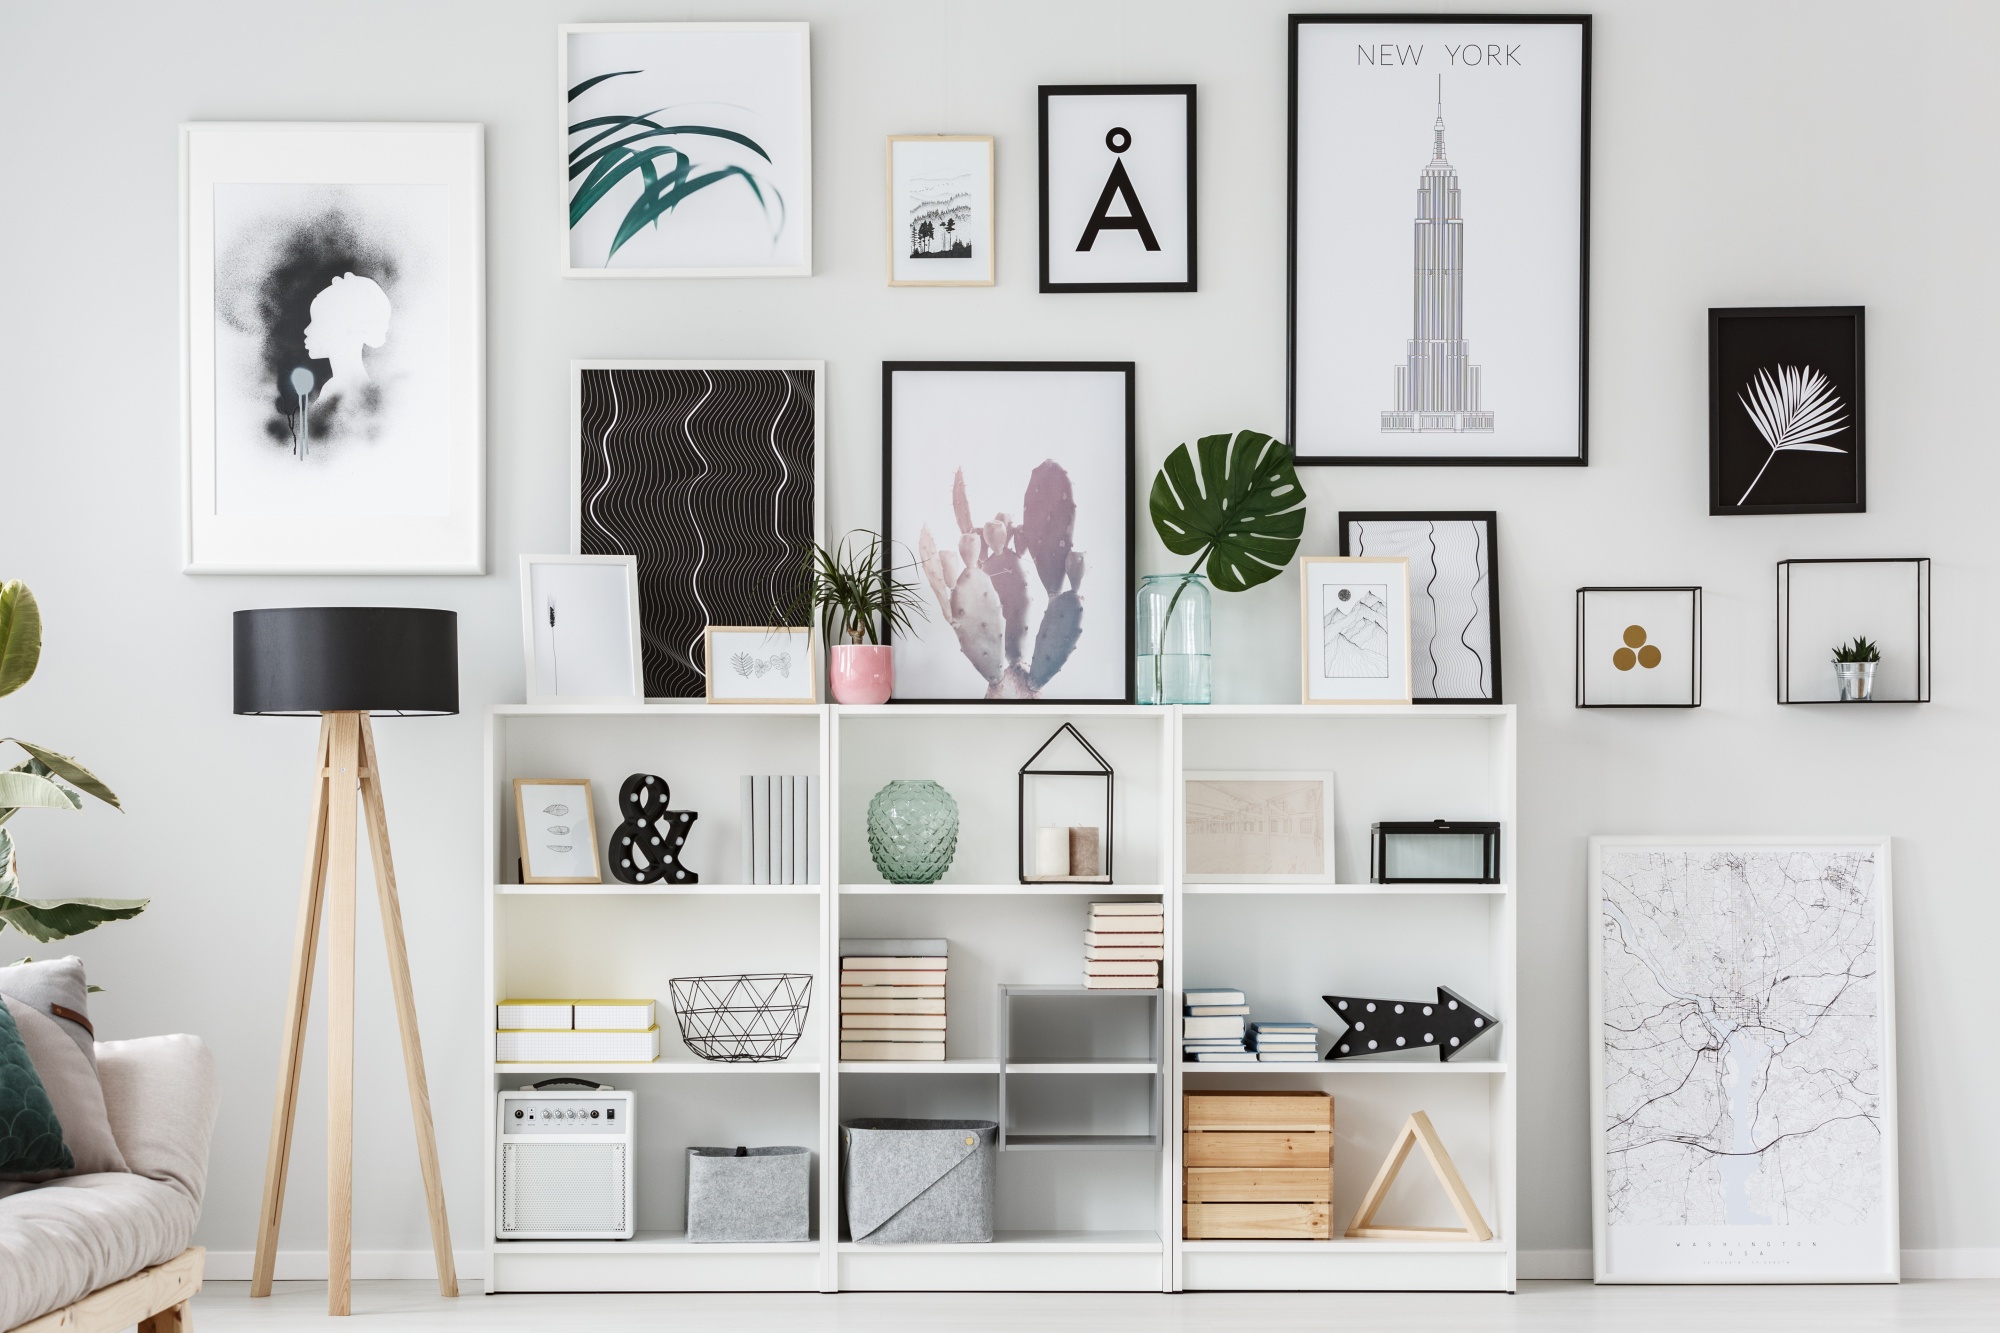
Tip #2 Establish a Base Layer: Pick Your Frames
Next, find a set of coordinating frames like these. This is your base layer, and it will help make your wall look less chaotic and more pulled together. You could have a metallic theme of silver and gold with different finishes, or stick with frames in white/neutral tones, or use all black frames and then bring in color and texture with other items. You can lean frames against the wall on top of furniture or on the floor. Different levels will add dimension and interest.
I’ve been really impressed with the frames at Target, and Pottery Barn is always an excellent choice for good quality. You can purchase individual coordinating frames or sets of frames that will give you that cohesive look. Here are a few of my favorites.

Tip #3 Play With Size, Shape, and Texture
Once you have established your base layer, now add items of different sizes and shapes. Round mirrors, clocks, wreaths, hats, or plates will break up your square and rectangular frames. Add shelves or planters for some dimension. Mix larger items like ladders and baskets with smaller items like framed cards or flowers. Adding wooden and other natural elements can warm up your defined space. Mirrors will help a smaller area look larger and less cluttered. Metallic pieces add a neutral touch of glam. Lamps, consoles, and other furniture can easily be incorporated into part of the wall space design.
Tip #4: Hang in There: Layout First!
Before I put any holes in the wall, I use notecards or sticky notes to create a layout of my selected items. I move things around until I have a pattern I think I’m happy with and then I lay out the items on my floor to be certain. It’s important to make sure you love the spacing, colors, sizes, etc. all together BEFORE you start hammering away.
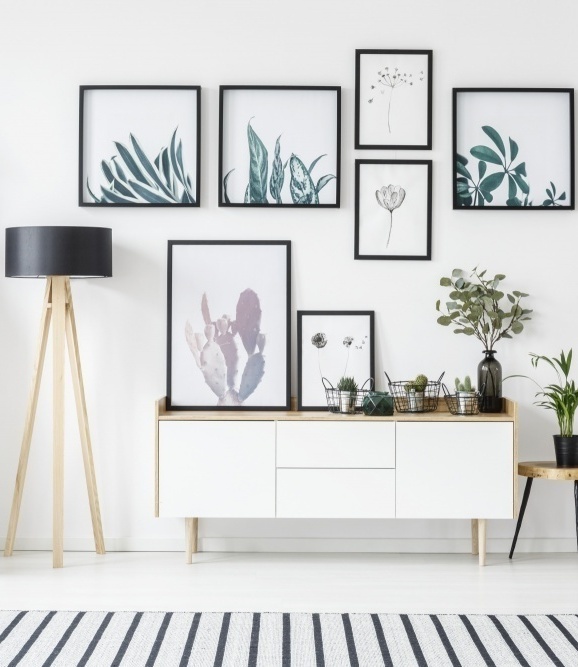
Tip #5 Measure, Measure, Measure
I can’t stress enough how important it is to measure, but I have to admit, I usually get help in this department. Don’t bother trying to eye-ball it—this will lead to more work in terms of patching holes and painting than any of us have time for!
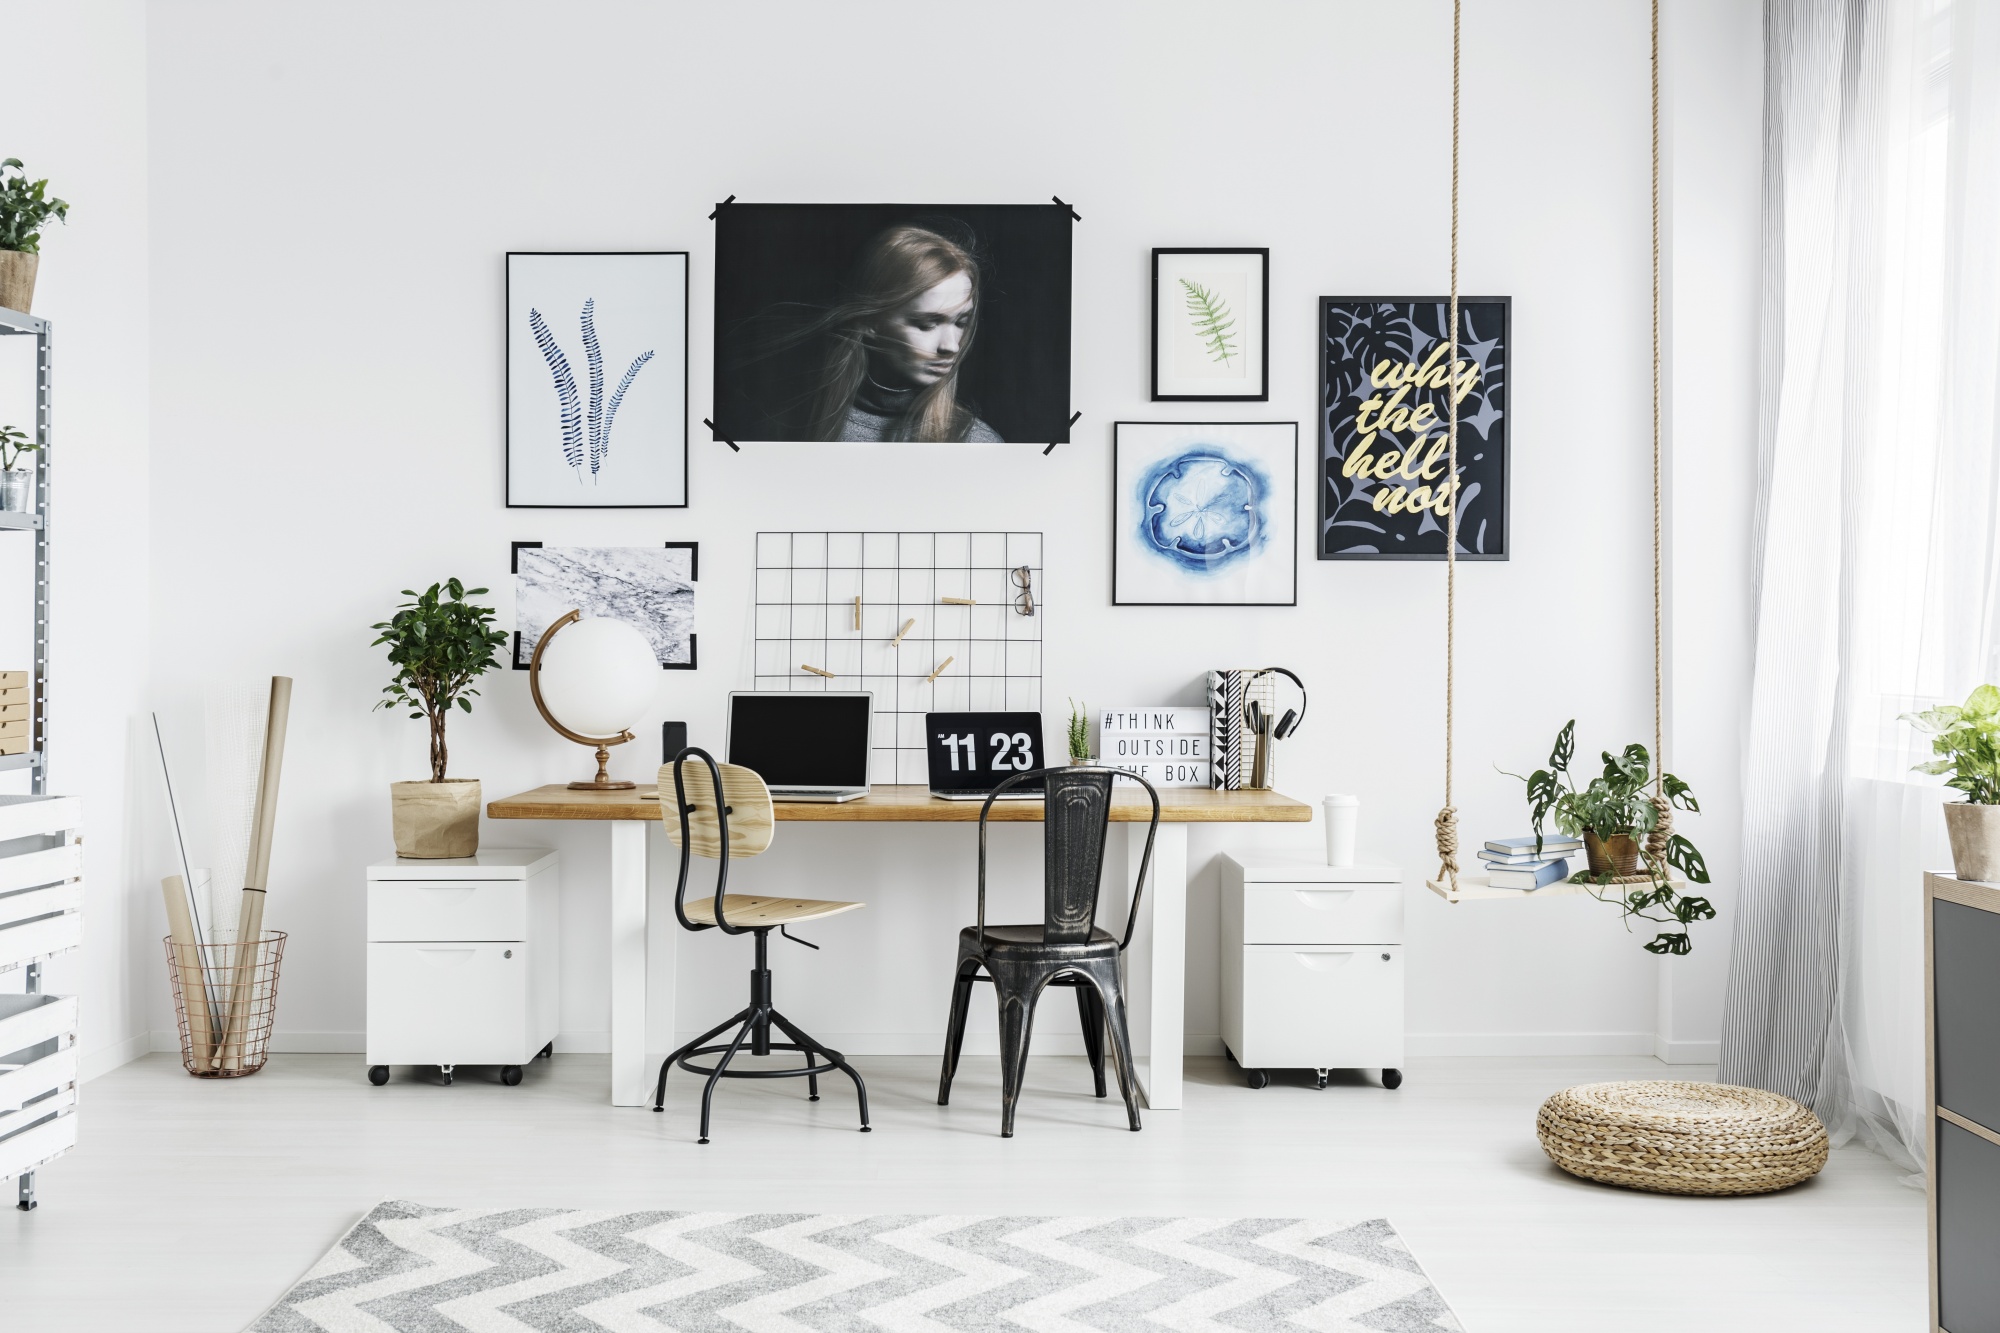
I hope you have fun creating your own gallery wall that reflects your home and personality. What’s the most interesting or special item on your gallery wall? Let us know in the comments!
To get blog posts delivered directly to your inbox, along with some awesome freebies, be sure to sign up for the newsletter here.
Thank you for stopping by!



Love all of these tips! My favorite piece on my gallery wall is a set of three brass vintage mid-century modern birds I got from Chairish.com. It is a great source for finding unique items (especially during current shopping conditions!) as it’s an online marketplace for antique and consignment stores across the country! I also got some of my favorite art pieces there as well. Makes me want to find another space in my house and start creating. Thanks!
Thanks, Heather! I have heard great things about Chairish.com. They do have such unique and gorgeous pieces. What great resource–I so appreciate you sharing!
Good timing. Just redid my home office. Bought black frames from Amazon and going to put photo of all the prescious in dogs I have had in my lifetime. Think it will look great and I can look at all those sweet faces and memories all the time.
I love that idea! Thanks for sharing, Christine.