I get queasy when getting a flu shot, break into sweat on long drives and will run the other direction at the sight of a blood scraped knee (sorry, kids). So, the irony isn’t lost on me that I have absolutely no problem getting Botox injections, microdermabrasion or various facial peels or treatments when we’re talking beauty. I’ll pretty much try anything – especially if the alleged benefits help address some of my skin concerns. I worried about hyperpigmentation in my twenties and wrinkles in my thirties. Today, it’s more about skin texture, firmness and elasticity – all related to collagen loss. That’s why after hearing countless praise for micro-needling and its apparent collagen-boosting capabilities, I had to find out for myself. I experimented with both at-home and professional micro-needling and here’s what you need to know…
What Is Micro-Needling?
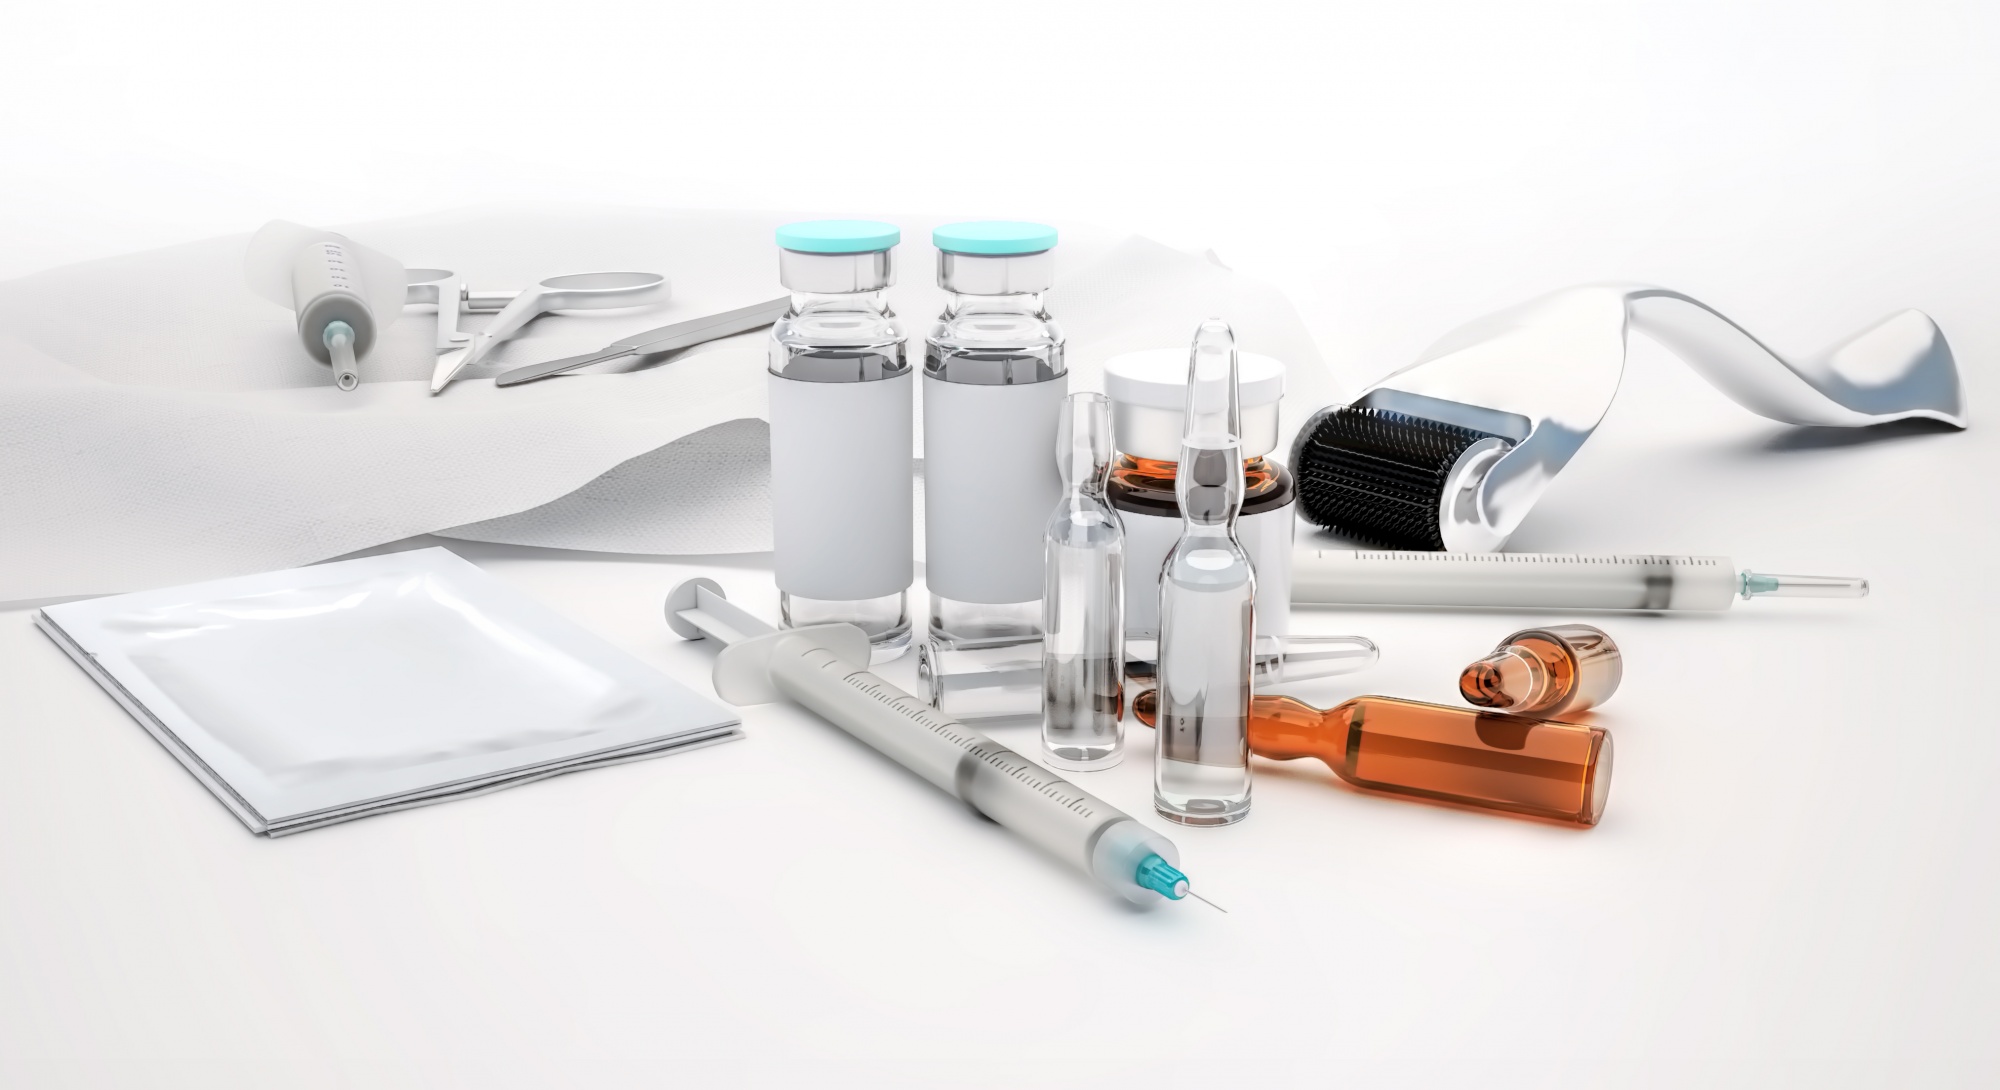
Micro-needling is a procedure that uses a bunch of tiny needles to puncture the very first layer of skin. This process works to rejuvenate your skin by boosting collagen production, which in turn reduces the appearance of wrinkles and fine lines, and elevates the overall texture of your skin. It’s ideal for treating issues dealing with pores, acne scars, wrinkles and tightening sagging skin.
At Home Micro-Needling
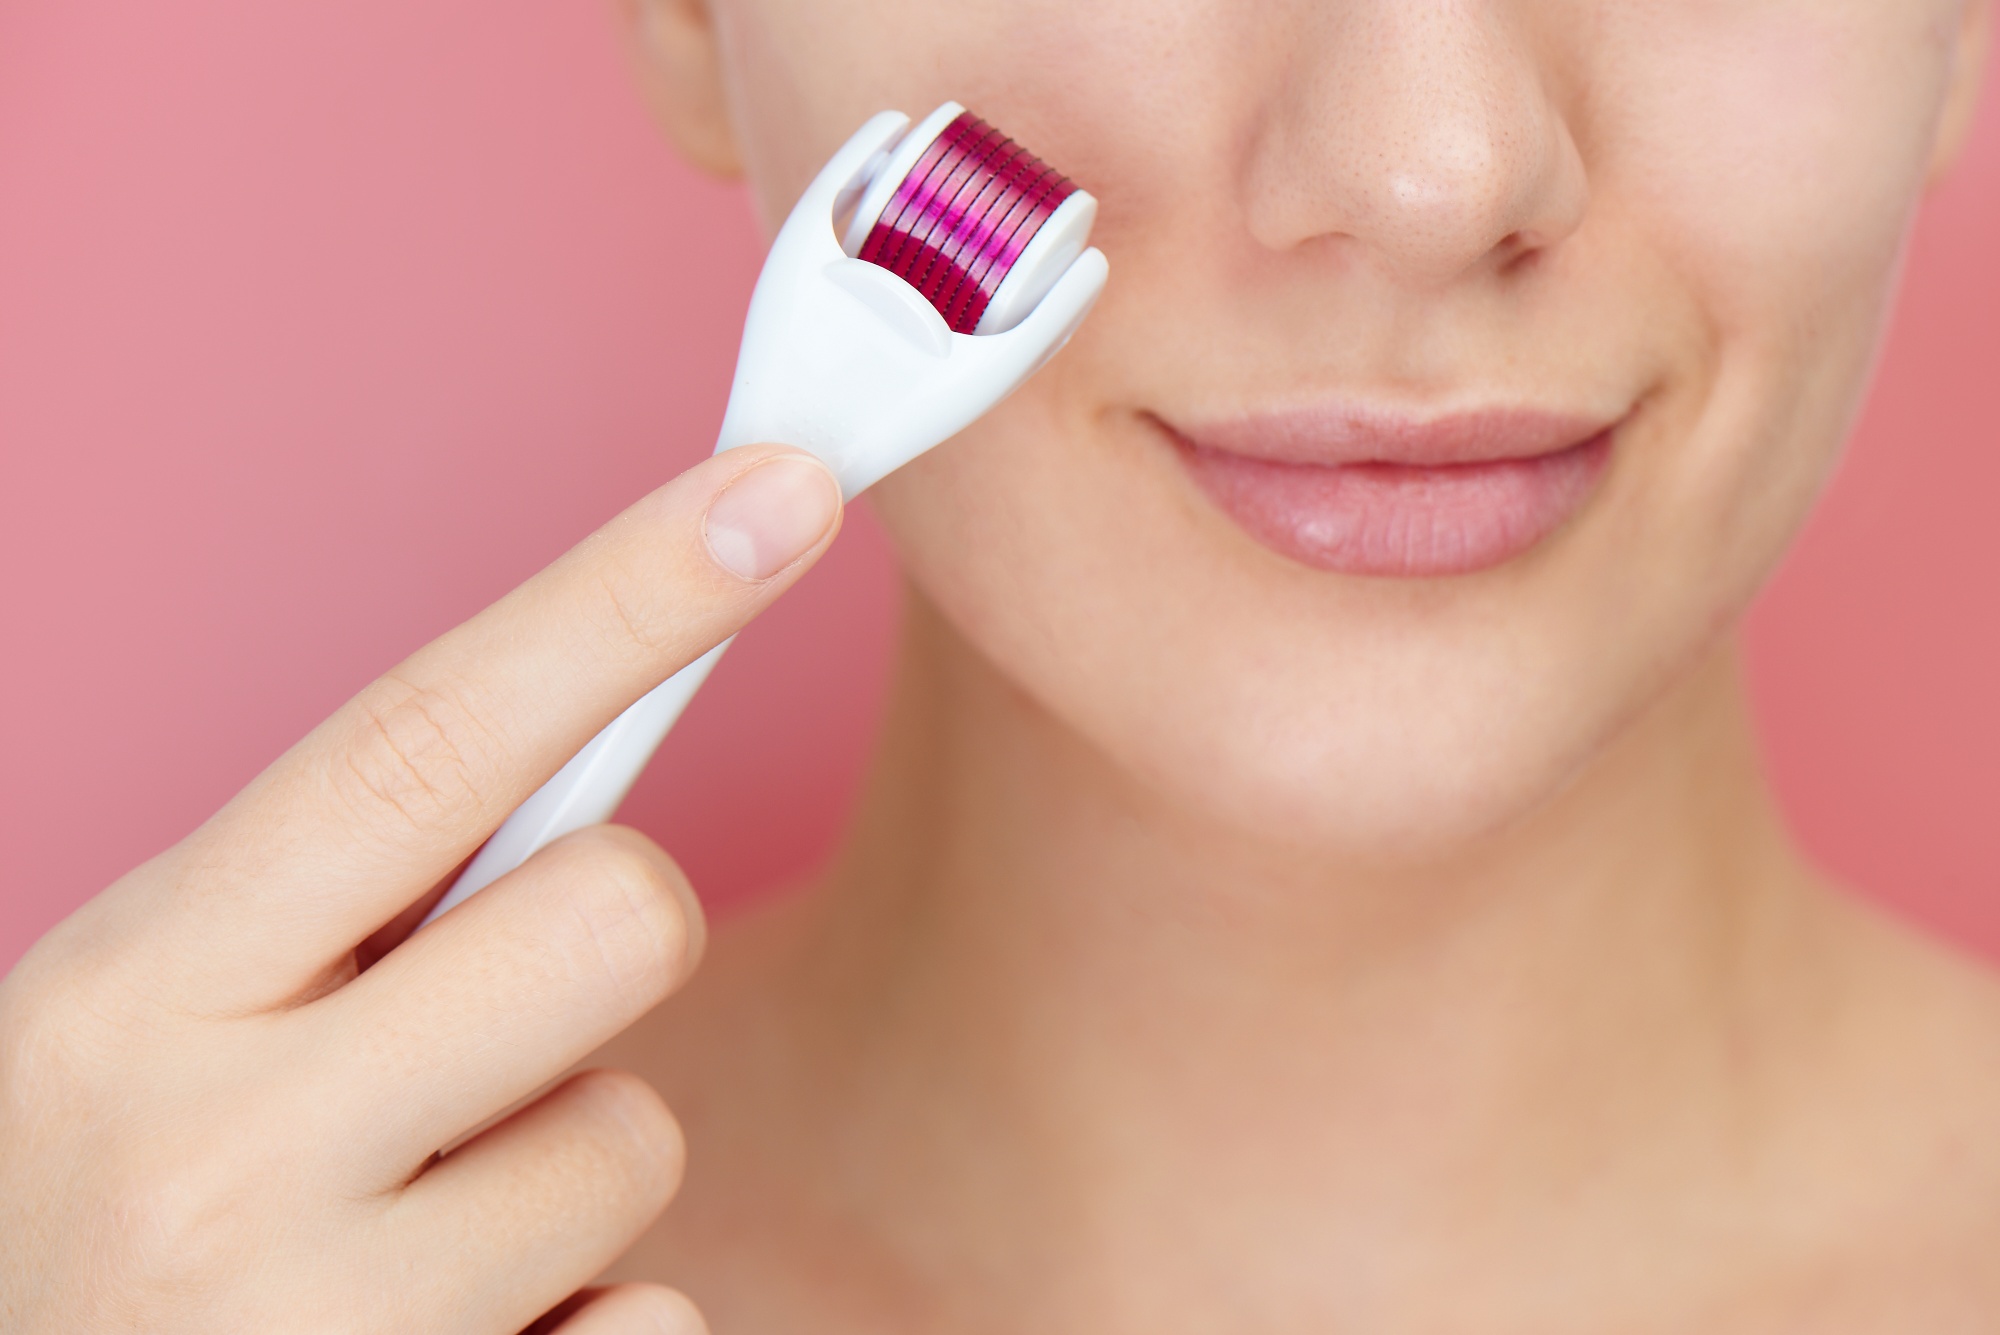
At home micro-needling devices – a.k.a. derma rollers – are hand-held tools that are either manual or battery-powered with red/blue infrared lights. Somewhat reminiscent of a razor, it has a cylinder shaped head covered with tiny needles (usually around .25 millimeters in depth) to minimize the chance of any potential complications. They are easy to use as you work horizontally, vertically and diagonally against your skin. You control the pressure, duration, and frequency. It’s not painful nor is there any down time.
At-home micro-needling won’t necessarily offer the immediate results as an office treatment (the needles are both shorter and duller) but can still offer lots of benefits. It can amplify skincare absorption and enhance the penetration of products — be it hydrating, brightening, or rejuvenating actives due to the open channels caused by the needles. When using at home, start with once a week in the evening, always applying your most potent anti-aging skincare product afterwards. As your skin adapts, increase the number of times per week. (I try for 3X.) I’ve sampled so many different types, but these are my absolute favorite for quality, durability and positive results.
- Stacked Skincare Micro Needling Device 2.0 – These are pretty gentle, so you can probably use several times a week.
- Georgia Louise Hollywood EGF Micro Needling – It’s rumored that JLO uses this tool’s micro needling and ion infusion technology to target fine lines and enlarged pores.
- TERESA TARMEY Micro Needling Kit – This kit is really a 12-week plan that includes six high-potency products. Pricey, but so worth it!
- Glo Pro Pack n’ Go Kit – I love how this kit includes different size rollers – one each for your eye area, face and chest. This is the device I’ve used for the last year or so.
After a few months of using my at-home device, I was hooked. My skin just looked better. So, I wanted more. Soon, I was prepping for my first in-office, professional micro-needling treatment.
Professional Micro-Needling
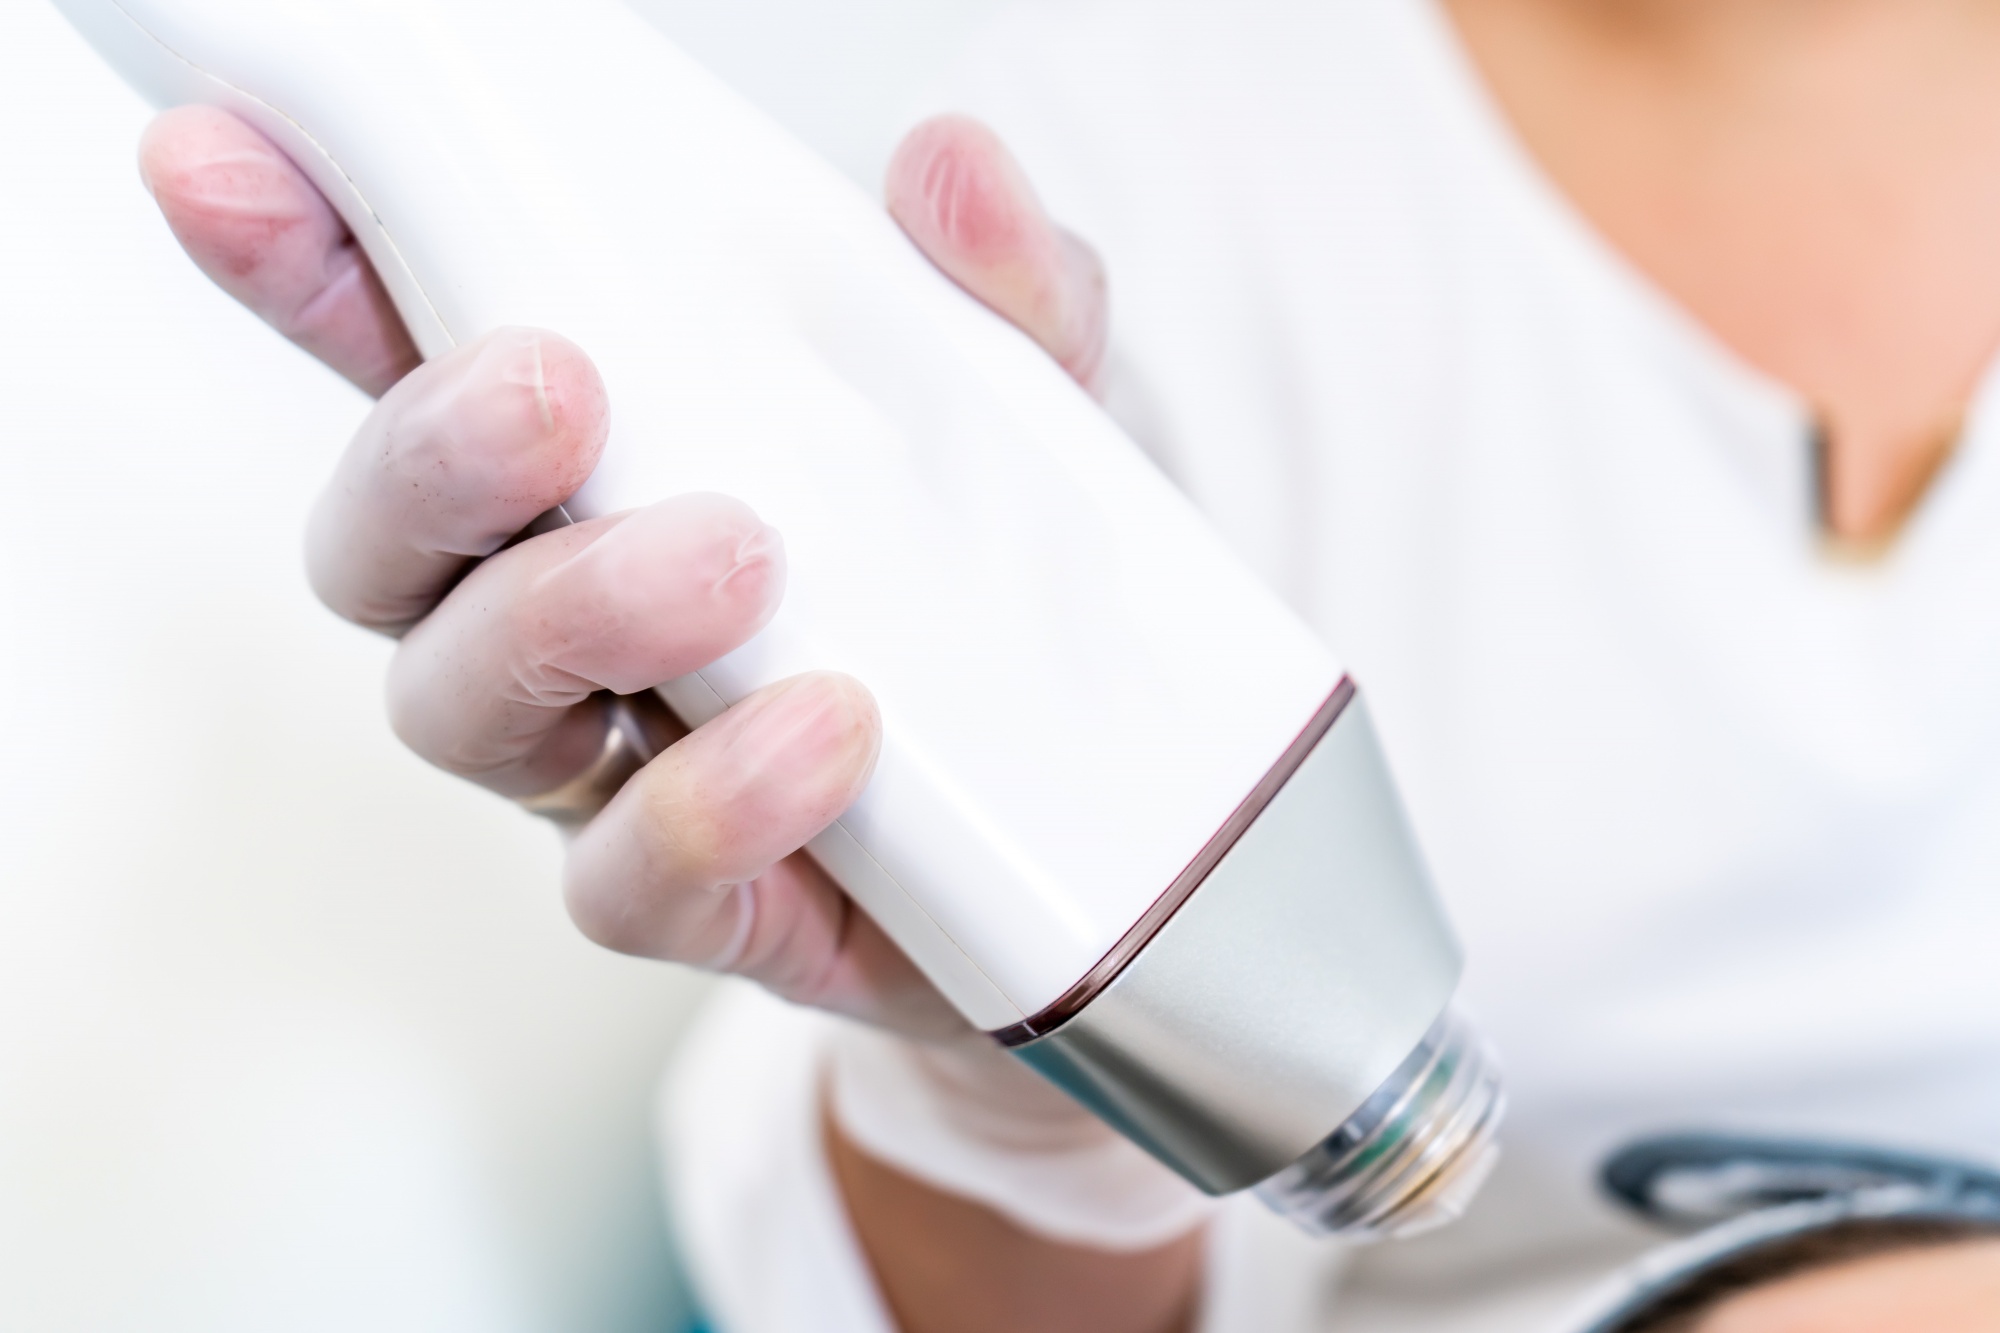
Micro-needling is not a light-based procedure, nor does it involve harsh chemicals or techniques so it’s considered both safe and effective for every skin type. As someone with light olive skin that tends to scar easily, I’ve generally avoided harsher peels and lasers, so this was great news!
Many practitioners recommend 2-3 treatments over the same number of months. But after consulting with my dermatologist, I decided on just one micro needling treatment with collagen rich growth factors (not to be confused with a Vampire Facial which uses your own platelet rich plasma). These growth factors are in control of creating cellular growth, maintaining healthy skin function and structure, and forming new collagen. Patients see great results by month two. Positioned as relatively painless with little down time, I was all in.
I arrived at 10am and was soon covered in numbing cream, expecting nothing more invasive than an enzyme facial peel. Boy, was I wrong.
It hurt. A lot. As in 1000-snapping-rubber-bands-on-naked-skin kind of hurt.
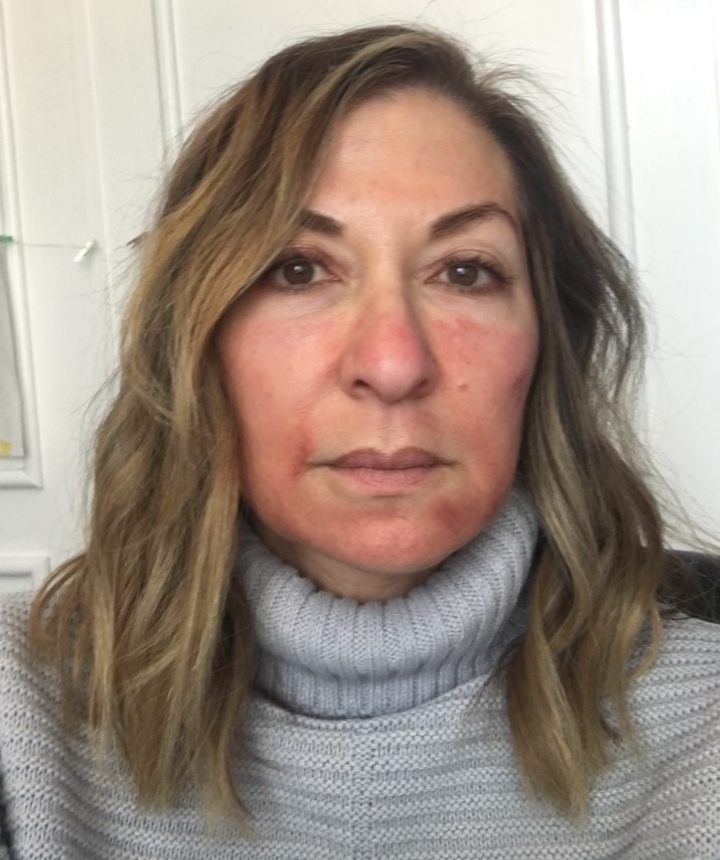
Thirty agonizing minutes later, I was red, swollen and a little bloody. After a bit of light cleansing, I was sent home with 2 vials of growth factor serum and instructions to avoid make-up or added creams/lotions. Did I go back to work after lunch? Nope. As you can see from the photos below, my face blistered and I was a scary, beet red for days. Add in a few ginormous breakouts on my left cheek, and I started to worry that maybe I’d made a mistake. I texted my doctor almost daily, sending along close-up photos of my worsening breakout. She told me it was unusual but still perfectly normal. All in all, I was off the grid for a solid 10 days.
My Progress
[flex_row]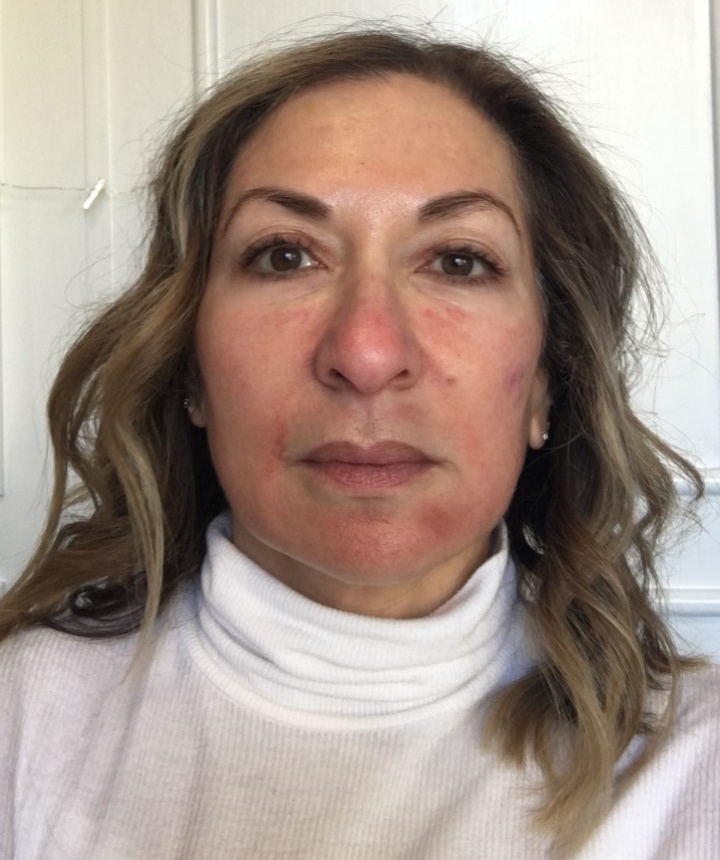
 [/flex_row]
Days 2 and 4
As you can see, I was pretty red for the first four days…

Day 14
By day 11, I slapped on some concealer and was able to show my face without a beekeeper veil. Day 14, the clouds parted and the sun shined and my skin looked normal. Normal. Just normal. But I kept applying the growth serum as instructed along with my regular skincare routine and awaited the miracle.

Eight Weeks Later…
Here I was, eight weeks later. (Note the teeny, tiny mark on my left cheek from that nasty breakout.)
My skin looks nice. My cheeks seem slightly more plump and more hydrated overall. (Although anything is an improvement from Day 2!) But to be honest, I already take great care of my skin, so it’s hard to tell if this one treatment made a big difference. Would I do it again? Probably not. After all, 14 days of avoiding human contact (and work video calls) is a tough sell. I’d rather just add a few more at-home Glo-Pro sessions and splurge on one of the collagen serums below.
Elemis Pro-Collagen Marine Cream
Algenist Genius Liquid Collagen
Babor Lifting Collagen Serum
Peter Thomas Roth Retinoid Peptide Serum
Skincare C+ Collagen Brighten & Firm Vitamin C Serum
Tarte SEA Deep Sea Collagen Super Serum
Derma E Advanced Peptide & Collagen Serum
Have any of you tried an at-home and professional micro-needling treatment? I’m super curious to know what you did and how it went so definitely leave a comment! As a reminder, if you opt to try an in-office version, please be sure to do your research and find an experienced and reputable dermatologist or med spa practice.
To get blog posts delivered directly to your inbox, along with some awesome freebies, be sure to sign up for the newsletter here.





[…] your lips by using pressure. They also promote collagen and elastin production. On the other hand, micro-needling tools gently puncture the skin to boost collagen production and smooth fine lines for more youthful lips […]
Thanks for this post. Your experience is very helpful. I’m interested in derma-rolling but I think I will try it at home. 🙂
I regularly micro needle with a Dr Pen. I use a numbing cream of 5% lidocaine. I go to a depth of .25 on my pen. It sounds like your office visit went to much greater depths ! It has been recently discovered that going deep isn’t necessary to achieve great results ! Get a Dr Pen 8 and some 16 or 36 needle cartridges and some numbing cream and do it yourself ! Check out Penn Smith on YouTube for guidance !❤️
Hi Donna,
Thanks for sharing this info, I’ll check it out! Yep, I tend to agree that deeper isn’t always better. I think it’s about consistency!
Thanks for reading!
xoxo – Francine
Helpful post, and stunning results!!!
Thank you, Francine! I am going to try the at home microneedling.
Yay! Just remember to be consistent and you’ll love the results!