It’s kind of embarrassing, but for years I shied away from buying a curling wand because I truly didn’t know how to use it. I also didn’t quite understand why I would want to use it when I have a perfectly functional curling iron. Annnddd, then I blew up my curling iron. I made the rookie mistake of taking it abroad. Note to self: Don’t bring dryers or irons when you travel to foreign lands. (Or remember the adapter) Duh. Not sure what I was thinking. Anyway, I blew up my curling iron, and then decided it was time to try the wand.
To save you time and energy, I am walking you through the wand curling process… step by step!
Thanks to Nordstrom for sponsoring this post.


STEP #1 | Invest in the Right Curling Wand
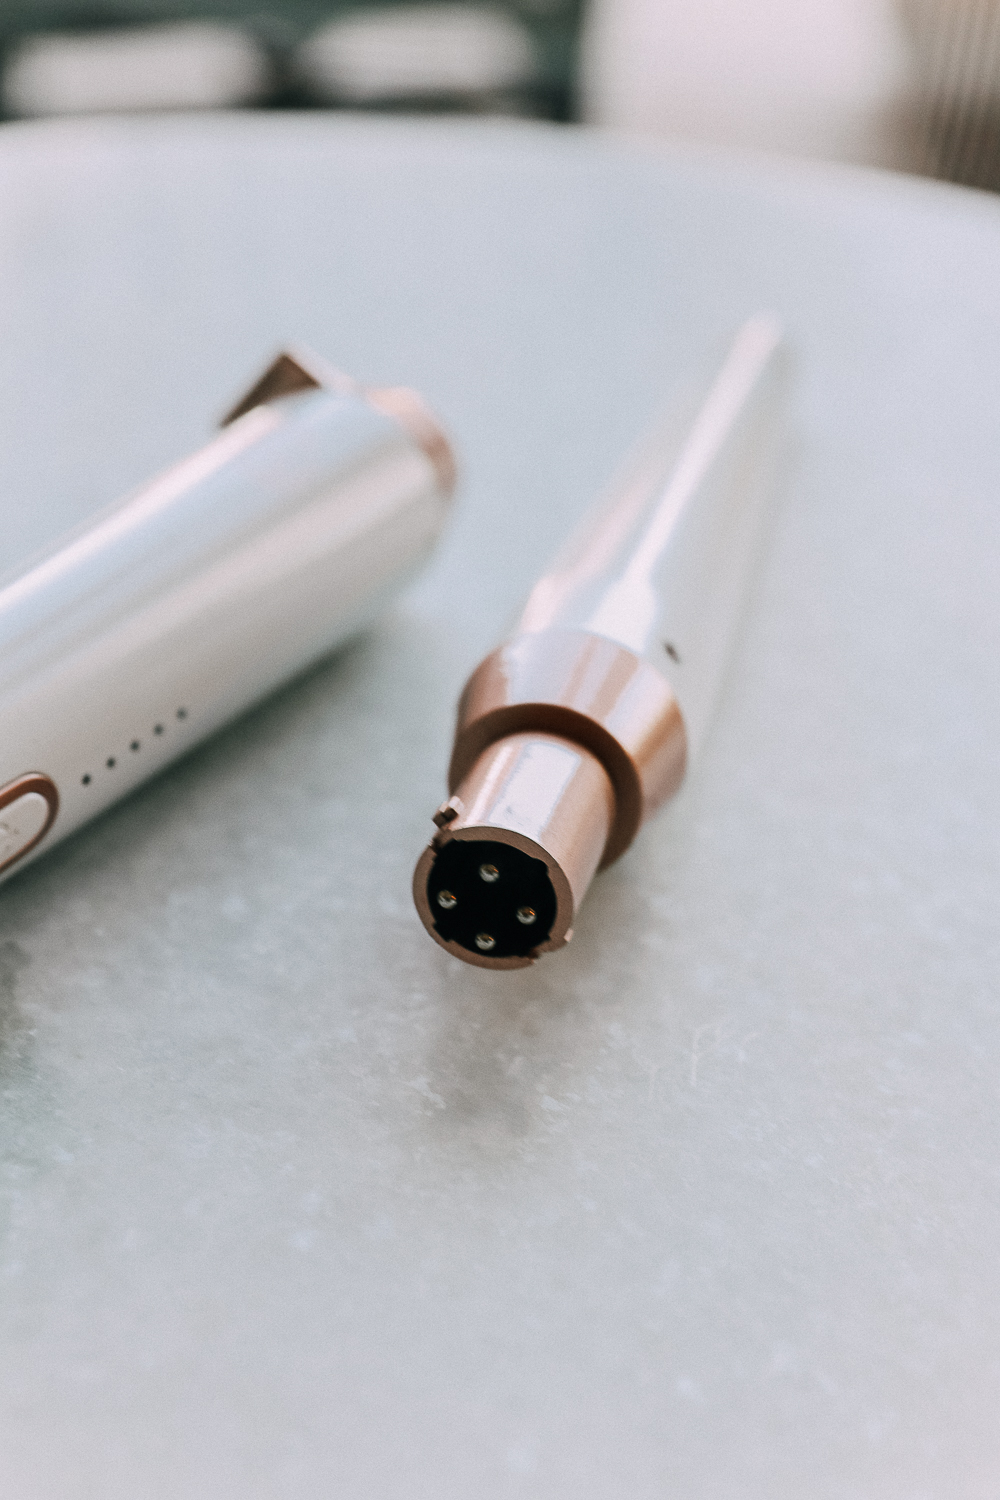
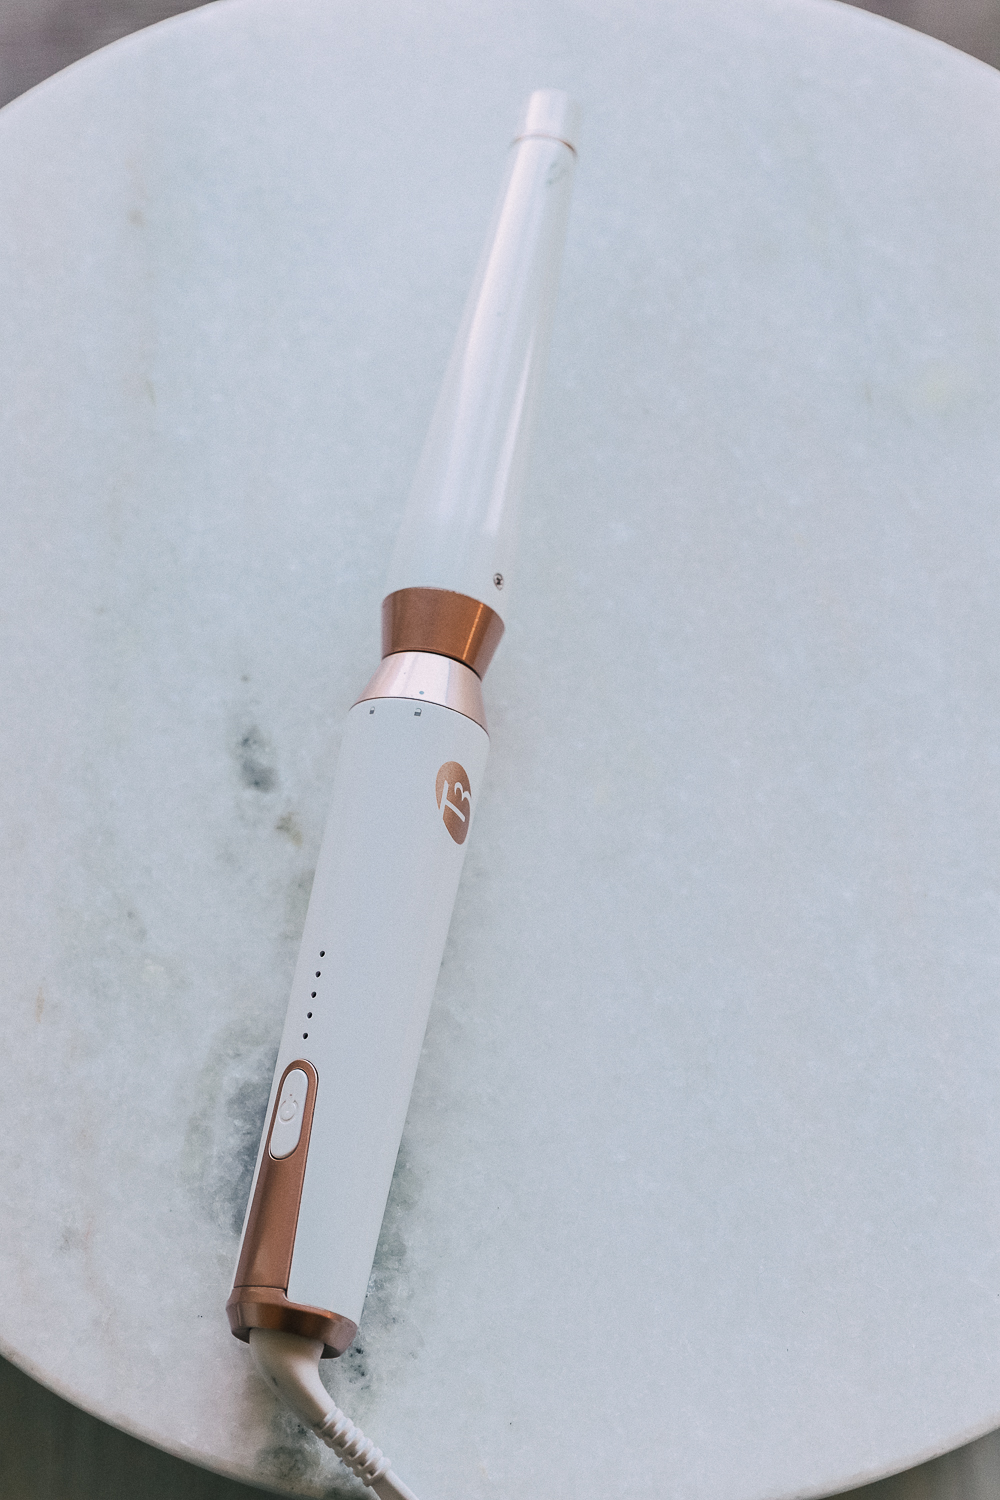
Not all wands are created equal. I would look for a wand that won’t damage your hair. During the Nordstrom sale a couple of years ago, I bought this Whirl Trio interchangeable Styling Wand Set by T3. You can pull off the ends and change them up, giving you access to bigger barrel options. I love the versatility this provides. The set is made with Tourmaline and ceramic technology, creating a smooth and shiny finish without causing damage.
The set includes:
– 1″ straight barrel (traditional curling iron shape)
– Tapered Barrel (1 1/4″-3/4″)
– 1 1/2″ straight barrel (larger curls for looser waves)
Shop all beauty tools here.
T3
A word about T3.
I started with the Cura Hair Dryer, which truly changed my life… and my hair. Then I bought the Whirl Trio interchangeable Styling Wand Set. Next up was the travel, Compact Folding Dryer and finally the Flat Iron. Not only are the products beautiful, but they also work incredibly well… and do NOT damage your hair!
And, after my Ulta Beauty shoot, I’m SO tempted to buy the T3 Hot Rollers. The hair stylist put my hair up in old-school rollers!
I’m going to be testing a Dyson Supersonic Hair Dryer soon and will be able to share with you how it compares to the T3. Stay tuned!
Shop all T3 hair tools here.
Now, back to curling…
STEP #2 | Use a Great Styling Product
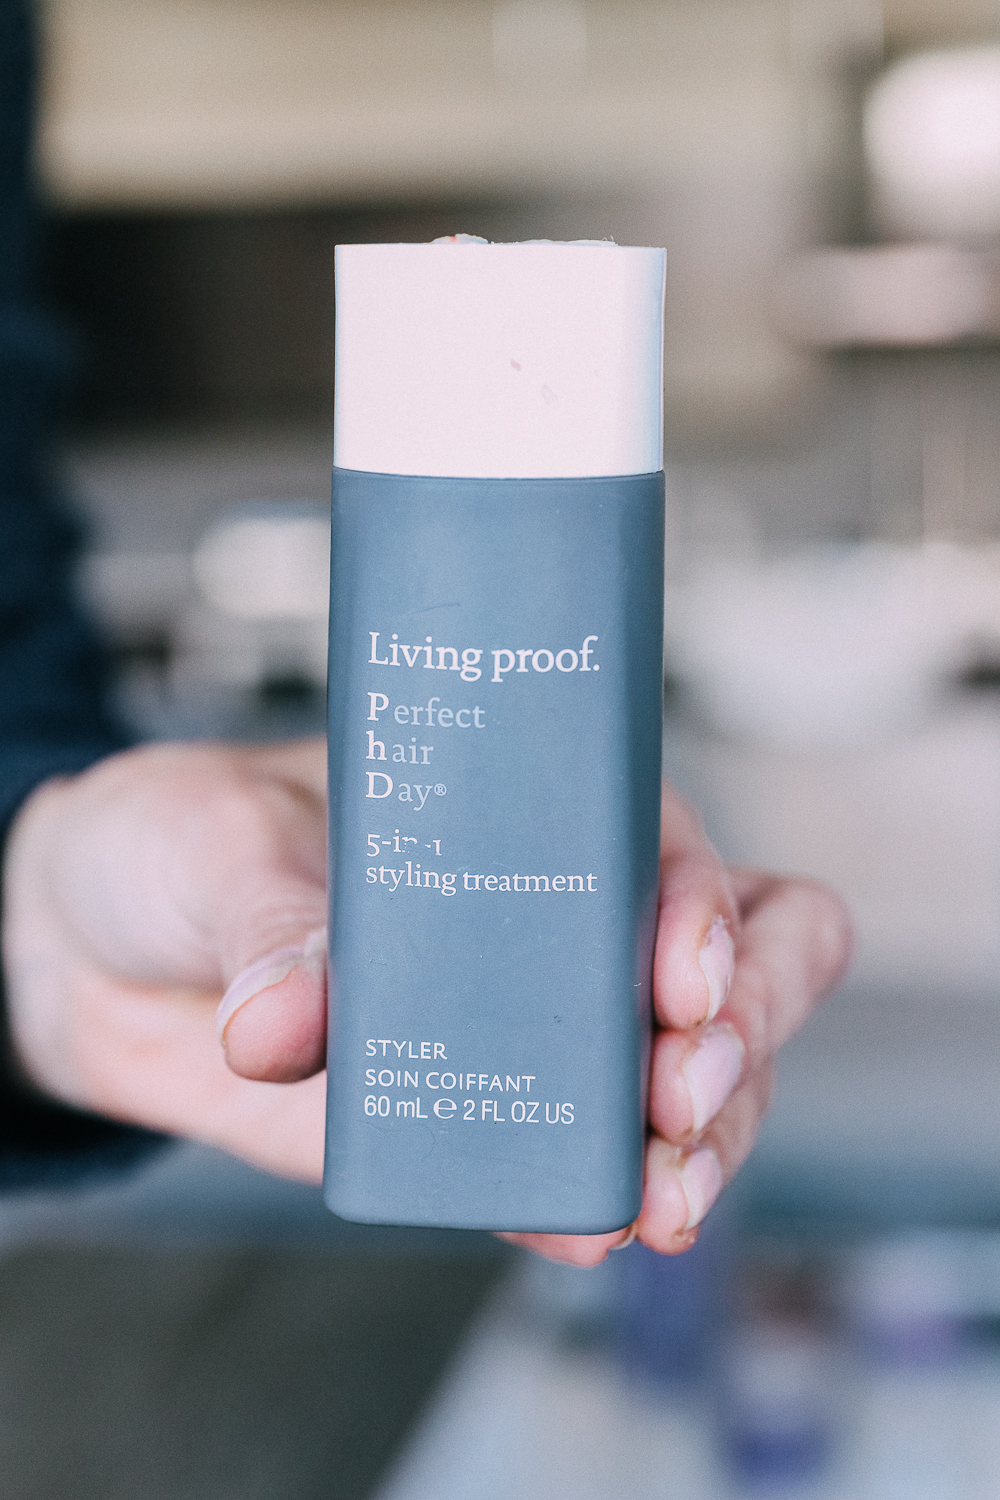
The hair styling products you use are important too! You want something that will encourage your hair to hold the curls, “C’mon, hair!” But, also be light enough that it doesn’t weigh your hair down. I really love Living Proof. Ever since I did a video collaboration with the brand, I’ve been hooked!
I use the Perfect Hair Day 5-in-1 Styling Treatment for both my styling product and to eliminate flyaways at the end. It comes in two sizes, including the tiny 2 oz. size pictured above if you want to give it a whirl.
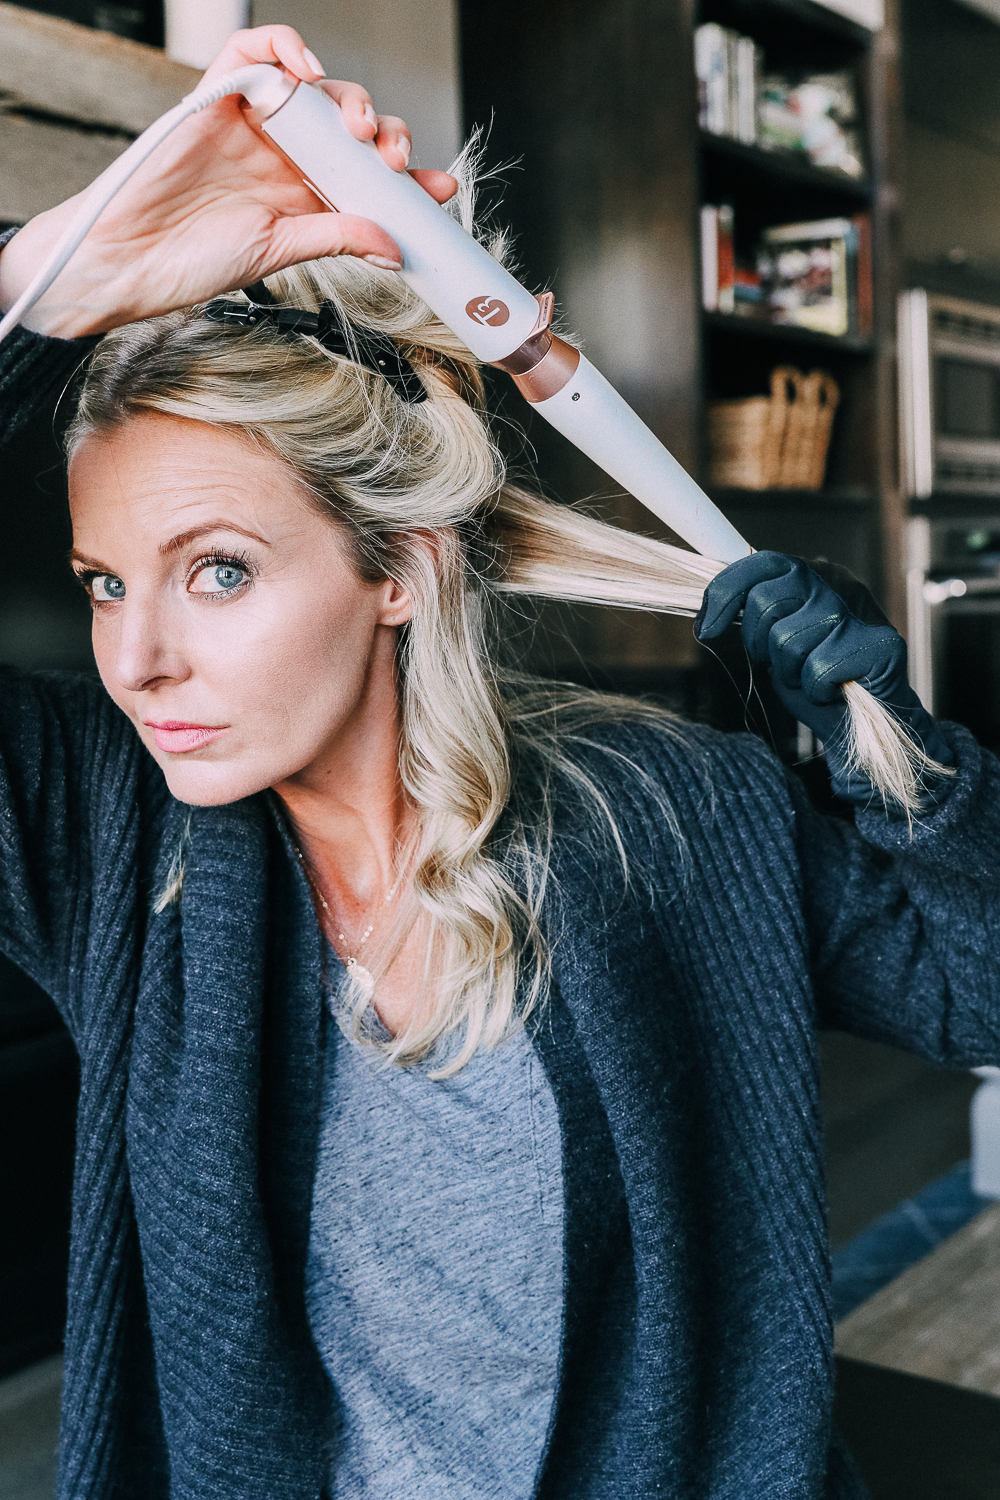
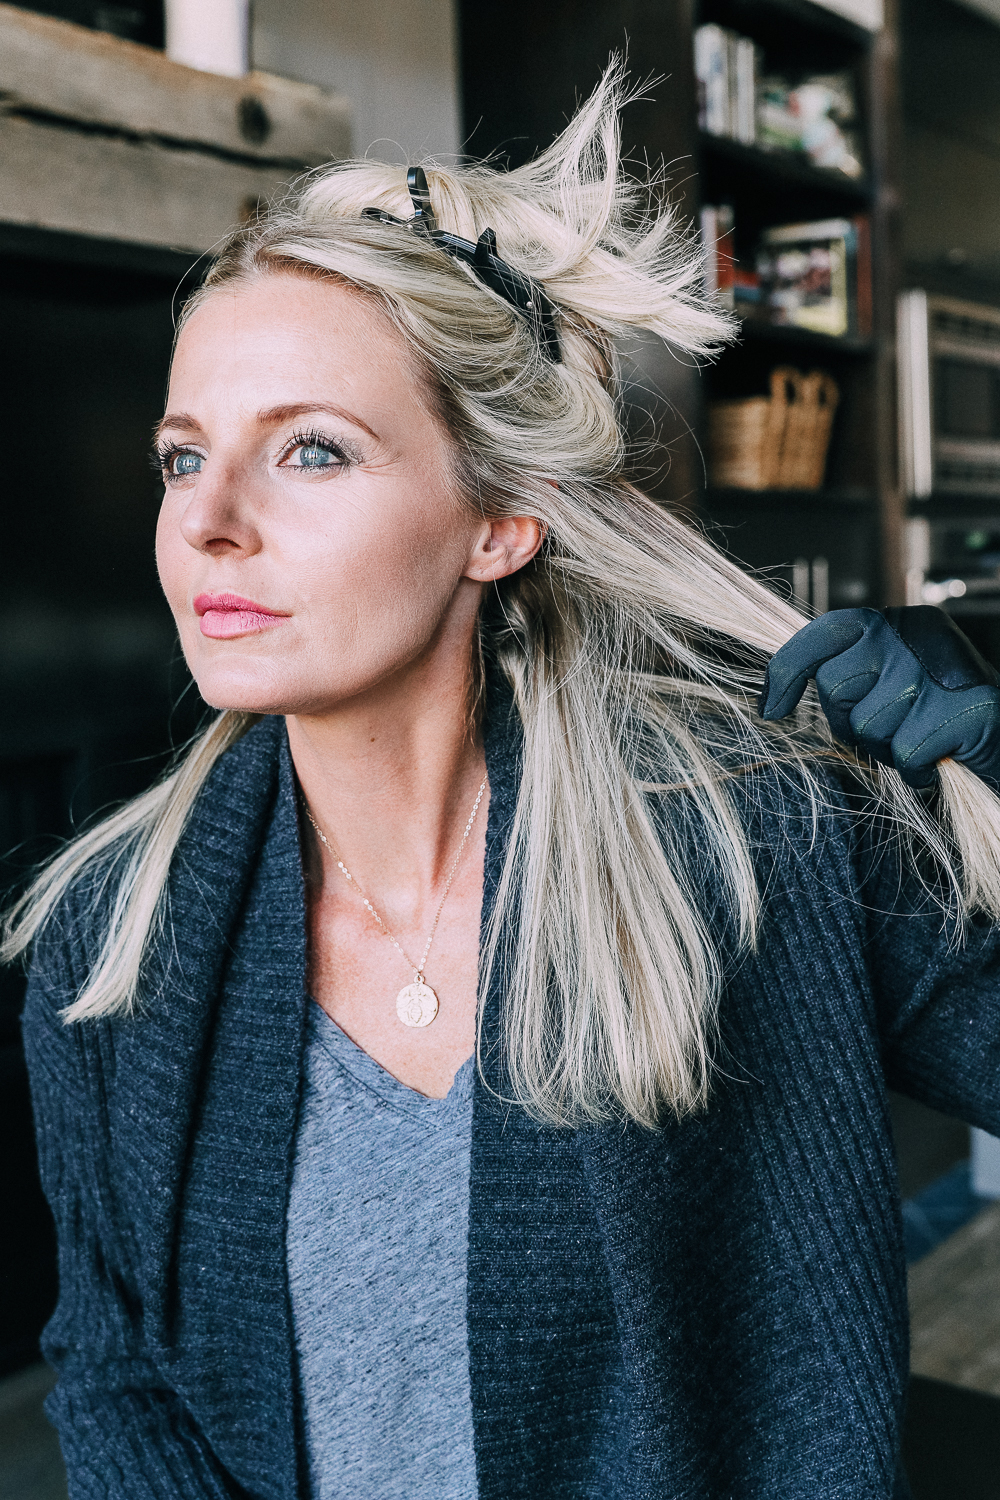
STEP #3 | Use the Heat Glove
I’ve burned myself several times including a huge burn on my neck so save yourself, and your fingers… and commit to using a heat glove. It might feel a bit odd at first, but I assure you, you will get used to it! The set I ordered by T3 comes with a heat glove. If for some reason you can’t find your glove, which never happens to me (wink wink). A regular glove will work in a pinch. I’m actually using my running gloves above.
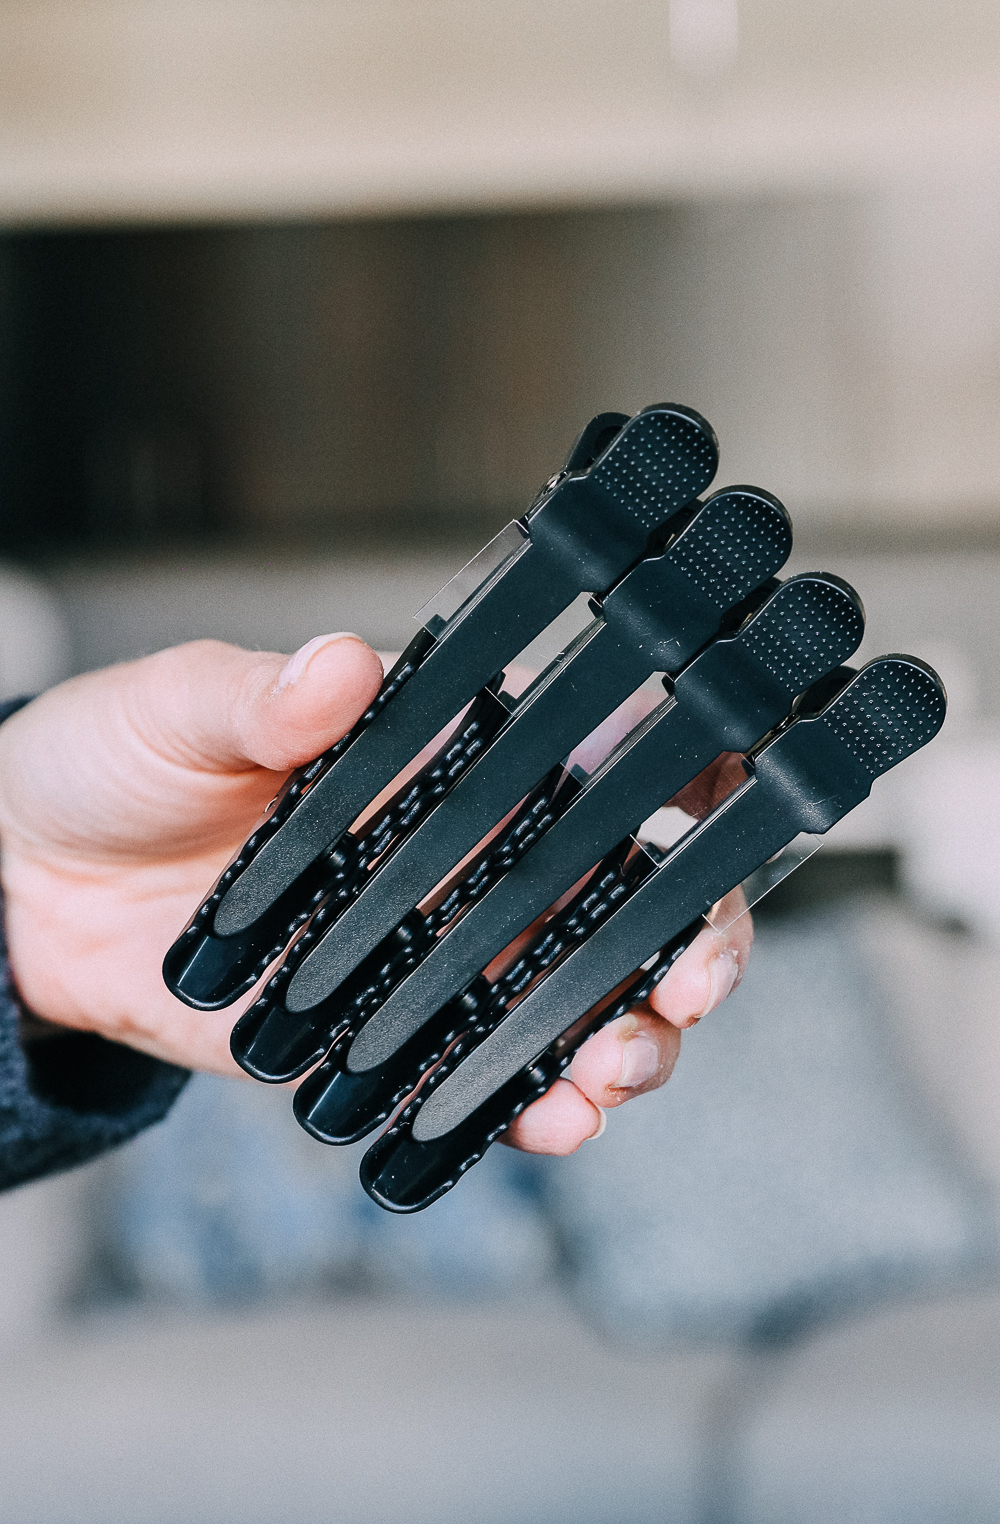
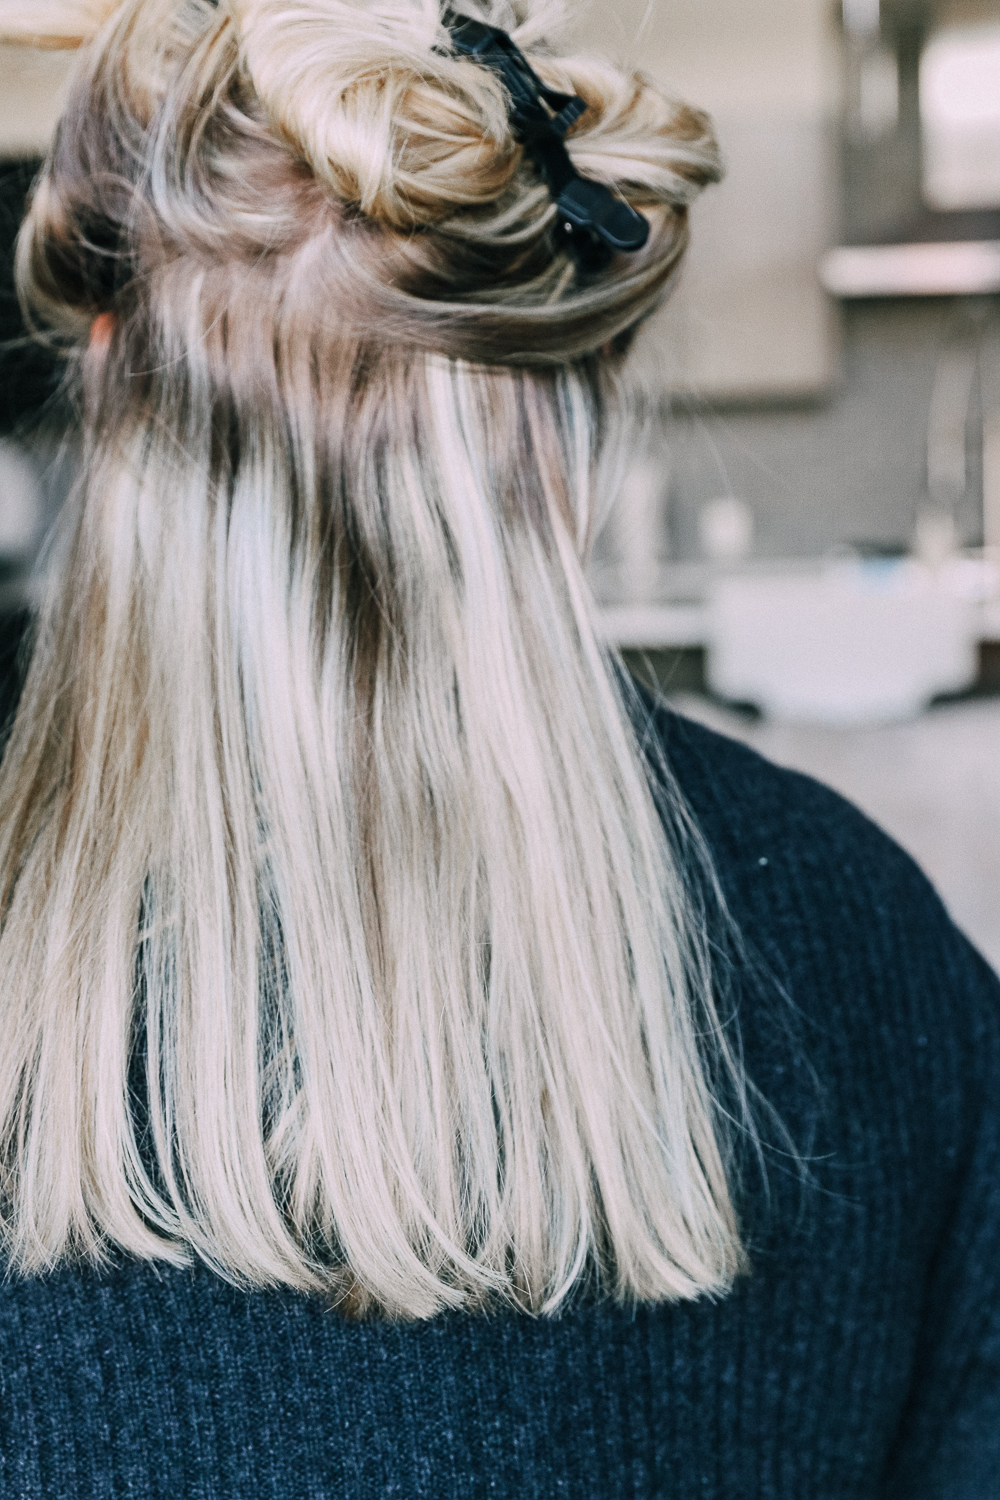
STEP #4 | Section Hair
When I have time, I will divide my hair into sections using hair clips. I typically start by curling the underneath section first. You can use a fine tooth comb to really make the sections look pretty, or simply grab them with your hands as I do.
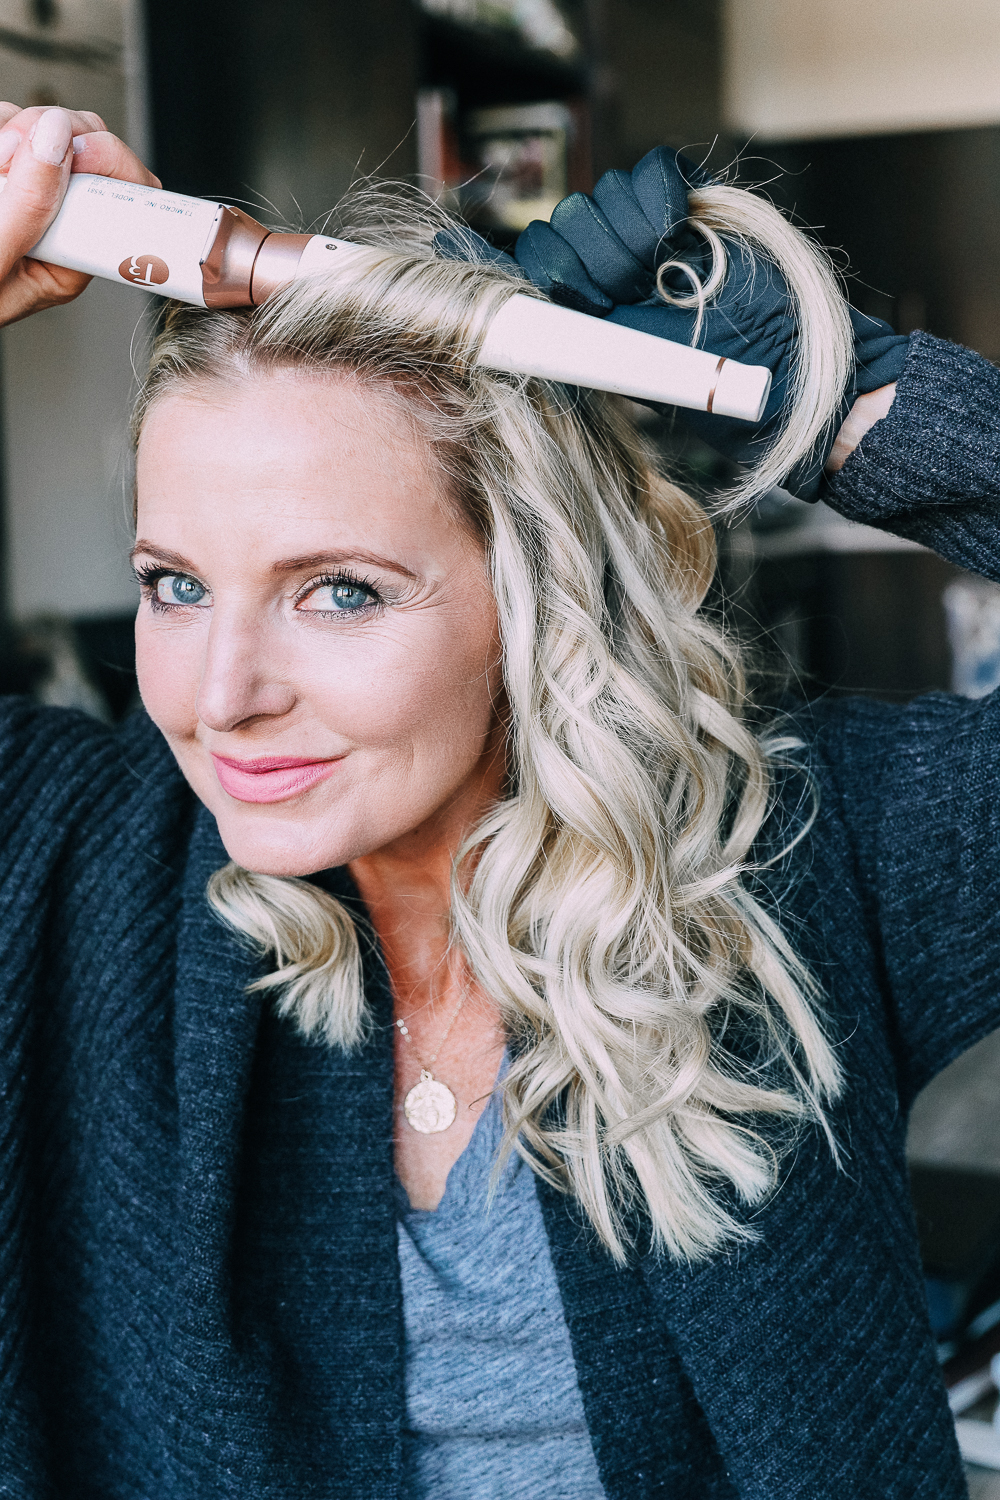
STEP #5 | Start Curling
Take sections that are about 1 1/2 inches wide and slowly wrap the hair around the fattest part of the wand first. Work your way down the wand with your hair, and keep holding the ends of your hair with your hand. Do NOT curl the ends to create a more effortless, beachy look.
Let’s talk direction for a minute, both direction of the curling wand… AND the direction you wrap your hair.
Hair Wrapping
For the majority of your hair, I don’t think it matters what direction you wrap. I will get to the one section where it does matter. I know many top hair stylists prefer a mix of direction, wrapping both away from you and towards you.
Wand Direction
You should go with what feels most comfortable to you. I tend to point the skinny end of the barrel downwards and curl like that, but again… I think it’s dealer’s choice as long as you start wrapping on the wider part of the barrel first.

STEP #6 | Curling Tricks
When you slide the curl off the barrel, I would try to hold the curl for a few seconds. Holding it… will help hold the curl. You can also spray it with a little hairspray to encourage the curl to stay. If you want a fatter, looser curl, I would gently tug on the end of the spiral curl. If you want to create incredibly full curls, you can hold the curl down with one hand and then push the hair up with the other hand (keep holding the hair!)
STEP #7 | Curling the Front Pieces
Here’s where direction DOES matter. You should leave these front pieces until the very end. Then grab one side at a time and wrap the hair away from you, again starting with the wider part of the barrel. If you want more of a 70’s Farrah Fawcett look, start the curl lower, like 2 inches from the root and wrap away from you.
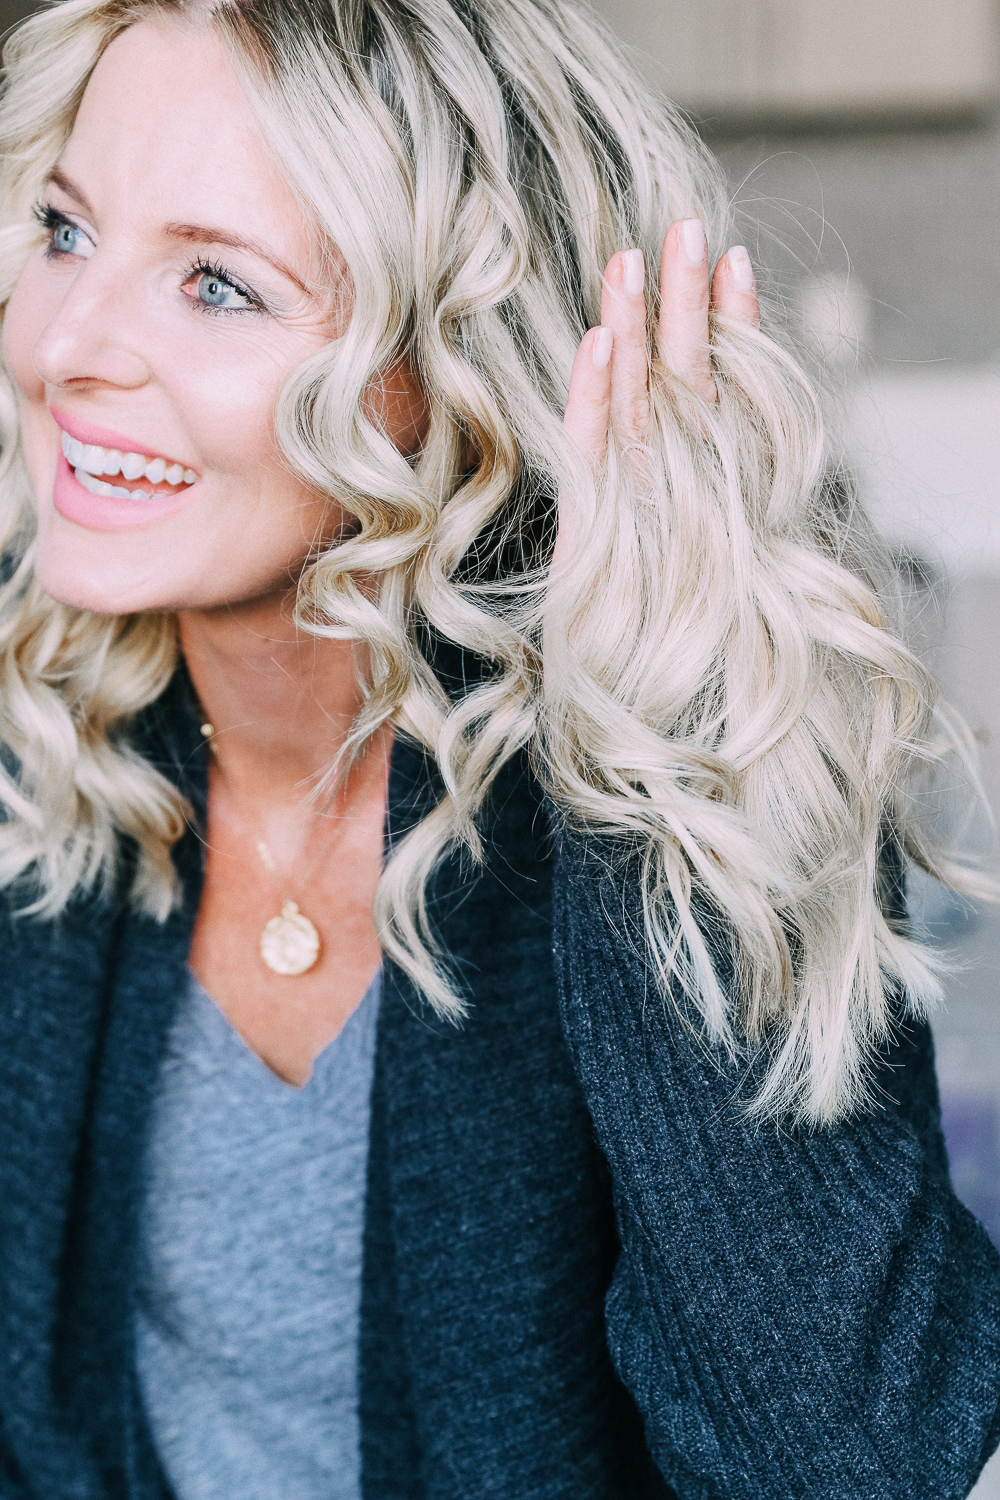
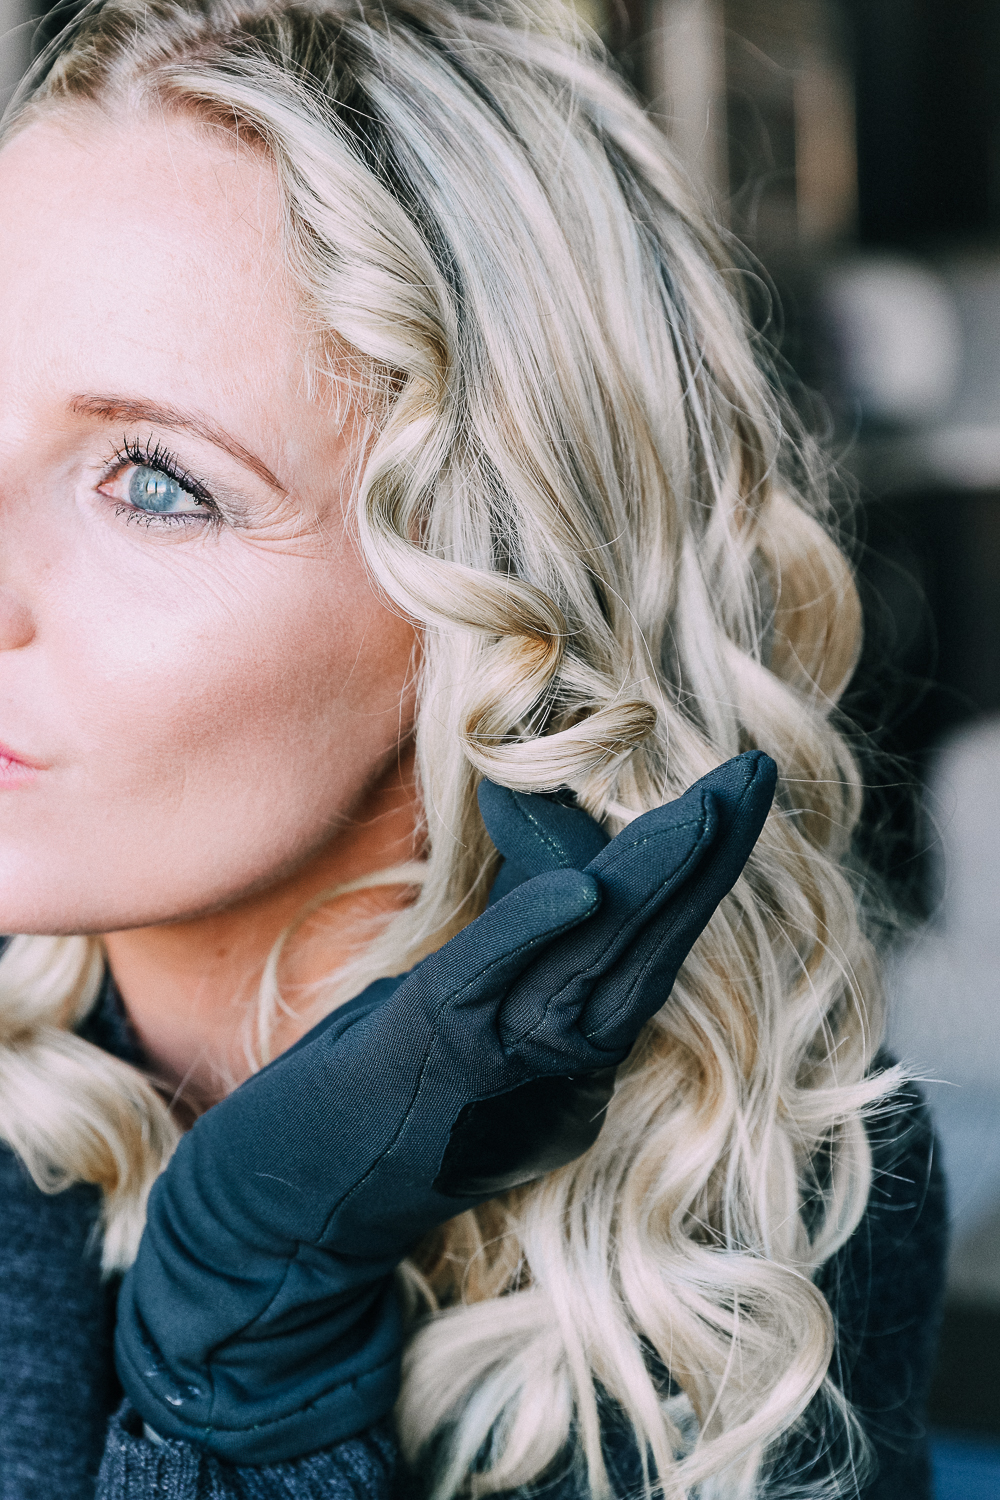
STEP #8 | Use Fingers To Loosen & Separate Curls
Gently run your fingers through the waves to loosen and separate the spiral curls. If you want tighter curls, skip this step. You can also check my curling tricks above and try holding the bottom of a curl with one hand and pushing the hair up with your fingers on the other hand to create super voluminous curls.

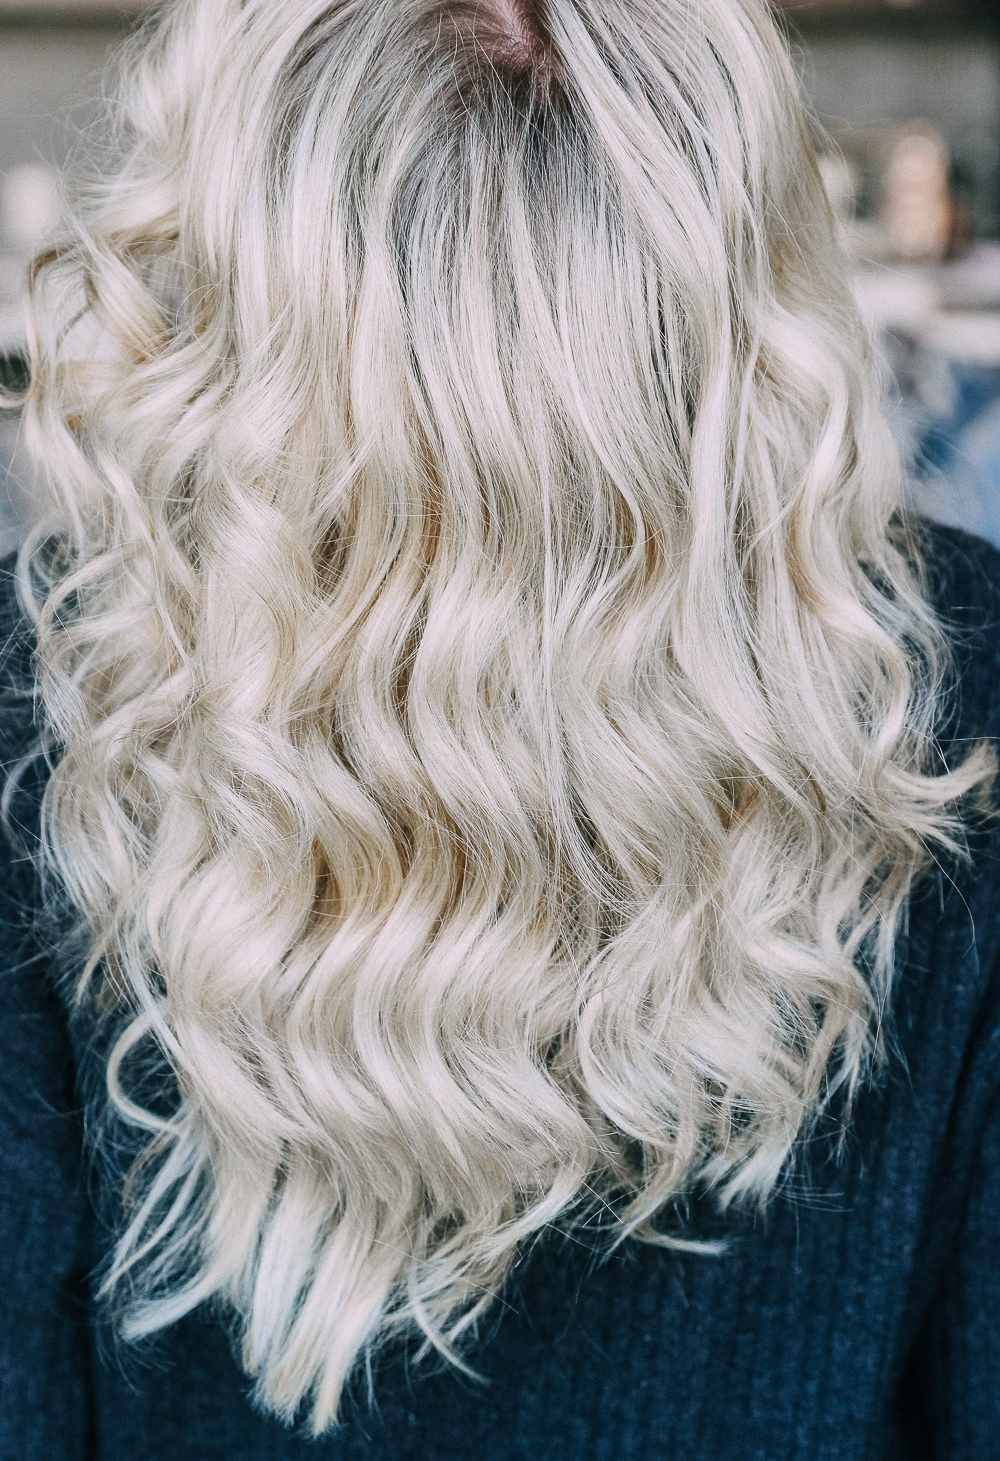
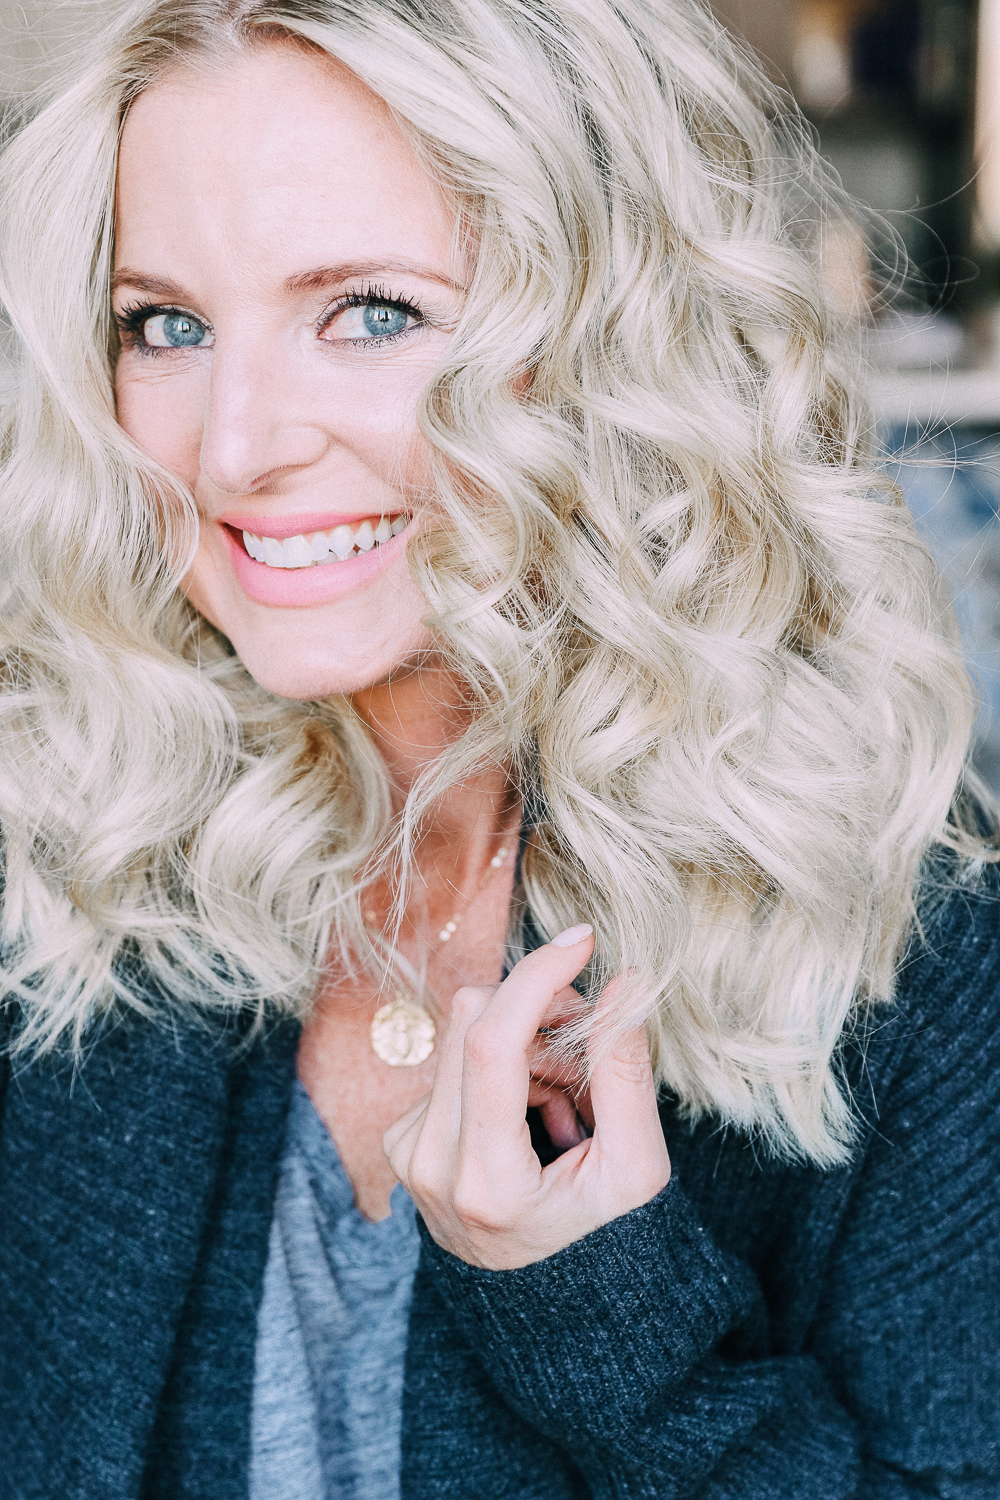
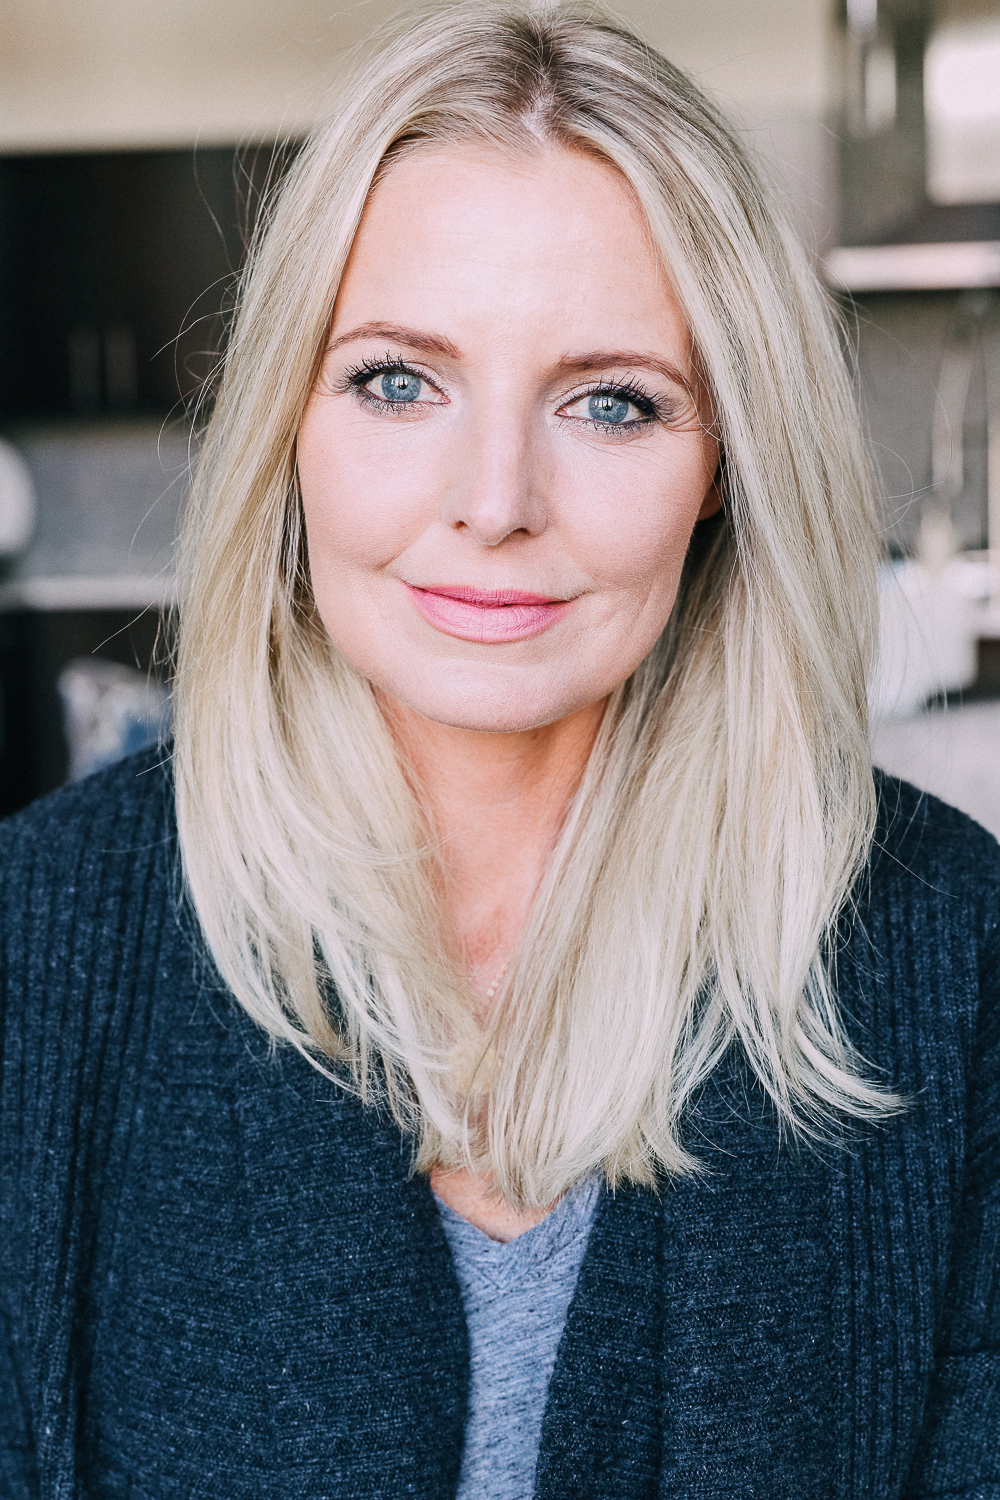

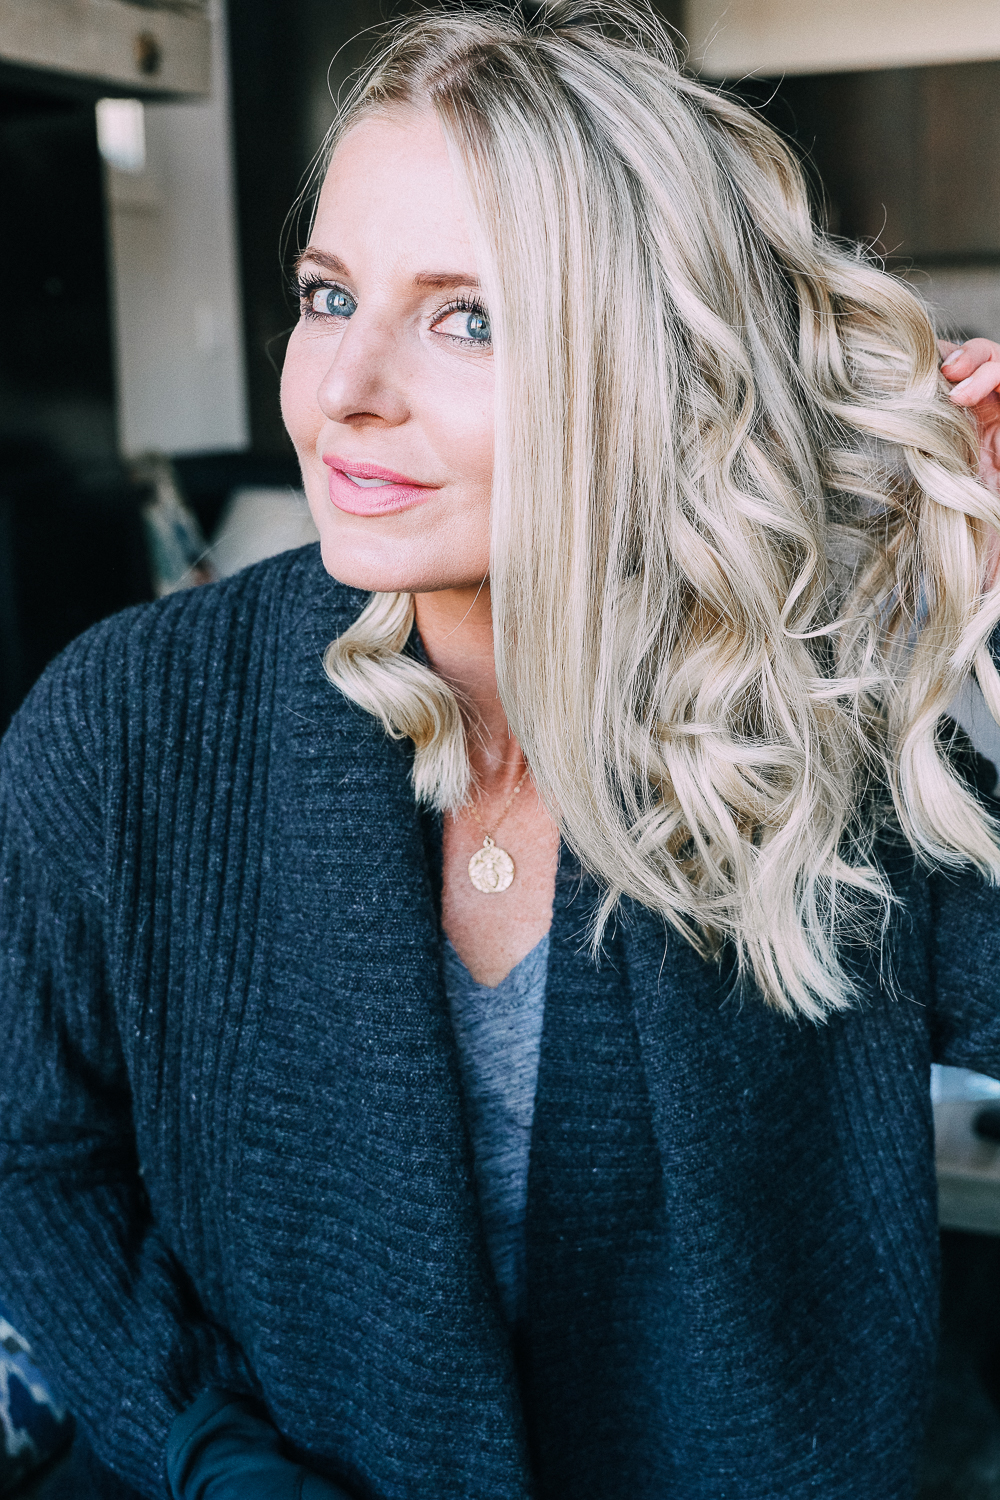
Before & After
I love my hair straight, but curly is SO fun too! The bonus of curling your hair is it will stay fresh looking for days without washing. I have been known to stretch a hairstyle for a few days! You gotta do, what you gotta do!! Am, I right moms?? By the way, if you need some tips for getting out the door fast, I think you will LOVE this video.
HUGE thank you again to Nordstrom for sponsoring this post. All products were picked out and purchased by me. All thoughts and opinions are my own.
Thank you so much for stopping by…
Love, love, love your hair curly. It is absolutely stunning.
Thank you, Kathy!! I wish I had time to curl it more often… ???? You are so sweet!